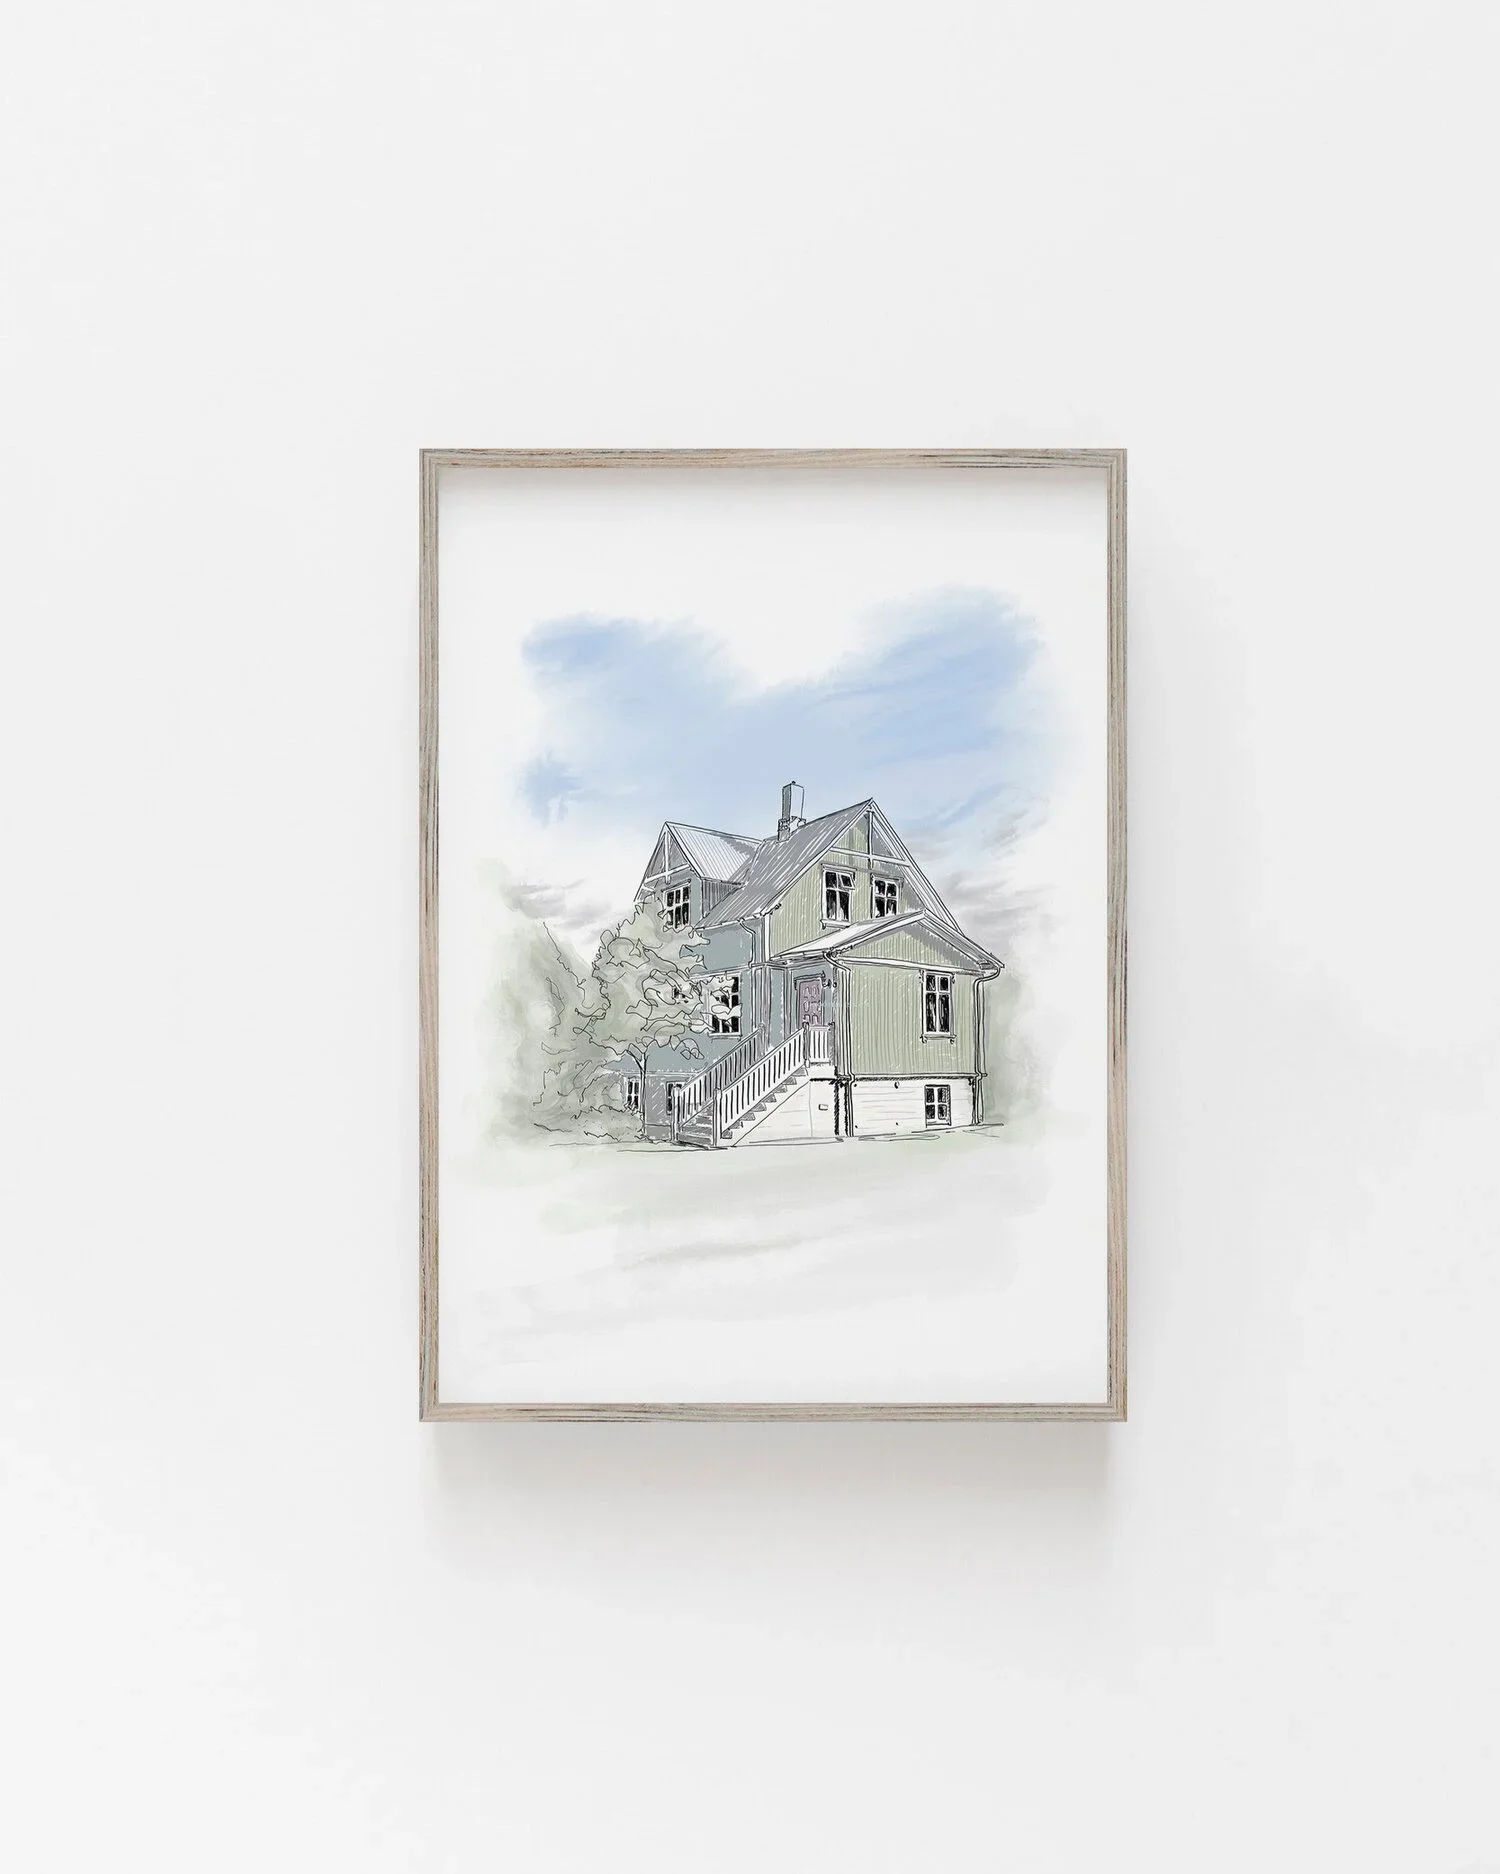
Interior and Architectural Ink rendered Hand Drawings

Interior + Architectural Ink rendered Hand Drawings

Rendering, by hand, with Ink Marker Pens

Over the last few weeks, I have been creating a series of hand-drawn renderings for my Design Communications class. I always believe it is best to show students my work rather than pulling examples from Google, as it is proof that I can actually do what I am teaching, and it builds their trust.

In today’s fast-paced design world, we are often too quick to jump onto a computer to create polished images. While programs like Photoshop are industry standards, there is an undeniable beauty and value in mastering hand-drawn and hand-rendered work first. This tactile skill sharpens your eye for detail, helps you understand light and shadow, and brings a unique warmth to your drawings that software cannot replicate.

I am sharing these examples with you, walking you through my process, the materials I use, and tips so you can start creating your own architectural and interior design renderings by hand.

Architectural hand drawing of a modern living room with teal walls, white sofa, red floral centrepiece, and framed figure sketches, created with ink and marker rendering.

Ink Marker Pens for Interior Design Rendering

Over the years, I have built up a small collection of marker pens, from ProMarkers and Tria to my current favourites, Copic markers. I am not loyal to a single brand, for me, colour range and ink flow matter most. Whatever I have to hand often does the job perfectly.

If you are just starting, I recommend investing in 3 to 4 essentials:

  • A light grey and a darker grey for shadows and depth

  • A warm brown for wood tones

  • A blender pen if the budget allows

You can also layer in details with coloured pencils over your marker work; it adds texture and subtle variation that brings an image to life.

Hand-drawn interior illustration of a classic living room, featuring a teal tufted sofa, antique furniture, table lamps, and warm wood panelled walls, rendered in ink and markers.

Choosing the Right Paper for Ink Rendering

Working with marker pens can feel intimidating at first, but it gets easier with practice. My biggest tip is to always make multiple copies of your line drawing before you start rendering, that way you can experiment without the fear of ruining your work.

Paper choice can make or break your result. Poor-quality paper causes the ink to bleed, feather, or soak through, while thin sketchbook paper can warp or become semi-transparent. I have had the best results using:

  • Thick card stock with a smooth finish

  • Watercolour paper with light absorption, great for layering ink

  • Marker pads, ideal but often pricey if you are not using them regularly

Look for a smooth surface to avoid streaking, and always test your markers on a scrap before starting.

Try It Yourself

If you have never worked with marker pens, remember, less is more. Build up your tones gradually. Add a wash of your lightest colour first, step back, then layer in mid-tones and shadows. Keep checking your work from a distance so you can see the balance of colour and contrast.

If you do not have your drawing to render, take an image from a design magazine, sketch it out with a fine liner or pencil, and start there. Begin with light tones, then layer darker colours for depth, adding texture and highlights last.

The hardest part is knowing when to stop. It is tempting to keep adding more, but sometimes the most beautiful results come from restraint, allowing the white of the page and the looseness of the lines to shine through.

Designing for Change in Ecuador: How Volunteering Shaped My Purpose as an Architect

Designing for Change in Ecuador: How Volunteering Shaped My Purpose as an Architect

Volunteering in Ecuador with Architecture Sans Frontières changed the way I saw design. Through participatory workshops in Quito’s informal settlements, I learned that architecture isn’t just about buildings - it’s about people, community, and the power of collaboration.

Read More

Product Review: Ink Rendering Pens

Product Review: Ink Rendering Pens

I have been working with my rendering ink markers in preparation for teaching my students how to render their floor plans and perspectives with inks, watercolours, and pencils. With this in mind, and refreshing my rendering skills, I thought I would jump on here and do a mini-review of the ink markers I have and what I think of them. I do not have a huge collection, but one which has grown over the years. My collection is made up of what I feel are the major names in ink rendering: Letraset ProMarkers, Tria, and Copic (others are available).

Architectural hand-drawn sketch of a modern house exterior featuring wooden slats, a decked walkway, and surrounding greenery.

1. Letraset ProMarkers (UK)

pro markers

Great pens and very easy to use, the ink flows well and the colour is very vivid, although other colours are available from the image above. The pen has a twin tip (a nib on each end); an angled thick nib and a medium nib with a fine point.  The pen case is easily opened and refilled once the ink has run out; the lid has a small lip so the pen does not roll too far.  These ink markers are available in a huge variety of colours and have the colour number, along with a descriptive name, printed on the label of each pen with a strip of the colour, making them easily identified for use. 

2. Tria ink markers (UK)

tria markers

Probably the first pens I ever bought whilst studying Architecture (quite a few years ago now)...and they have lasted!  Great pens to start with, although they are pricey, and are often sold in sets for a particular use, which makes it even easier for students to choose. The pen has three nibs: a medium nib with a fine point, an angled thick nib and a thin nib (inside the thick nib’s lid).  The pen case is easily opened and refilled once the ink has run out; however, the ink lasts a long time.  These ink markers are available in a huge variety of colours, the main body of the pen is coloured accordingly, and the colour number is indicated on a sticker on the main body of the pen as well as on the lid, so you can see this when they are stacked upright.

3. Copic ink markers (Japan)

Copic Markers

Saving the best for last, I love these markers.  They work well, the ink flows and blends perfectly, they offer a great range of colours for Interior and Architectural drawings and, well, they look great!  The square shape of the pen means they do not roll off the drawing board, and the little diagram on the main body of the pen helps determine which end has which nib, making working with them slightly faster.  In my experience, the ink does run out or dry up faster.  Again, the pen has a twin tip (a nib on each end); an angled thick nib and a medium nib with a fine point. These ink markers are available in a huge variety of colours, and different types of pens (but I have not tried them yet) and have the name and number of each colour marked clearly on the lid, in colour, so you can see this clearly when they are stacked upright. 

How Teaching in India Changed My Career (and My Life)

How Teaching in India Changed My Career (and My Life)

When the recession ended my job in architecture, I never imagined it would lead me to India. What began as a short-term teaching contract became one of the most transformative chapters of my life. In Bangalore, I helped build a design school from the ground up, discovered my love for education, and learned that my real work wasn’t just designing spaces - it was helping others design their own creative paths.

Read More

Some Views On Networking

Some Views On Networking

I recently attended a conference where there was a load of leading Academics and Architects, all Indian of course, and little foreign me. In these rather daunting situations it is easy to do one of two things; blend into the background hoping no one spots you, or leave. Luckily I did neither, I sat down and listened into each speakers points hoping to pick up on an interesting topic for when I would have to confront my fears and actually speak to these people. 

how to network and introduce yourself

I find networking odd; it’s unnatural so slightly forced. You have to be brave, confident, friendly and able to act a little! If networking comes naturally to you then that’s great. Usually, I have no problems speaking to people, however, sometimes I get a little shy so I tell myself that most people are just ‘normal’ and feel the same way you do. It’s a little forced and uncomfortable at first but as soon as you get past the initial “hello I’m Sonia and I’m...” it is actually painless and you don’t really know what you were worrying about. 

How it’s done, internationally

Here in India, and a lot of Asia, when you meet someone you introduce yourself, shake hands and then hand over your ‘visiting card’ (business card to the rest of us) using both hands making sure you note their name, company and position before storing it in a respectable place, oh and accepting theirs with your right hand at the same time. This caused many moments of confusion whilst living in Japan. The initial meeting, bowing or shaking of hands went well, cards exchanged and then, ahhh, their name (there is never enough time to smoothly read it, pronounce it in your head and then say it accurately without ‘showing face’). However, if they aren’t too snooty then this becomes the icebreaker in your opening line, and before you know it, you are successful business connections.

work the room

I know how important networking is, wherever you are, and I encourage my students. Those who network well carefully and slowly work their way around a room, I admit I have watched them at work. These are the kind of people who can put names to faces, a particular skill I am jealous of. I am not the world’s best networker but I am improving. People tell me I have a friendly face so I smile a lot, this helps.

making the connections

As for the actual exchange of details, how is this best done? Many people in the West feel that business cards are dying out as modern technology takes over from the drawer filled with little cards. People either have their client/suppliers/etc contacts in their PDA or on places like LinkedIn; a web-based networking site. However, here in the East, you are virtually no one without a visiting card. 


Good luck networking

let's connect on LinkedIn

Linkedin