About Sonia Nicolson
Sonia Nicolson is a Chartered Architect and Fellow of the Higher Education Academy, with 15+ years of international experience in Architecture, Interior Architecture & Design, and design education. As a Senior Lecturer, she has taught and mentored over 8,000 students worldwide and now helps aspiring architecture and interior design students develop confidence in hand drawing, visual communication, and portfolio preparation.
Through her courses, ebooks, and mentoring, Sonia specialises in making complex design skills clear, practical, and accessible - especially for students preparing for college, university, applications, or a career in the built environment.
Start your journey on the Start Here page.
Start Here
New to my blog? Begin with these reader favourites on studying architecture, portfolios, and learning to draw.
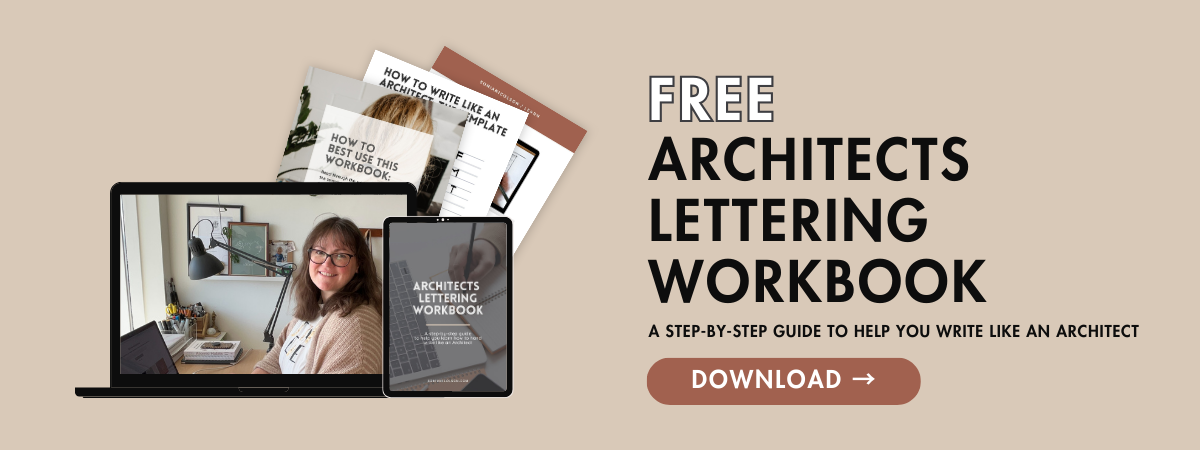
Want more support? Explore my Free Resources and Courses.