Project Brief: My Room, My Interior
/Are you preparing your Art & Design portfolio for college or university? This creative assignment is perfect for anyone applying to study:
Interior Design
Interior Architecture
Architecture
Modelmaking
You’ll be using found objects and recycled materials to build a scale model of your bedroom - a brilliant way to demonstrate your spatial awareness, creativity, and hands-on making skills.
Why modelmaking matters
Modelmaking is a powerful skill that helps communicate and develop design ideas. Whether you’re pursuing architecture, interiors, or product design, the ability to physically represent your ideas will set your portfolio apart.
And yes, you can start with cardboard.
What is Modelmaking?
Modelmaking is more than just crafting - it’s a discipline in its own right. Students studying Modelmaking typically complete a 3-year degree learning to produce both physical and digital models.
Modelmakers go on to work in:
Architectural and interior design studios
Product development and prototyping
Museum exhibitions and installations
Film and TV (think set design and special effects)
It takes time, patience, and precision, but it’s also a lot of fun. And showcasing this in your portfolio proves you’re serious about spatial design.


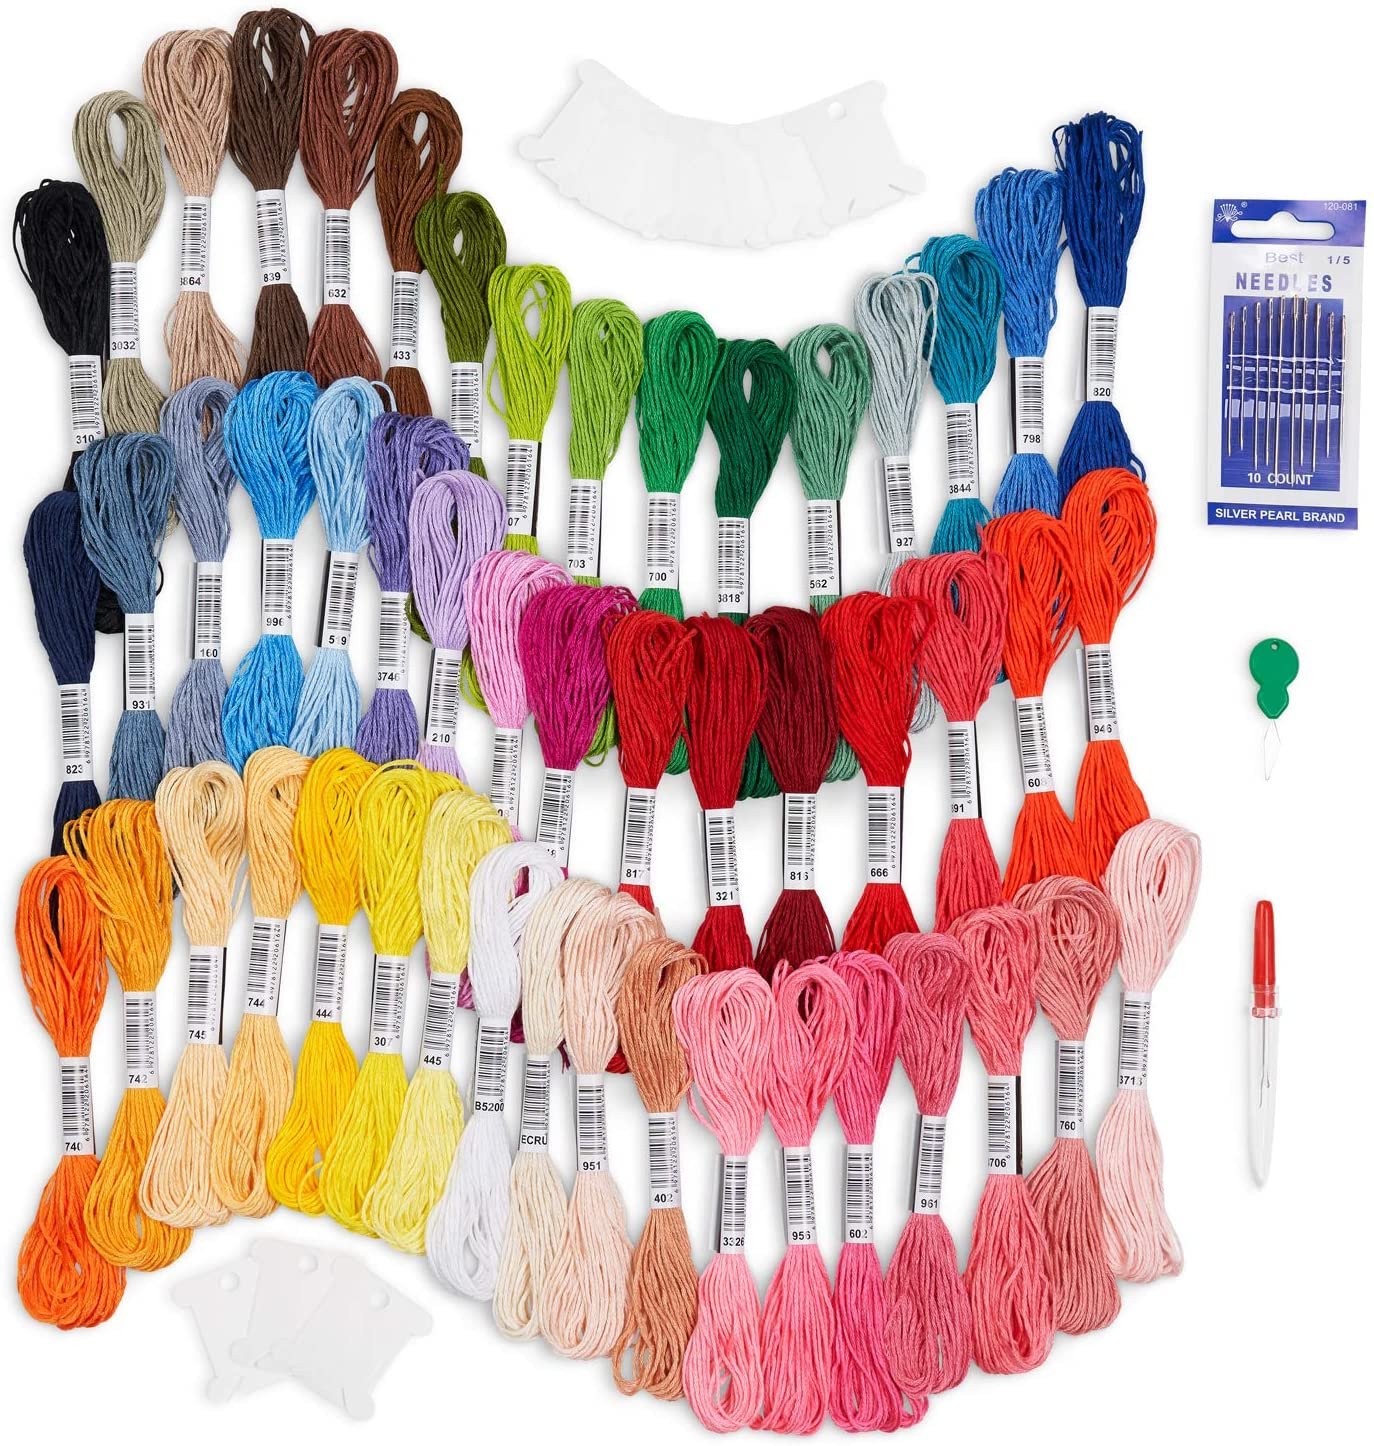
What You’ll Need:
Don’t overcomplicate this - reuse materials and keep it simple. Here's your checklist:
Time and patience (this is not a rush job!)
Craft knife (sharp blade = cleaner edges; always cut safely)
Cutting mat (protect your surfaces)
Glue (UHU works well; PVA is okay but may warp)
Metal ruler (plastic ones split and slip, ouch)
Material (ideally cardboard, mountboard, or cereal boxes - stick to one colour if you can. White or neutral looks more professional.)
A bedroom (yours, or one you’re familiar with)


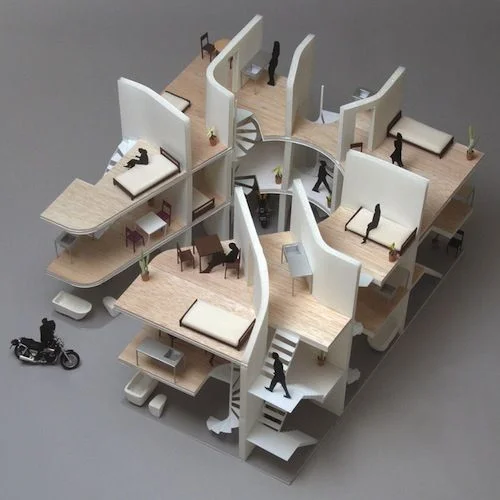
Step-by-Step: Build a Model of Your Bedroom
You’re going to build a 3D model of your bedroom in miniature. This is how spatial designers bring ideas to life.
Start with a sketch | Draw your bedroom’s floor plan - this will guide the scale and placement of your walls, windows, and doors.
Build the basic structure | Cut and assemble the walls to match your sketch. Add windows and doors by cutting them out of the wall panels.
Furnish the space | Now build miniature furniture - your bed, wardrobe, desk, shelves, chair, mirror, etc. Use simple shapes and stick to scale.
Add details | This is where your model shines. Fold paper to mimic bedding, curl it for curtains, create tiny books, electronics, rugs, or even a dressing gown on a hook. Be imaginative.
Include a scale figure | Cut out a small person (you) to stand in the room. Use the door height to guide the proportions.
Pro Tip: Use only white or one colour of material and mount your model on a larger base. It gives a clean, architectural look even if it’s made from cereal boxes.
How to Present Your Model in a Portfolio
Since the model might not survive your travels, document it clearly:
Take photos from multiple angles:
Top-down (plan)
Front (elevation)
Side-on (perspective)
Include an object for scale reference (like a pencil or ruler)
Consider making a step-by-step collage or progress page
Add a short write-up or labels explaining key elements
Save everything into an A3 layout or digital PDF to include in your portfolio.