My Message To Students and Graduates

Life as a design student can be intense. Deadlines, presentations, reports, retakes, and the dreaded “computer crash at 2 am” moment. Add in calls from family when you have no time to talk, living on a budget, and you might wonder: why do we put ourselves through it?

Because it’s an investment in your future, your skills, your personal growth, your confidence, and even in the friendships that may last a lifetime. Yes, it’s hard. But it’s also exciting, inspiring, and full of moments you’ll look back on with pride.

My Message To Students and Graduates

My Education Journey

I studied Architecture for the full seven years. I moved away from home, pushed myself out of my comfort zone, and met friends who are now part of my professional network. My degree years were a mix of socialising, studying, and late nights in the studio, and I graduated proud of my 2:1. After a year’s work experience in a large practice, I used my savings to travel through Asia and Australia before starting my master’s degree.

Learning in Two Worlds

My degree was at a technical university, but my postgraduate studies took me to a creative art school. I was awarded a scholarship to complete my master’s in Japan, an experience that changed me completely. Living and studying abroad pushes you to grow in ways you can’t imagine. In Japan, I learned more about myself, my abilities, and my adaptability than I ever would have if I’d stayed in the UK.

The Unexpected Turns

Returning home, I found a great job in an architecture office, thinking, “This will do for now.” A few years later, I qualified as an Architect, packed up my desk, and moved to India.

Here’s the thing: when I was a student, I thought I’d work as an architect for the next 20–30 years. I imagined teaching at a university would happen after retirement. I never expected to be doing it in my 30s, loving it as much as I do now.

To My Students

Many of my students are either on their first work placement or finishing their final year projects. Some have a clear path ahead, others don’t, and that’s okay. Your career won’t be a straight line. It will have twists, detours, and surprises. The key is to stay open, adaptable, and ready to make the most of every opportunity.

10 Tips for Students & Graduates in Design and Architecture

  1. Enjoy your time at university | it will probably only happen once.

  2. Soak in the details | the laughs, the lectures, the study trips, even the tough days.

  3. Make your work your own | show your personality through it.

  4. Fake it ‘til you make it | you’ll learn more in the process than you expect.

  5. Stay open-minded | don’t let your CV dictate all your decisions.

  6. Think outside the box | and live there too. Travel, explore, seek adventure.

  7. Document your journey | photos, sketches, journals. You’ll treasure them later.

  8. Stay inspired | read, listen, talk, and share ideas with others.

  9. Trust your path | it will work out, even if it doesn’t look how you imagined.

  10. Aim higher than “fine” | if you want more, go out and make it happen..


Final Thought: Be proud of what you’ve achieved. Keep doing more. Inspire others. And if you know someone studying right now, send them a note, a parcel, or even just a few words of encouragement; it can mean the world.

5 Tips To Create Your Perfect Studio/Office

5 Tips To Create YOUR Perfect Studio / Office

Welcome to my studio, aka home-office but I'm guessing that's what many people are rocking. Today I'm taking you through my studio setup and offering up my 5 top tips to help you in creating yours. Art, design, and crafting can [and does] take over our homes, and whilst this can be amazing, it can also drive others insane. My Dad used to threaten to 'clean' with a black plastic bag. 

But that doesn't stop us. 

In my apartment, of course, I have a studio. It’s in the corner of our living room and separated by an open bookshelf for privacy. I have amazing daylight from our south-facing windows out to the balcony and a wall with my certificates and some artwork on it.

My desk has everything I need on it, or by it, and it can get pretty cluttered...it's organized chaos.

  1. Pick a location with lots of natural light

    but also power sockets for artificial light. I sit near the window so I get natural light, and a view of the neighbours but I am not too distracted by what is going on outside.

  2. Surround yourself with inspiration

    This will be different for everyone but for me, it’s pictures of family and friends, inspirational quotes, images and art, stationery, and so on. I have some of my work framed to remind me of my recent works and I use objects I use regularly as display pieces too.

  3. Set the atmosphere

    I do this with music. I have a Sonos speaker and I use the Apple Music app or the Calm app. I love a bit of background noise to distract my mind and all those random thoughts, or an audiobook on audible - I'm currently listening to The Happiness Project. I also love scented candles and often have one or two burning as I work.

  4. Stay organized

    we all love stationery and washi tapes and paper and so on but clutter will only distract and put you off. Make your desk welcoming and easy to work at. Use cups, glasses, empty candleholders, or whatever you can to help store all those pens and pencils you have.

  5. Workspace and surface

    keep this relatively empty so you always have a space to start a new project and remember to protect the surface you're working on. I use a large cutting mat to protect the tabletop and often put down a large sheet of white paper as a background for photos. The more you have lying around, the more your mind will wander to it. Even if that pile of to-do papers aren’t a priority, the fact they are sitting on your desk means your mind is thinking about them, even when you think it’s not.

Interior and Architectural Ink rendered Hand Drawings

Interior + Architectural Ink rendered Hand Drawings

Rendering, by hand, with Ink Marker Pens

Over the last few weeks, I have been creating a series of hand-drawn renderings for my Design Communications class. I always believe it is best to show students my work rather than pulling examples from Google, as it is proof that I can actually do what I am teaching, and it builds their trust.

In today’s fast-paced design world, we are often too quick to jump onto a computer to create polished images. While programs like Photoshop are industry standards, there is an undeniable beauty and value in mastering hand-drawn and hand-rendered work first. This tactile skill sharpens your eye for detail, helps you understand light and shadow, and brings a unique warmth to your drawings that software cannot replicate.

I am sharing these examples with you, walking you through my process, the materials I use, and tips so you can start creating your own architectural and interior design renderings by hand.

Architectural hand drawing of a modern living room with teal walls, white sofa, red floral centrepiece, and framed figure sketches, created with ink and marker rendering.

Ink Marker Pens for Interior Design Rendering

Over the years, I have built up a small collection of marker pens, from ProMarkers and Tria to my current favourites, Copic markers. I am not loyal to a single brand, for me, colour range and ink flow matter most. Whatever I have to hand often does the job perfectly.

If you are just starting, I recommend investing in 3 to 4 essentials:

  • A light grey and a darker grey for shadows and depth

  • A warm brown for wood tones

  • A blender pen if the budget allows

You can also layer in details with coloured pencils over your marker work; it adds texture and subtle variation that brings an image to life.

Hand-drawn interior illustration of a classic living room, featuring a teal tufted sofa, antique furniture, table lamps, and warm wood panelled walls, rendered in ink and markers.

Choosing the Right Paper for Ink Rendering

Working with marker pens can feel intimidating at first, but it gets easier with practice. My biggest tip is to always make multiple copies of your line drawing before you start rendering, that way you can experiment without the fear of ruining your work.

Paper choice can make or break your result. Poor-quality paper causes the ink to bleed, feather, or soak through, while thin sketchbook paper can warp or become semi-transparent. I have had the best results using:

  • Thick card stock with a smooth finish

  • Watercolour paper with light absorption, great for layering ink

  • Marker pads, ideal but often pricey if you are not using them regularly

Look for a smooth surface to avoid streaking, and always test your markers on a scrap before starting.

Try It Yourself

If you have never worked with marker pens, remember, less is more. Build up your tones gradually. Add a wash of your lightest colour first, step back, then layer in mid-tones and shadows. Keep checking your work from a distance so you can see the balance of colour and contrast.

If you do not have your drawing to render, take an image from a design magazine, sketch it out with a fine liner or pencil, and start there. Begin with light tones, then layer darker colours for depth, adding texture and highlights last.

The hardest part is knowing when to stop. It is tempting to keep adding more, but sometimes the most beautiful results come from restraint, allowing the white of the page and the looseness of the lines to shine through.

The Big Apple, New York City

Back at work for a few weeks and I am already reminiscing about my summer travels. So today I share my few days in NYC, madly rushing around to see as much as physically possible, with you. Personally, I think New York is one of my favorite cities. I've been twice and can't wait to go back. I love the energy, you can really feel it in the air, I love the architecture, the food, the 'cwaffee' and the shopping!! I can go on...

Even though it's a huge city, you get the feeling whilst walking around that it's much more of a personal scale with its different districts and villages.  People smile, they say Hi!, they stop and take a minute to ask where you're from...and they are actually interested.  

THE BIG APPLE, NEW YORK CITY

On this visit, I walked my little feet off. I tried to do an area a day but when you start walking you just can’t stop and you know there is something really interesting on the next block...before you know it you have walked miles, and there’s no point getting the Subway back cos you would miss out on more. This is basically what happened and I didn't miss much out.  

NYC has it all; the parks, the bridges, the shops, the bars and restaurants, the culture, the fashion, the art and design, and of course the Architecture. My favorite building is the Chrysler (by far), then the Guggenheim, and I love the Brooklyn Bridge but I had a new project to discover this time; The Highline. The Highline is a fantastic project which saw the old rail tracks transformed into a new urban parkland in the Chelsea area.  It has access at street level, benches along it with areas of mini amphitheaters highlighting views, paths exposing the old rail tracks, local wild plant life, water features, green living-walls, music, bars, and cafes, lighting at night and is generally a very cool addition to the city.

NYC has an iconic skyline, one which plays hard on our memories, but a very beautiful and impressive one. The Memorial Plaza, located on the site of the former World Trade Centre, is a tribute to the past and a place of hope for the future. It features two large waterfalls and reflecting pools, set within the footprints of the original twin towers, and surrounded by over 400 trees. The project is one of the most eco-friendly Plazas ever constructed and you can really feel that contemplation and reflection are at its heart.  

I will leave you with this picture, I think many people would agree that the Chrysler Building is the most beautiful building, sparkling in the sunlight and standing proud over Grand Central Station.  

Sonia Nicolson

Architect & former University Lecturer turned Entrepreneur. I help female Entrepreneurs successfully Design & Build their Creative Businesses in Interior Design, Architecture & Urban Sketching.

Product Review: Ink Rendering Pens

Product Review: Ink Rendering Pens

I have been working with my rendering ink markers in preparation for teaching my students how to render their floor plans and perspectives with inks, watercolours, and pencils. With this in mind, and refreshing my rendering skills, I thought I would jump on here and do a mini-review of the ink markers I have and what I think of them. I do not have a huge collection, but one which has grown over the years. My collection is made up of what I feel are the major names in ink rendering: Letraset ProMarkers, Tria, and Copic (others are available).

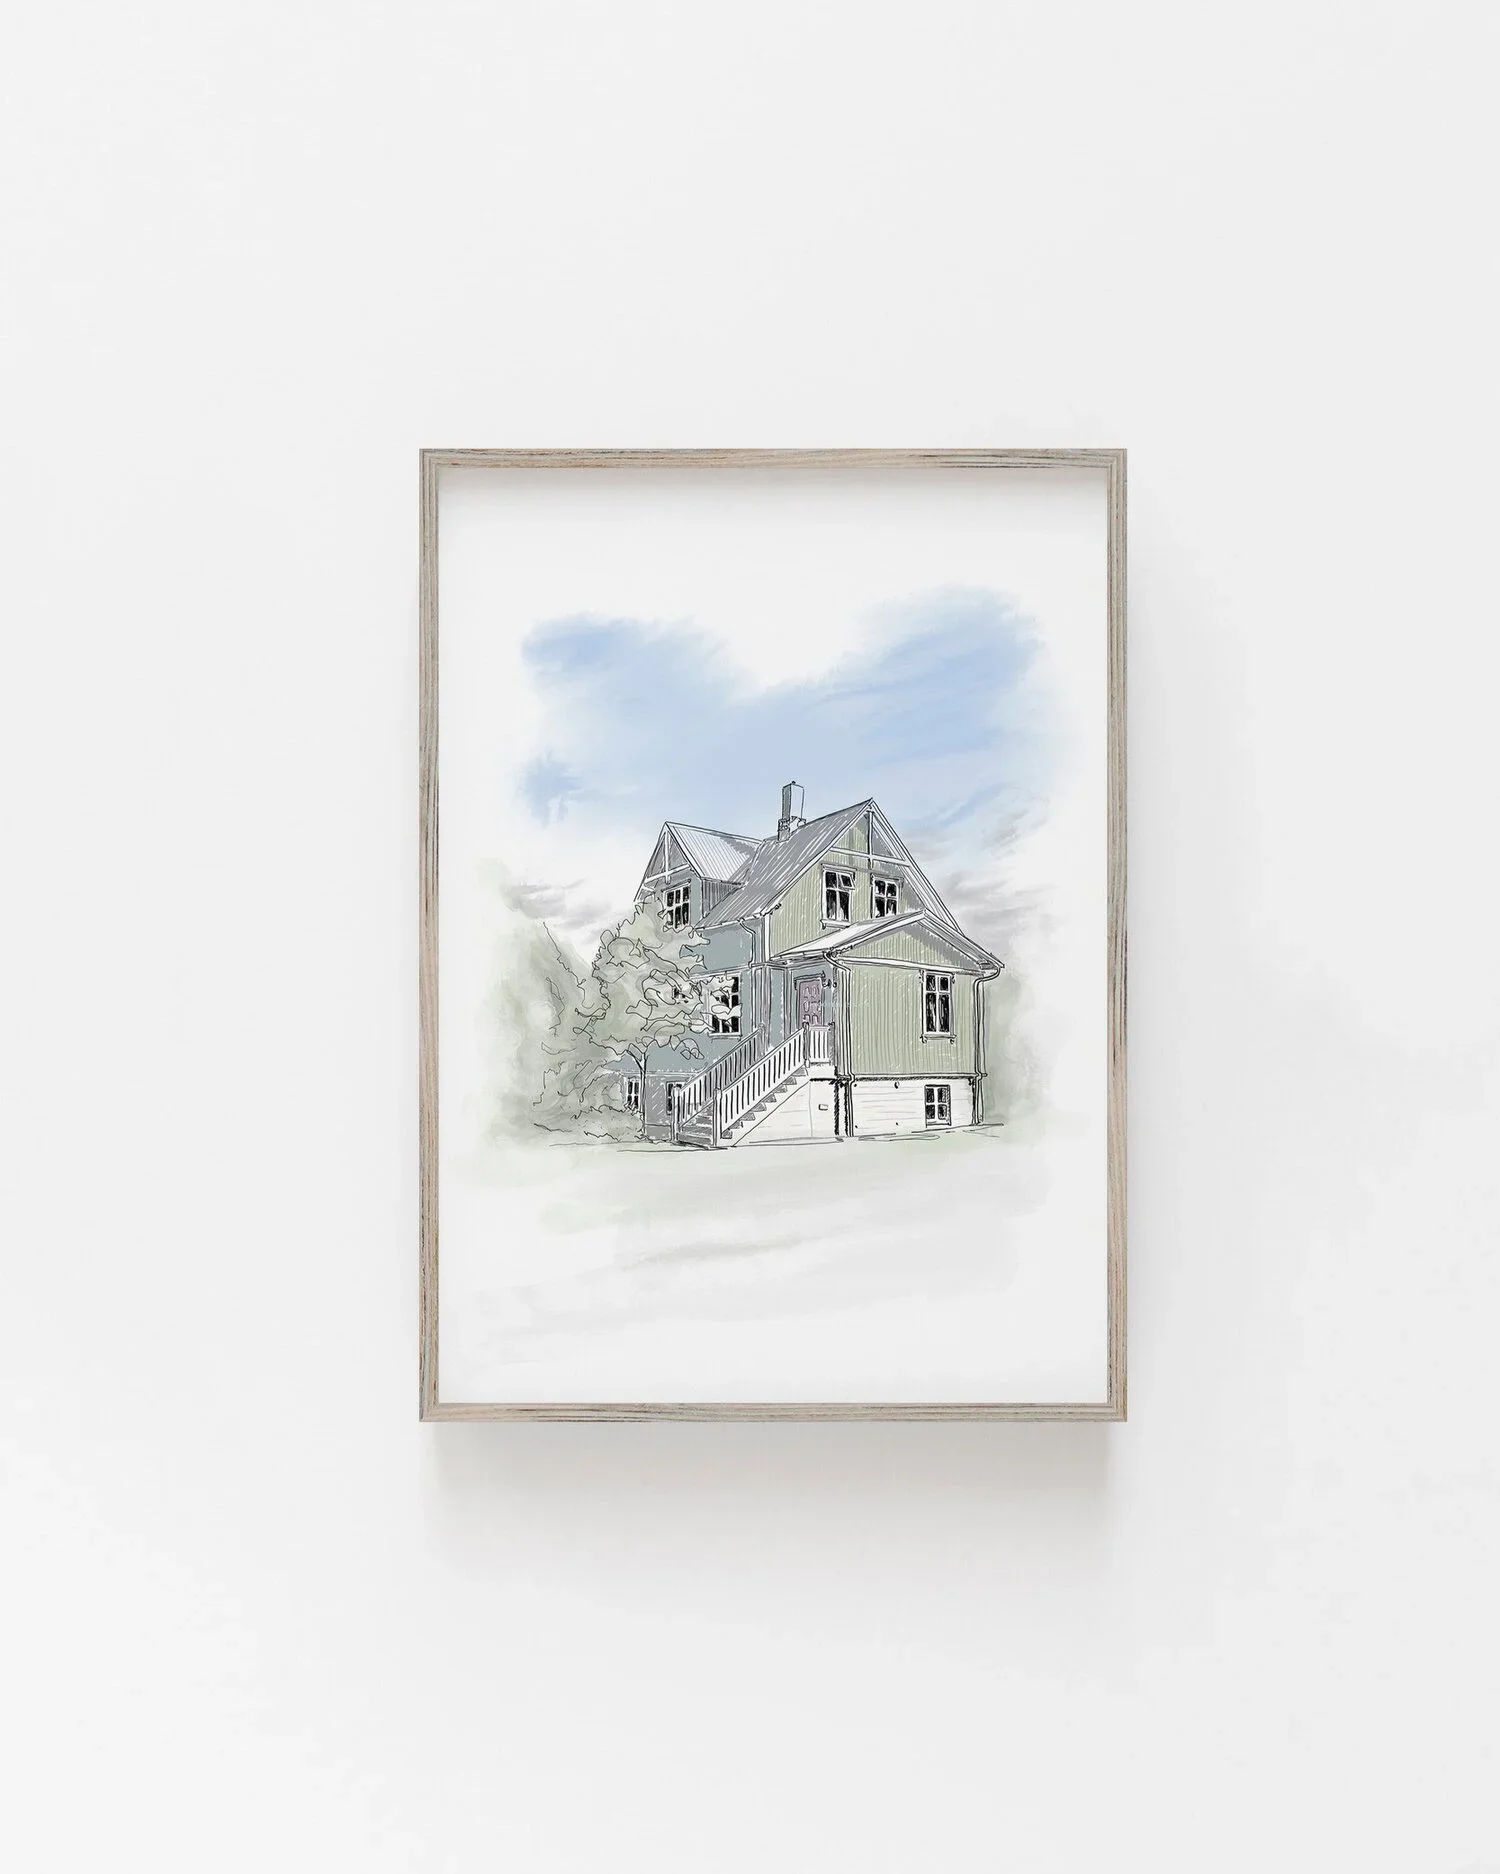
Architectural hand-drawn sketch of a modern house exterior featuring wooden slats, a decked walkway, and surrounding greenery.

1. Letraset ProMarkers (UK)

pro markers

Great pens and very easy to use, the ink flows well and the colour is very vivid, although other colours are available from the image above. The pen has a twin tip (a nib on each end); an angled thick nib and a medium nib with a fine point.  The pen case is easily opened and refilled once the ink has run out; the lid has a small lip so the pen does not roll too far.  These ink markers are available in a huge variety of colours and have the colour number, along with a descriptive name, printed on the label of each pen with a strip of the colour, making them easily identified for use. 

2. Tria ink markers (UK)

tria markers

Probably the first pens I ever bought whilst studying Architecture (quite a few years ago now)...and they have lasted!  Great pens to start with, although they are pricey, and are often sold in sets for a particular use, which makes it even easier for students to choose. The pen has three nibs: a medium nib with a fine point, an angled thick nib and a thin nib (inside the thick nib’s lid).  The pen case is easily opened and refilled once the ink has run out; however, the ink lasts a long time.  These ink markers are available in a huge variety of colours, the main body of the pen is coloured accordingly, and the colour number is indicated on a sticker on the main body of the pen as well as on the lid, so you can see this when they are stacked upright.

3. Copic ink markers (Japan)

Copic Markers

Saving the best for last, I love these markers.  They work well, the ink flows and blends perfectly, they offer a great range of colours for Interior and Architectural drawings and, well, they look great!  The square shape of the pen means they do not roll off the drawing board, and the little diagram on the main body of the pen helps determine which end has which nib, making working with them slightly faster.  In my experience, the ink does run out or dry up faster.  Again, the pen has a twin tip (a nib on each end); an angled thick nib and a medium nib with a fine point. These ink markers are available in a huge variety of colours, and different types of pens (but I have not tried them yet) and have the name and number of each colour marked clearly on the lid, in colour, so you can see this clearly when they are stacked upright. 

Some Views On Networking

Some Views On Networking

I recently attended a conference where there was a load of leading Academics and Architects, all Indian of course, and little foreign me. In these rather daunting situations it is easy to do one of two things; blend into the background hoping no one spots you, or leave. Luckily I did neither, I sat down and listened into each speakers points hoping to pick up on an interesting topic for when I would have to confront my fears and actually speak to these people. 

how to network and introduce yourself

I find networking odd; it’s unnatural so slightly forced. You have to be brave, confident, friendly and able to act a little! If networking comes naturally to you then that’s great. Usually, I have no problems speaking to people, however, sometimes I get a little shy so I tell myself that most people are just ‘normal’ and feel the same way you do. It’s a little forced and uncomfortable at first but as soon as you get past the initial “hello I’m Sonia and I’m...” it is actually painless and you don’t really know what you were worrying about. 

How it’s done, internationally

Here in India, and a lot of Asia, when you meet someone you introduce yourself, shake hands and then hand over your ‘visiting card’ (business card to the rest of us) using both hands making sure you note their name, company and position before storing it in a respectable place, oh and accepting theirs with your right hand at the same time. This caused many moments of confusion whilst living in Japan. The initial meeting, bowing or shaking of hands went well, cards exchanged and then, ahhh, their name (there is never enough time to smoothly read it, pronounce it in your head and then say it accurately without ‘showing face’). However, if they aren’t too snooty then this becomes the icebreaker in your opening line, and before you know it, you are successful business connections.

work the room

I know how important networking is, wherever you are, and I encourage my students. Those who network well carefully and slowly work their way around a room, I admit I have watched them at work. These are the kind of people who can put names to faces, a particular skill I am jealous of. I am not the world’s best networker but I am improving. People tell me I have a friendly face so I smile a lot, this helps.

making the connections

As for the actual exchange of details, how is this best done? Many people in the West feel that business cards are dying out as modern technology takes over from the drawer filled with little cards. People either have their client/suppliers/etc contacts in their PDA or on places like LinkedIn; a web-based networking site. However, here in the East, you are virtually no one without a visiting card. 


Good luck networking

let's connect on LinkedIn

Linkedin