How To Start a YouTube Channel
/
So you've decided to venture into the world of YouTube, and maybe even upload your first vlog. Well, a newbie myself a few months back, I've learned a few things over the last weeks of filming, editing, and uploading that I thought I would share with you today.
Welcome to YouTube
First off, you'll need an account. I had one set up from years ago, I honestly don't remember setting it up but it was there. Pick a name that makes sense to you and your community of followers, if you have a blog or try to get your own name. I changed the name, added the profile picture I use on my social media so it all links, and gave my channel some (very simple) channel artwork.
The first Vlog
For me, filming out and about was fine - mostly because I had just moved to a new country so no one would recognize me. This was the point though, to record my new life and its ups and downs. Week one started and I had a rough idea of what my week would entail, so I knew I have things to film. The awkward part came when I sat down to film the intro and outro. I was in the sitting room, all alone, just me and the camera. It was surreal. In hindsight, I think the best way to deal with this is to hit record, talk at the camera until you feel 'warmed up', delete all of that footage and then go for it properly. Instead, I was faced with editing for about an hour of me nervously trying to speak and messing up, a lot. Avoid this to save your own sanity.
I now find myself setting up my camera and talking with relative ease or vlogging as I walk down the street - it's only when I think about what I'm doing, that I catch someone’s odd look or they ask if I want my picture taken that it becomes obvious to me how odd it is.

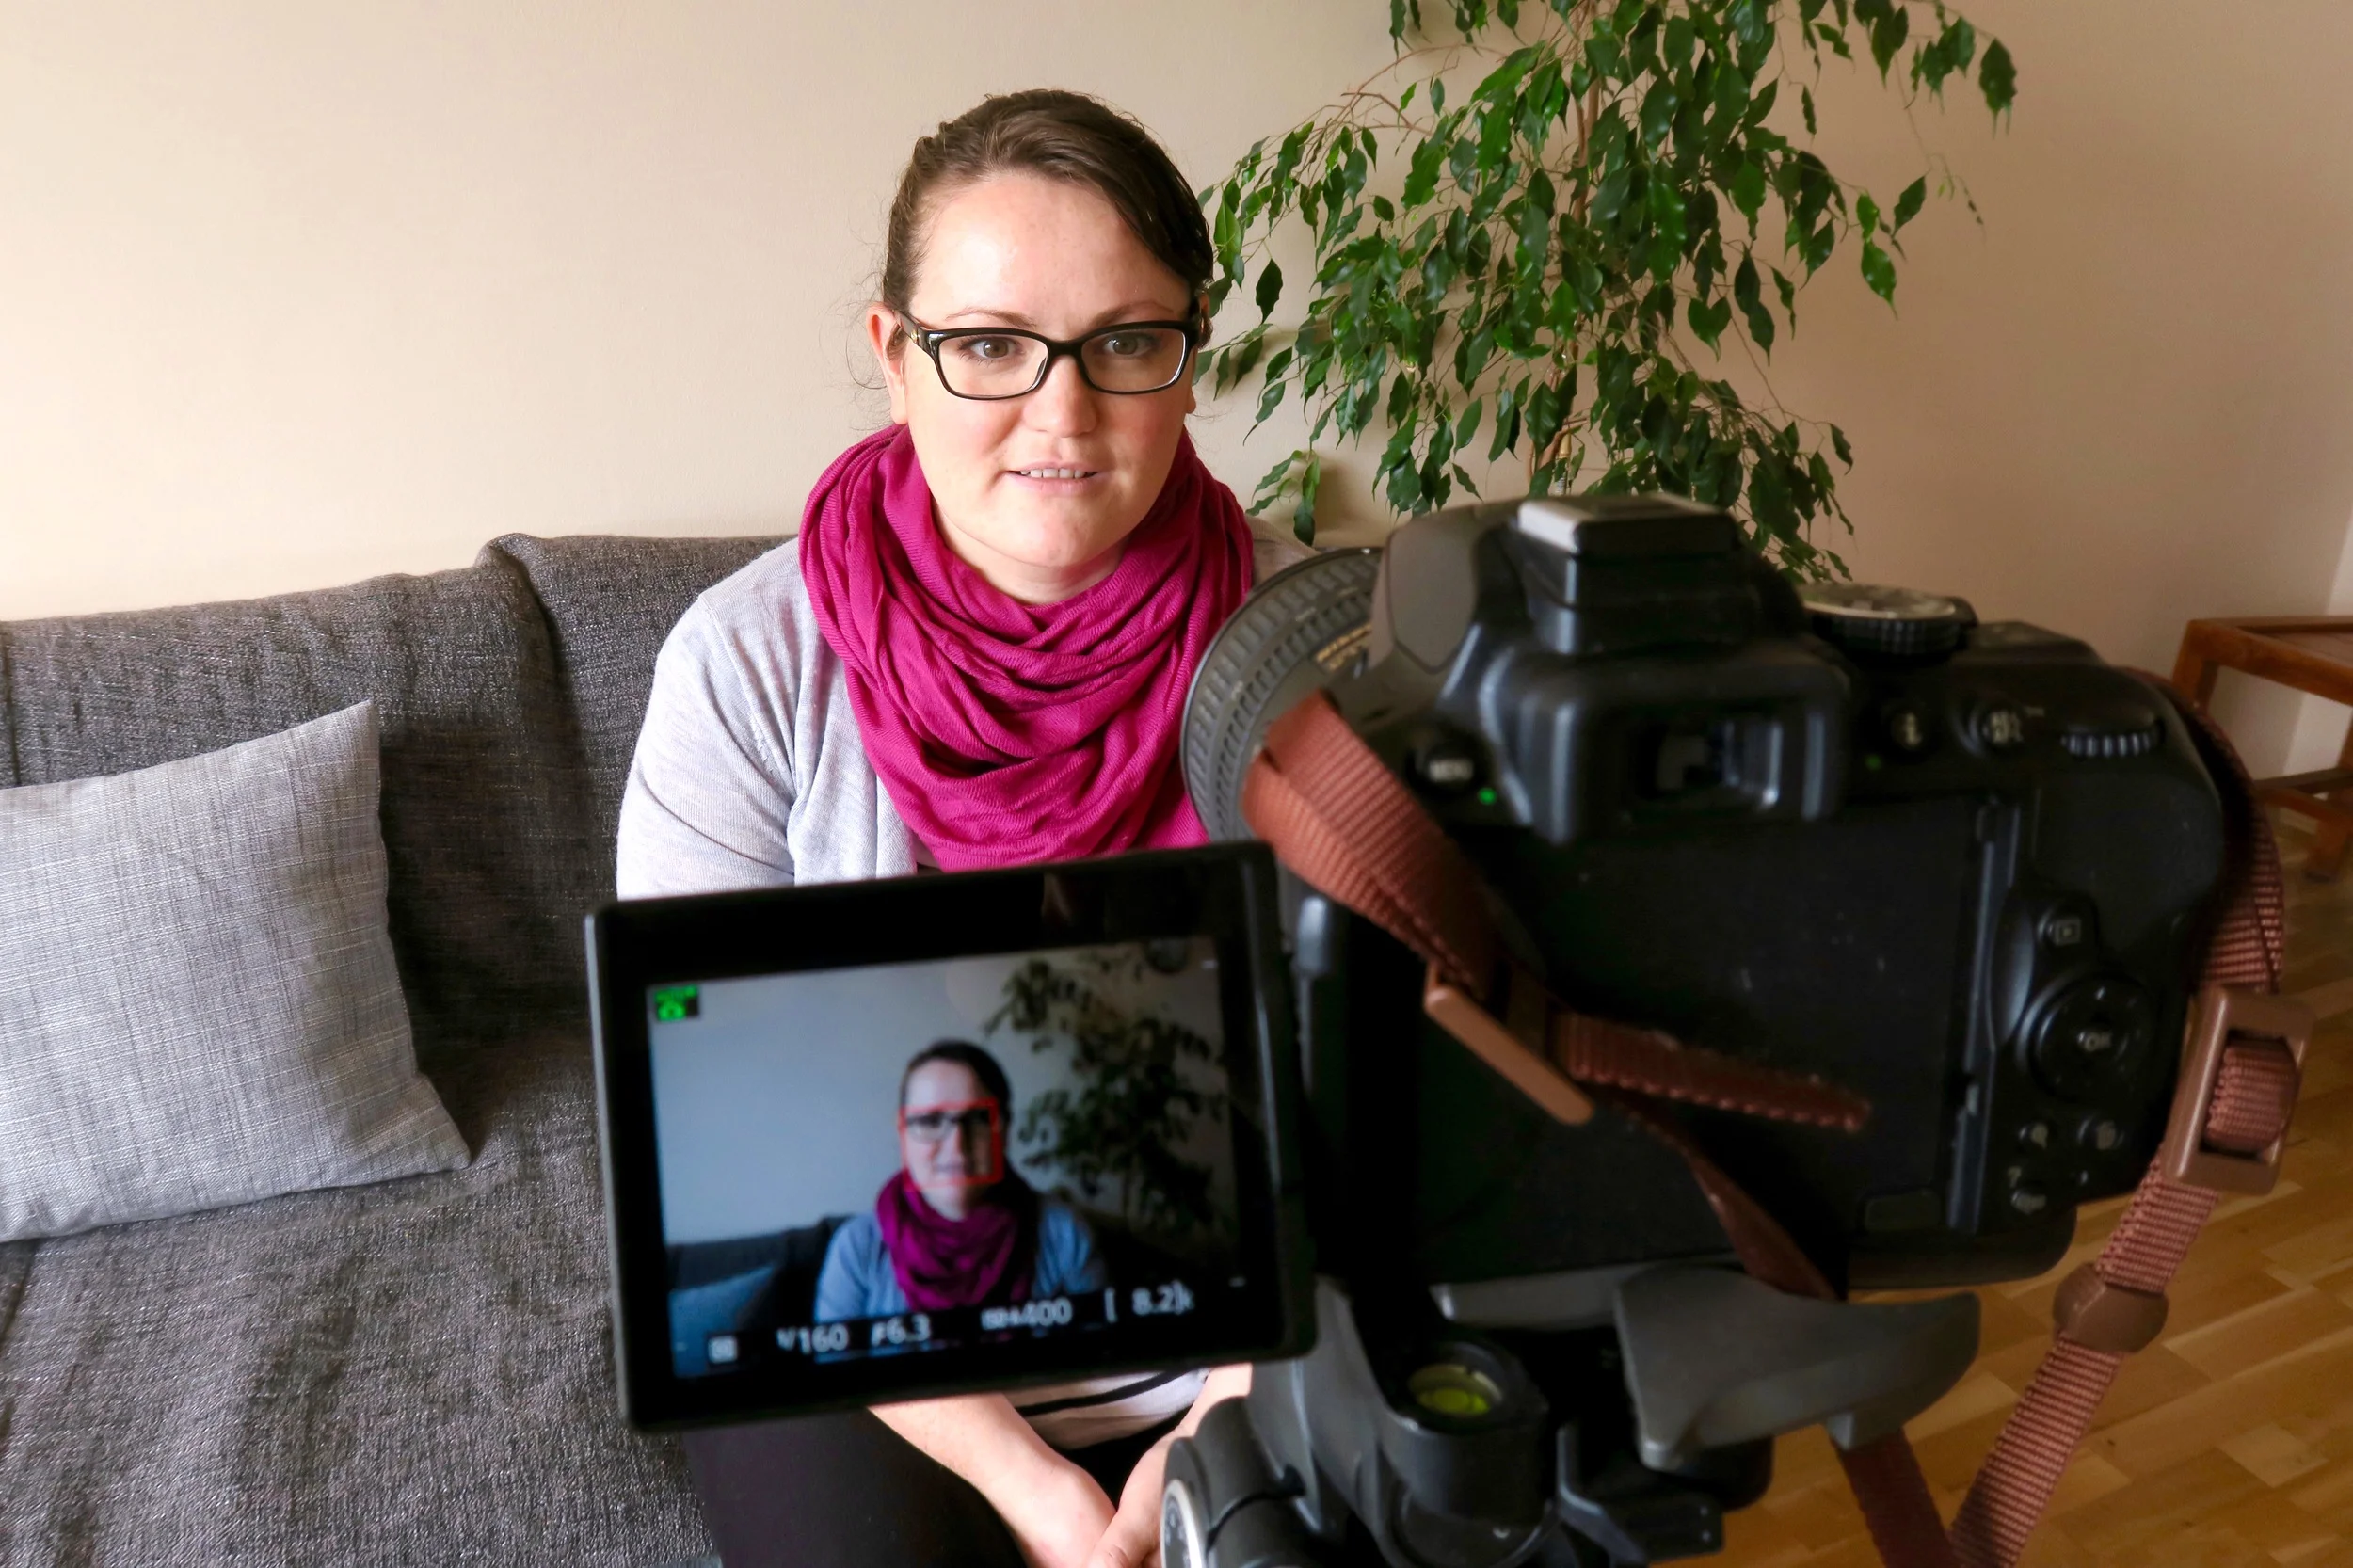
Filming
For my sit-down videos, I use my Nikon D5300 on a large adjustable tripod. I would like to invest in a microphone as I think the sound quality would improve a lot but all in time. I use my Nikon 18-70mm f3.5-4.5 to film with and take close-up shots with my Nikon 35mm 1:1.8 and Nikon 18-55mm 1:3.5-5.6. To make sure I'm in focus, I use a remote control for filming, this also allows you to take photos for your thumbnail.
Vlogging - generally people will find it a bit odd. It's still a new thing to do. I vlog on my Canon G7x and I sometimes use my medium-size Gorillapod tripod with this. This is quite a standard vlogging camera and has a nifty flip screen so you can see yourself as you natter away. This is good but it takes a little getting used to so you aren't distracted by looking at yourself all the time. As far as 'point and shoot’ cameras go, it's a big camera so a little heavy but it's a great one and I love mine. I also have a nice little collection of SD cards too so I never run out of space, I recommend a 64GB to start off with and I have two 32BG cards as spares. I also have a GoPro but I've not ventured into that yet.
Thinking of where to film is important so consider your backdrop, lighting, and noise. Set yourself up with your camera on a tripod (or a stack of books, etc), sit in a comfy chair or on the end of your bed, and face good lighting (I use natural lighting because let's be honest, I don't have professional lights after getting the camera, lenses, tripod...). I try my best with backgrounds but we are still setting up home so this will improve. Try to think of acoustics too, avoid an echo and edit out background noise such as neighbours and bin lorries, etc. Sometimes I film in my studio, it's a little echoey so I bring in some cushions and so on to absorb the sound - it’s hilarious what's going on behind the scenes!!
Editing
I use iMovie on my MacBook and back up all my videos to my external hard drive so they don't take up loads of storage on my laptop. I find iMovie very easy to use and when I have a problem I tend to find a tutorial on YouTube that can help me. The editing is relatively straightforward and user-friendly, and I am getting a lot quicker at it each week. I like adding titles and little notes in my videos so I use the titles sections and add my fonts to match the branding of my blog. Music is starting to become an issue as finding copyright-free and user-friendly music can be difficult. YouTube has a library you can download from in their creators’ suite so I'm exhausting that first.
To help you get an idea of what it all looks like, here's a screenshot of a video I am currently editing.

Editing yourself - you'll get sick of hearing yourself starting each video with "hi guys" or something as cheesy but you get used to hearing your own voice played back. You get used to always having a camera on you and, hopefully, it will become quite natural to bring your camera out of your bag and start talking to it as you walk down the street.
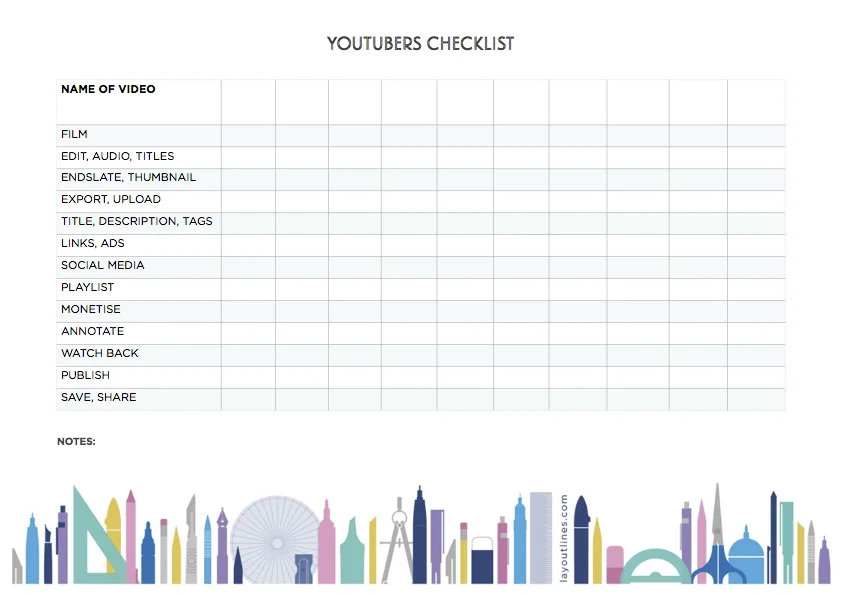
The whole process
I made this nifty little checklist to ensure I'm happy with my videos before they go live. If you like, feel free to download it and print it out. Try planning out your first 10 videos and give them a title. Once you have filmed some footage and are ready to edit, start working down the checklist ticking each item off as you go - you'll soon be on a roll with content!!
Titles
People say "Make your titles catchy, so they entice the viewer in". This is up to you really but I don't like to be misleading and, for now, I'm happy sticking with "Moving to Iceland..." or "Living in Iceland - week 1..." until I get a little more creative. I've started doing more architectural / designer-related videos and at the moment they are simply titled "5 Reasons to become..." or "10 Reasons I became..." so I have a good starting point that introduces the direction of my content and I plan to do a lot more of this kind of content. I also add my name into the title so it's more search engine friendly and try to make my tags and keywords part of the title too, i.e. architecture, study design, travel advice, etc.
Thumbnails
I make all of my thumbnails. If you don't have access to Adobe or similar design software then I recommend using sites like Canva and PicMonkey. I usually use four images from the vlog to make up the thumbnail giving an insight into the video, and then add text with the title on top. For the other more focused content videos, I tend to use one main image (either of me or the item I'm talking about) and then add a filter on top with the title written in the font and colours that match my branding. When designing your thumbnails think of how small they are displayed in the sidebar. Make your text legible and aim for lighter images as they stand out more.
Downbar
This is the information bar, located below your video on YouTube. People can click on this to expand it and read more about you and your video. It's good to give a short description of the video, introduce the people featured in it, including any relevant links, and state where you got any music from. Try to shortener links so they are more click friendly, I use a URL shortener. This is a good way to share your website and other social media links with your viewers. If you feature products, etc then consider putting a disclaimer in here.
Tags
Tags are like keywords, they will help you get more views so think of relevant search terms your ideal viewers will be using to find your video. These will change as per the content of your video so fill that box with good search terms i.e. "vlog", "moving to Iceland", "travel", "ex-pat", "living abroad", "culture shock", etc.
Share it
Once you have your video uploaded onto your channel, you are going to want to get views so start telling people about it. Tweet, Instagram, and Facebook the heck out of the link. Do this for the first few videos so they pick up clicks and shares. After that, and once you have some subscribers, it's up to you BUT if you don't share it, who's gonna know about it?! Make use of all that social media.
Comments
The good, the bad, and the ugly. You're putting yourself out there, online for anyone to watch and form an opinion of. Haters Gonna Hate and all that. Having said that, I've been very lucky with comments and have only had a few thumbs-down clicks. I love it when people comment, I always comment back and think it's important to communicate with your viewers, form a connection, and hopefully, they will keep coming back. I get lots of really lovely emails too, to be honest, I've found my viewers to be nothing but encouraging.
Make a welcome video
Make an 'intro' type welcome video for newcomers to your channel, this plays automatically so they see a short introduction to you and your channel ad will hopefully subscribe and watch your videos. Plan out what you want to say and show, keep this short (about 2-3mins) and try to give an overview of what your channel offers. Be upbeat energetic, and friendly, and make it interesting so they want more.
Go, Get filming...
It's a nerve-racking thing to start doing, I know. I have some footage from a trip to India*, I filmed this well over two years ago and haven't edited and uploaded it yet. This was the first video I made with the idea of uploading it to YouTube. But I kept putting it off. Mainly because I was too nervous to put it out there. Why would anyone watch it, who am I to share my travel video anyway? And, I knew I'd have to film an intro - at least explain why I had filmed it. I liked the idea of making videos and sharing them online but it wasn't until I moved to Iceland and had what I could call 'a a legit reason to make vlogs' that I did it. But you know what...you don't need a reason, just go for it. Do it for you, because you want to.