

How to Draw One-Point Perspective: A Step-by-Step Guide for Architecture & Interior Design Students
/Mastering One-Point Perspective
An Essential Guide for Interior Design and Architecture Students
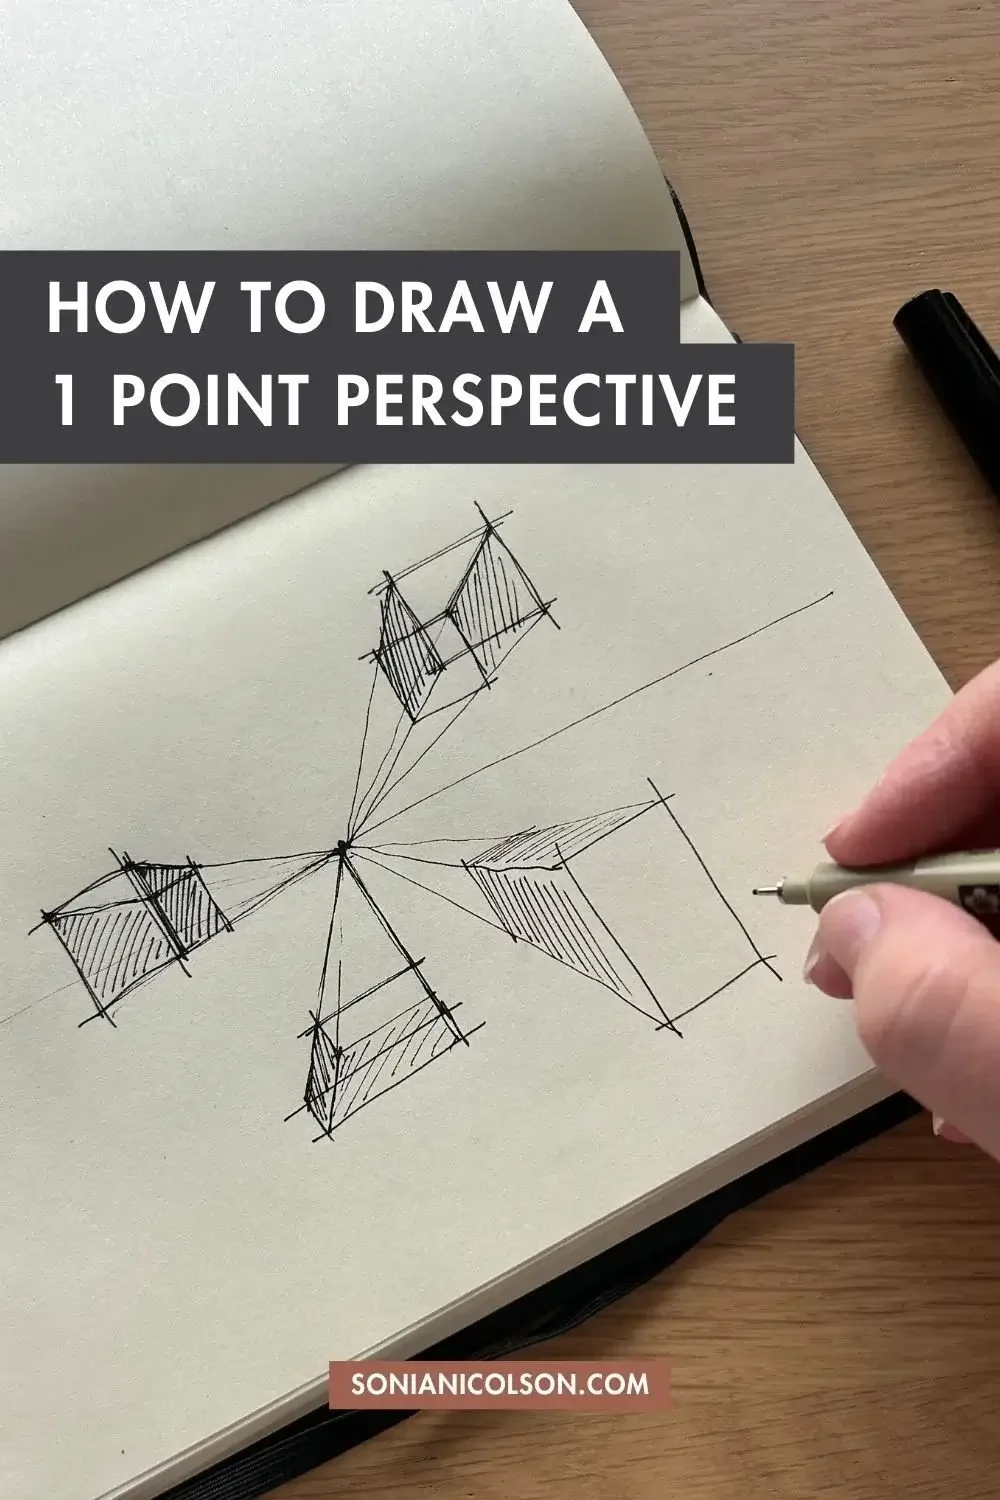
One-point perspective is a drawing method that uses a single vanishing point on the horizon line to create the illusion of depth. In a one-point perspective drawing, parallel lines appear to converge towards that single vanishing point, making it particularly useful for drawing interiors, corridors, streets and buildings viewed straight on.
It's one of the first perspective techniques I teach architecture and interior design students because once you understand the relationship between the horizon line, vanishing point and construction lines, perspective becomes much more logical.
If you’re working on building your overall skills, start with my complete guide on improving your architecture drawing skills, where I break down the foundations step by step.
Quick Summary
In this guide, you'll learn:
What one-point perspective is
When architects use it
How to draw it step by step
Common mistakes beginners make
How to improve with practice
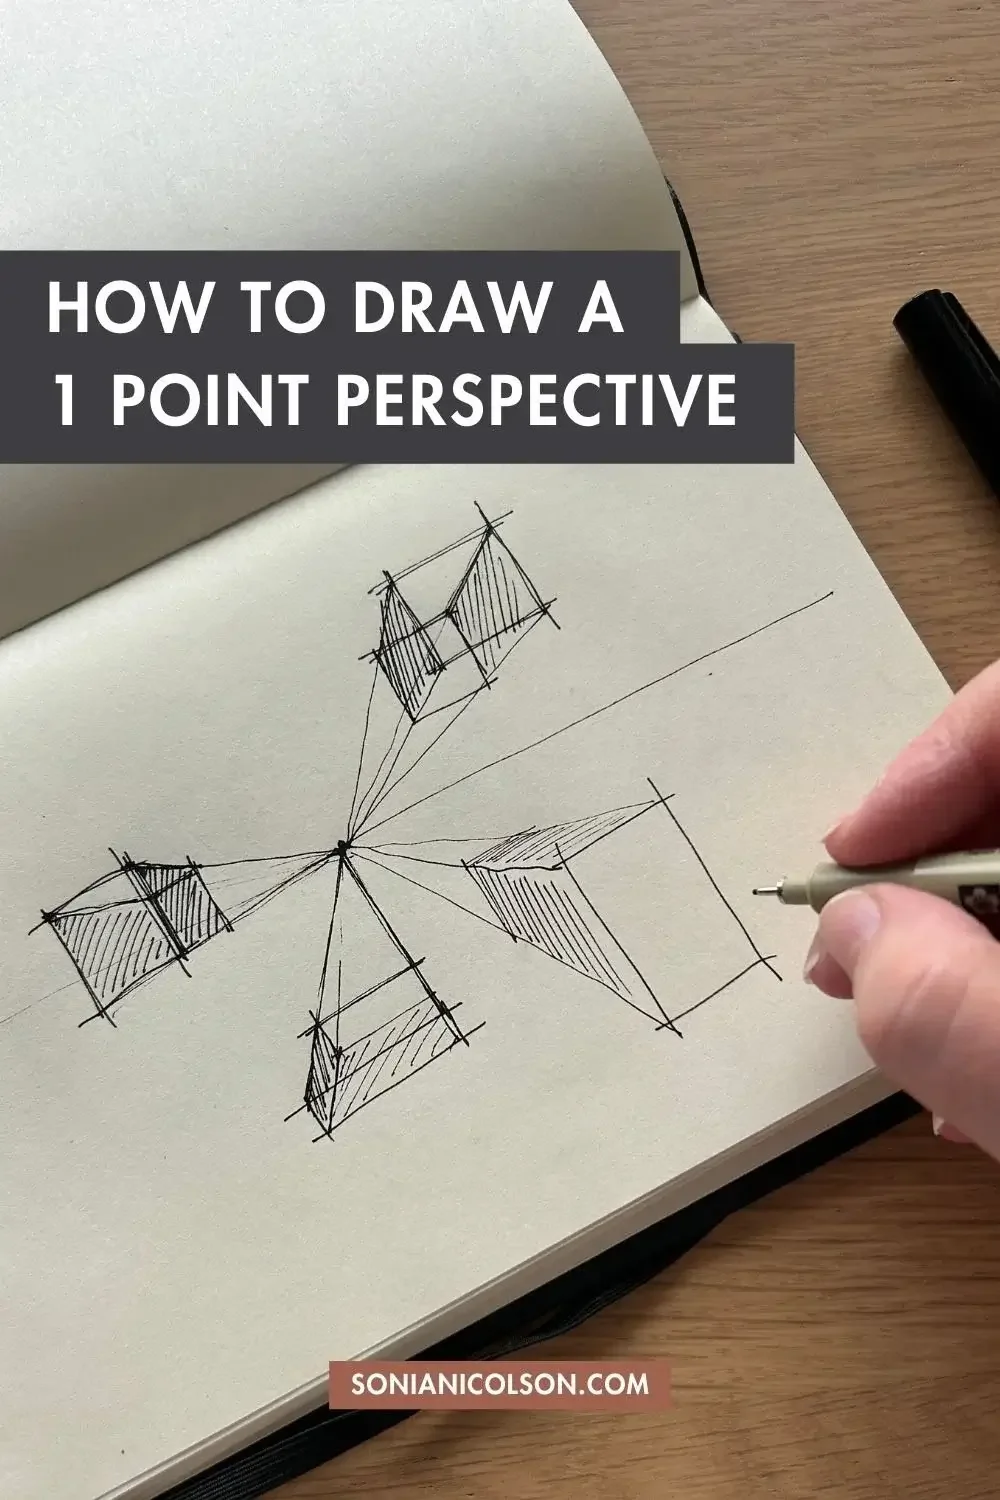
What is One-Point Perspective?
One-point perspective is a method of drawing three-dimensional objects on a two-dimensional surface using a single vanishing point.
It is commonly used to draw:
Interiors
Corridors
Roads
Railways
Buildings viewed head-on
Architectural spaces
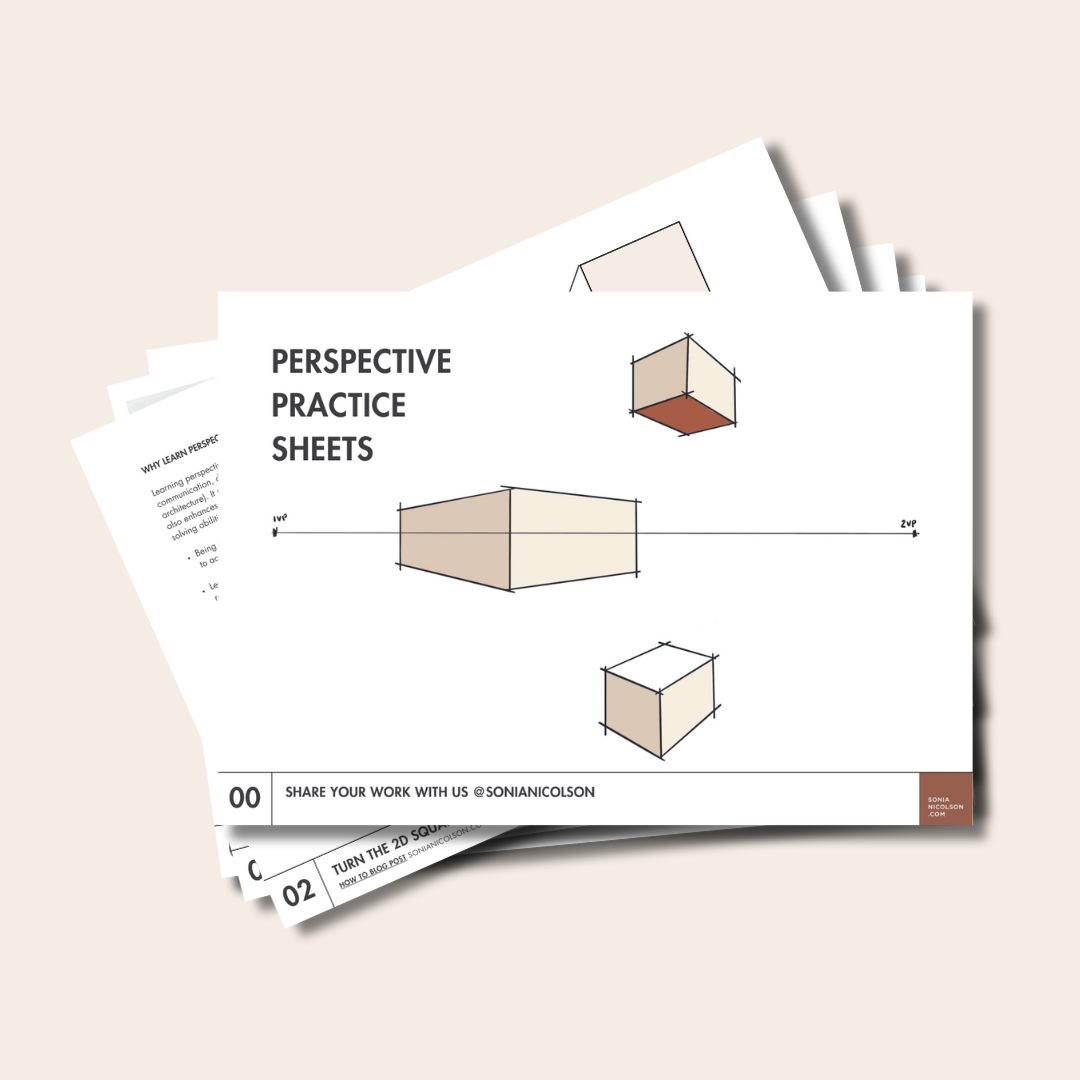
If you’d like to practise as you learn, I’ve created a set of free Perspective Practice Sheets that you can download and work through alongside this tutorial.
Type | Vanishing Points | Best Used For
One-point perspective | 1 | Interiors, corridors, straight-on views
Two-point perspective | 2 | Corners of buildings, exterior views
Three-point perspective | 3 | Looking up or down at tall buildings
Why Architecture and Interior Design Students Learn Perspective
Perspective isn't just about making drawings look realistic. It's about communicating ideas clearly. Throughout my years teaching architecture students, I've found that students who understand perspective often communicate their designs with much more confidence.
Learning perspective is essential for anyone in visual communication, design, or spatial planning (interior design, architecture). It not only improves technical drawing skills but also enhances creativity, spatial awareness, and problem-solving abilities.
Being able to draw a realistic perspective allows designers to accurately represent 3D design ideas in 2D presentations.
Learning perspective helps us understand spatial relationships between objects in a scene, which is crucial for designing functional spaces in architecture and interior design.
Perspectives serve as a universal language for Architects and Interior Designers to help communicate concepts to clients. Perspective isn't about drawing perfectly. It's about communicating space clearly.
Mastering the art of drawing perspective requires a good understanding of geometric concepts and their application to visual representations. This process enhances problem-solving skills and teaches individuals to think critically when planning and executing design projects.
The ability to draw perspective drawings is a valuable skill if you are looking to work in architecture, interior design, industrial design, or graphic design. It demonstrates a level of technical skill and attention to detail that is highly valued in these industries. Drawing confidence comes from understanding, not talent.
How I Teach One-Point Perspective
After teaching thousands of architecture and interior design students over the last 15 years, I've realised that perspective isn't the difficult part.
The difficult part is confidence.
Students often believe they're "bad at drawing" before they've even learnt the basic principles.
That's why I always teach one-point perspective as a process rather than something to memorise. Once students understand the relationship between the horizon line, vanishing point and construction lines, they usually realise perspective is far more logical than they expected.
How to Draw a One-Point Interior Perspective
Every strong architectural sketch begins with understanding perspective. Let’s get started. Here, we break down the steps of drawing a one-point perspective to help you master this essential skill for your design projects.
Step 1: Gather Your Drawing Tools
A pencil
A ruler
An eraser
Paper - tape down your paper if needed
About 20–30 minutes
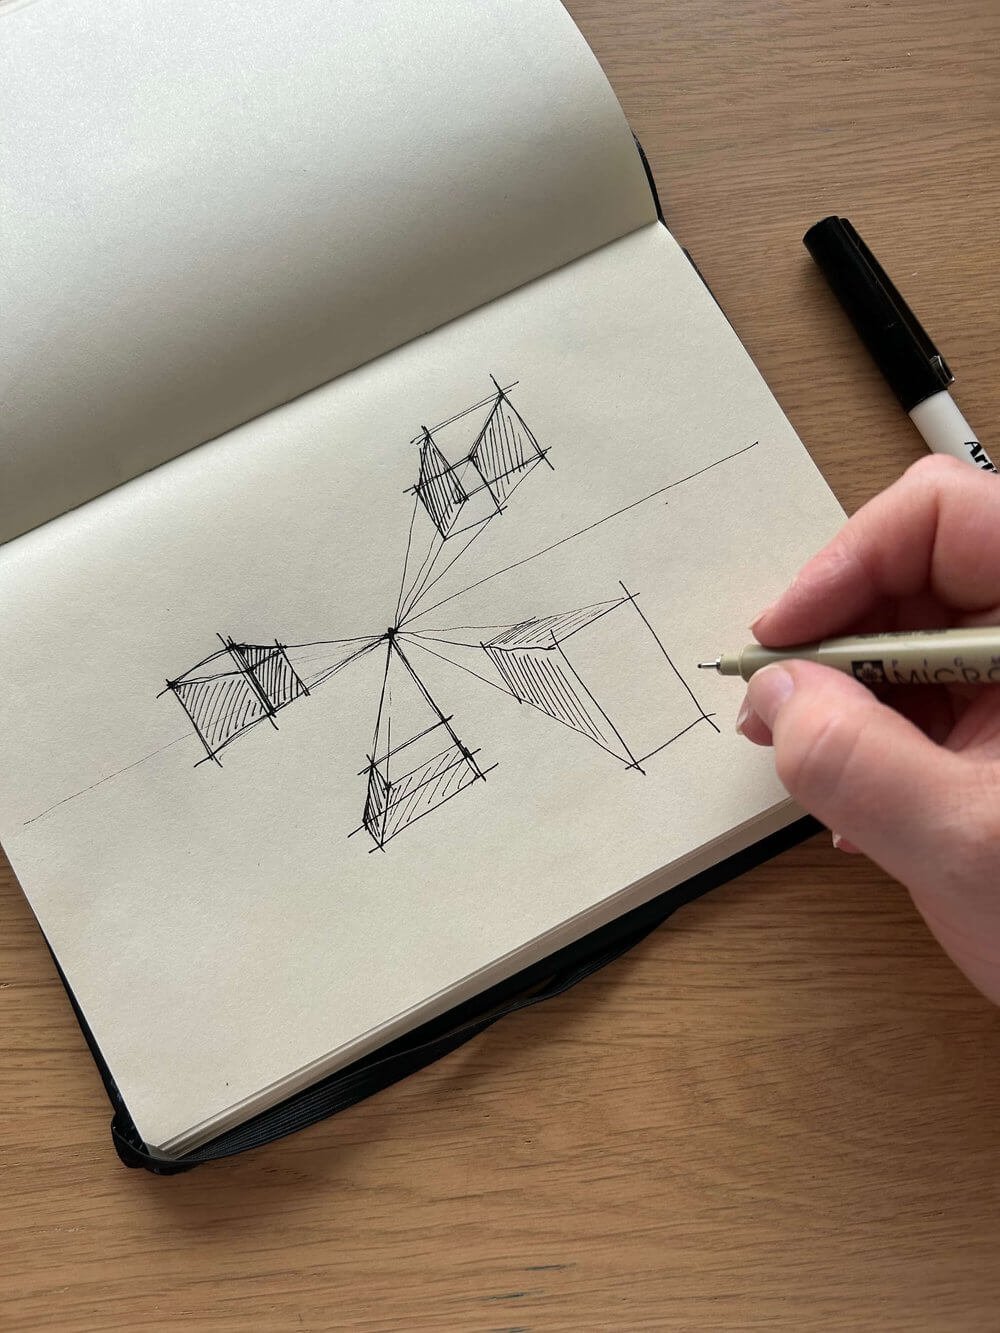
Step 2: Draw the Horizon Line and Vanishing Point
The first line we draw is the horizon line. Draw this in the centre of your paper, going along it. Now mark your vanishing point in the middle of the line.
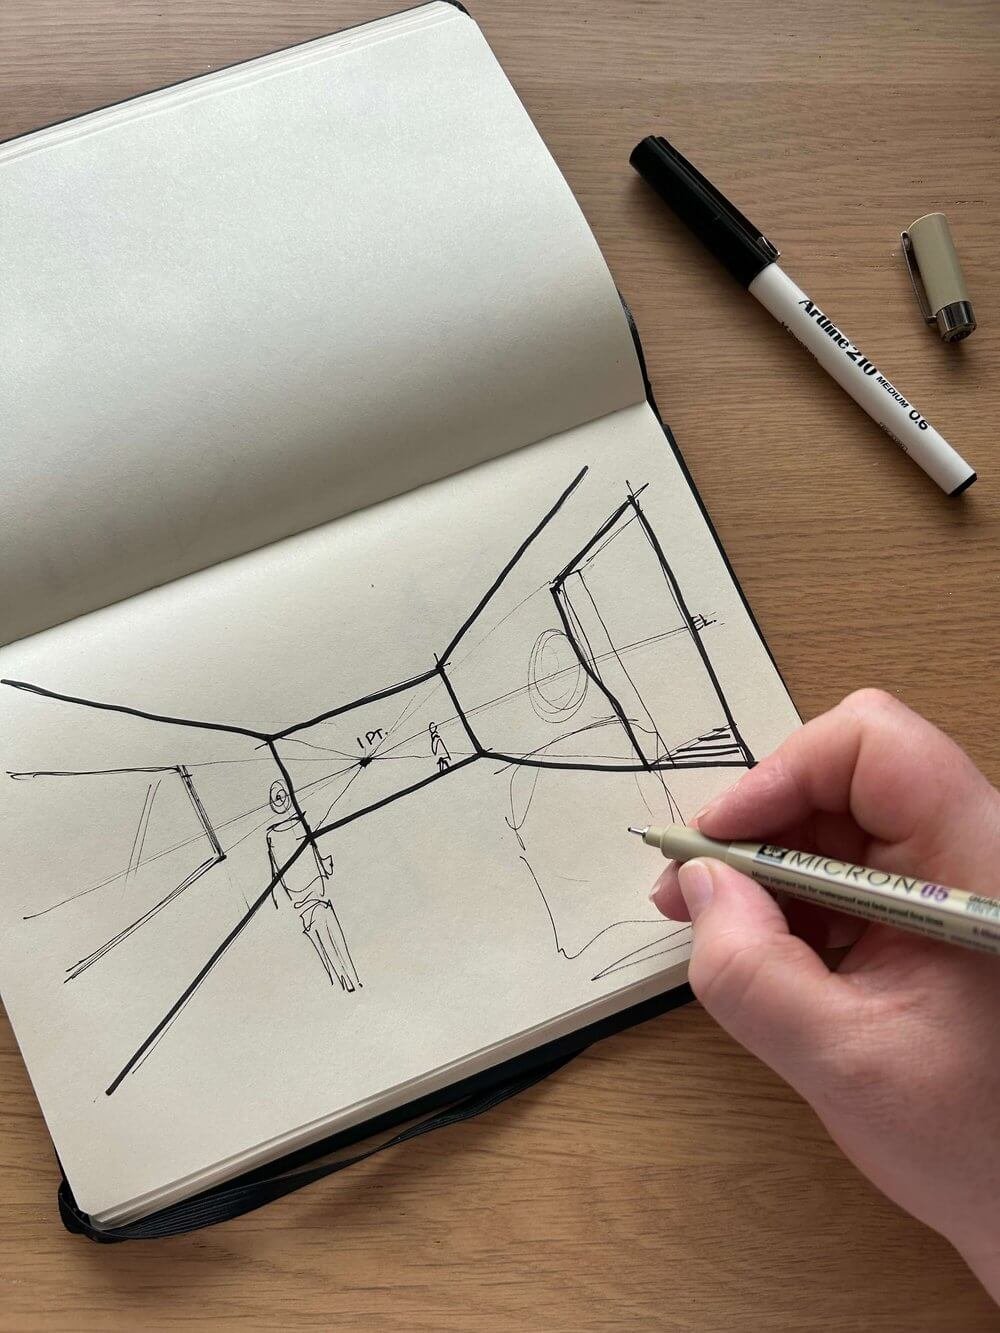
Step 3: Draw the Back Wall of the Room
Start with a simple rectangle for the back wall. Line up your ruler from the vanishing point to each of the four corners of the rectangle and draw a line to create the walls, floor and ceiling in perspective.
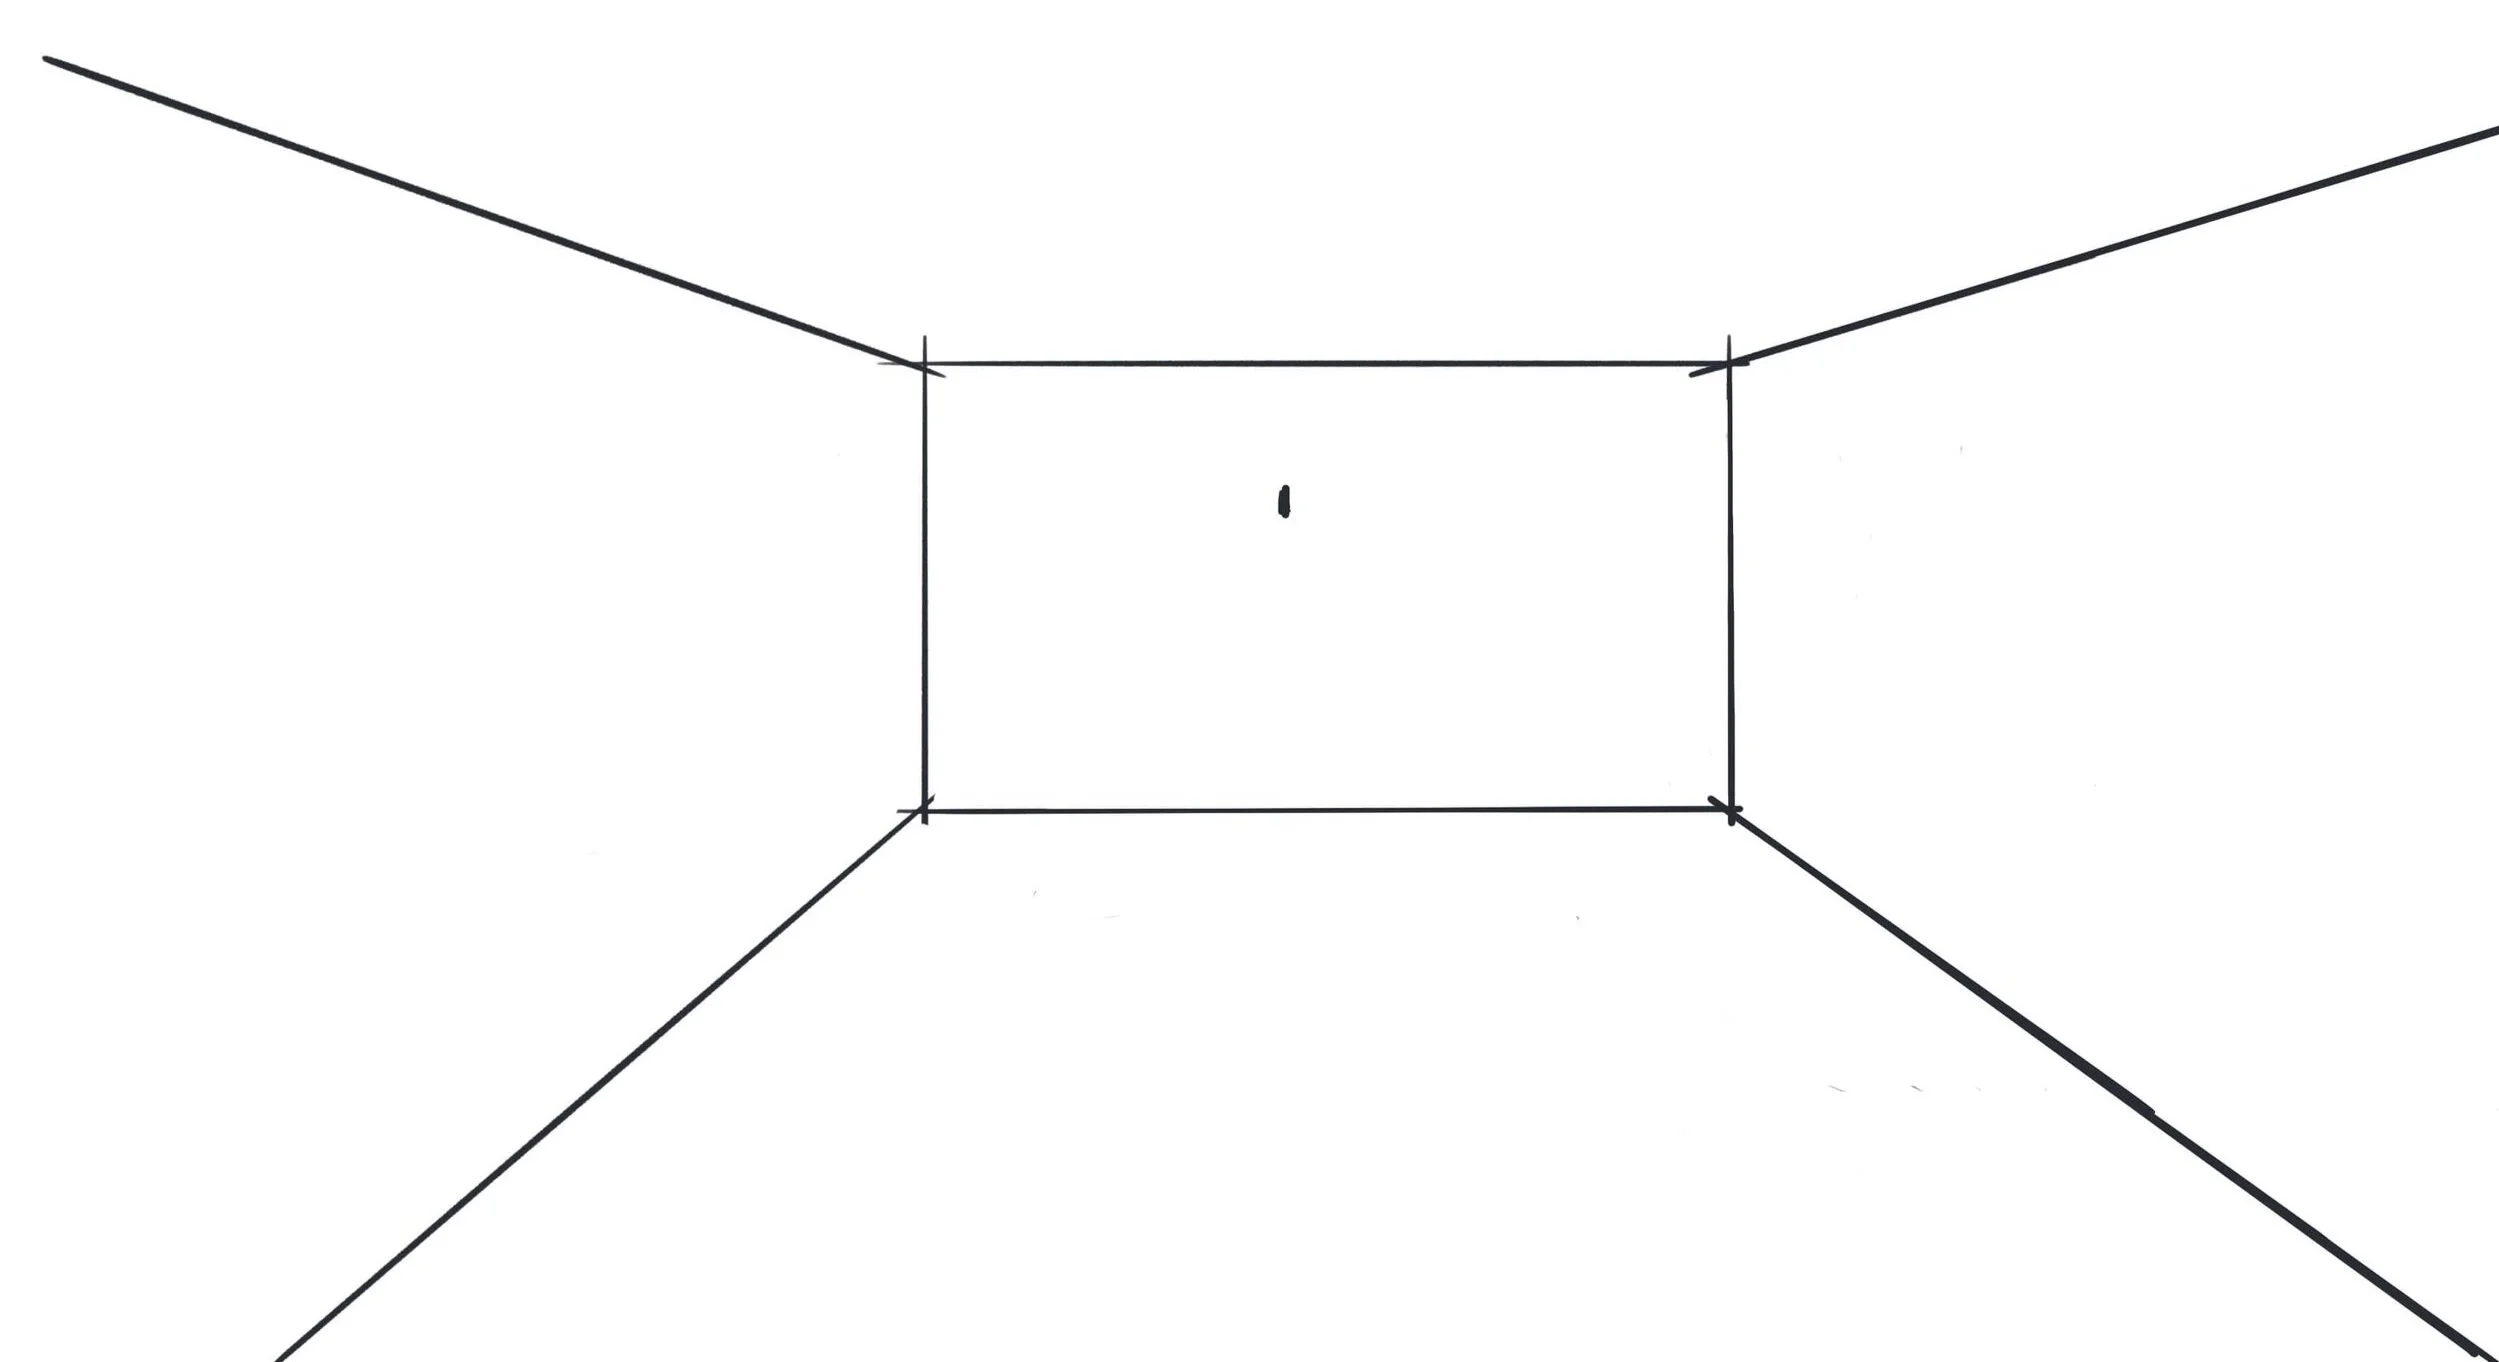
Step 4: Add Depth Using Perspective Lines
To add in doors and windows, etc you need to draw vertical lines to represent the height of objects in the room. Use the vanishing point to create perspective lines for the sides of objects, so line your ruler up with the vanishing point and draw a line for the top of the door.
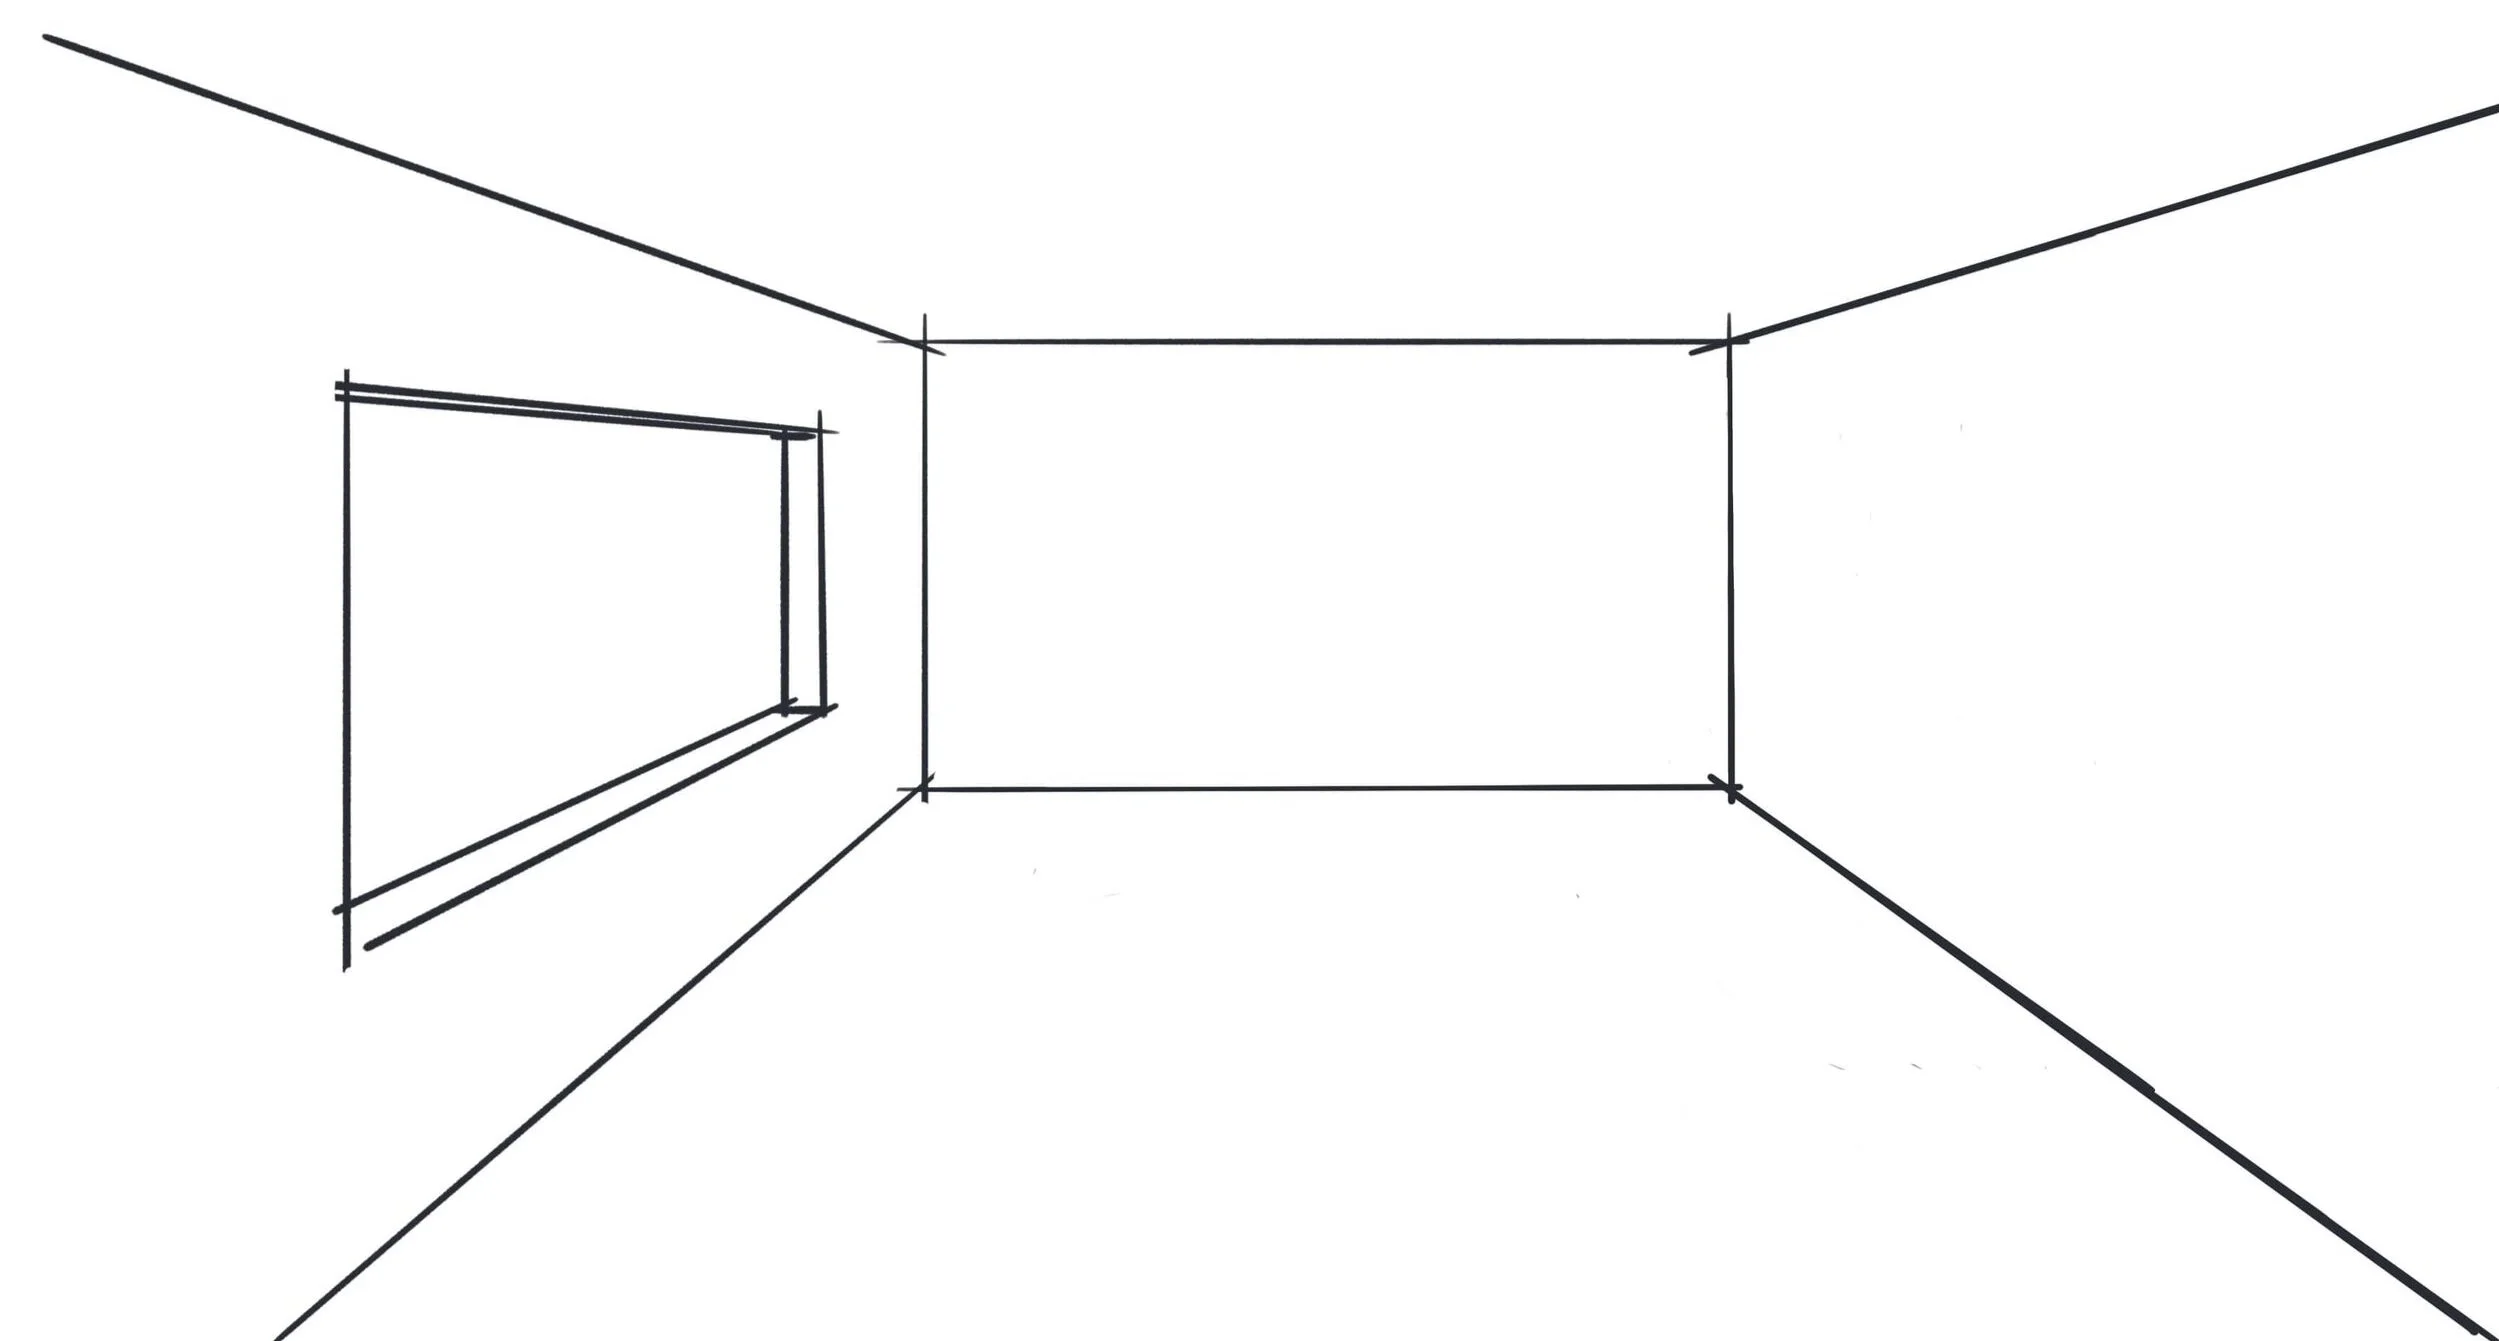
Step 5: Add Doors, Windows, Furniture and Details
Add details such as furniture and decoration, like frames, rugs, lights and a person (remember their eyes will be on the eye line). To clean up your drawing, erase or rub out any unnecessary construction lines and ink up your finished drawing.
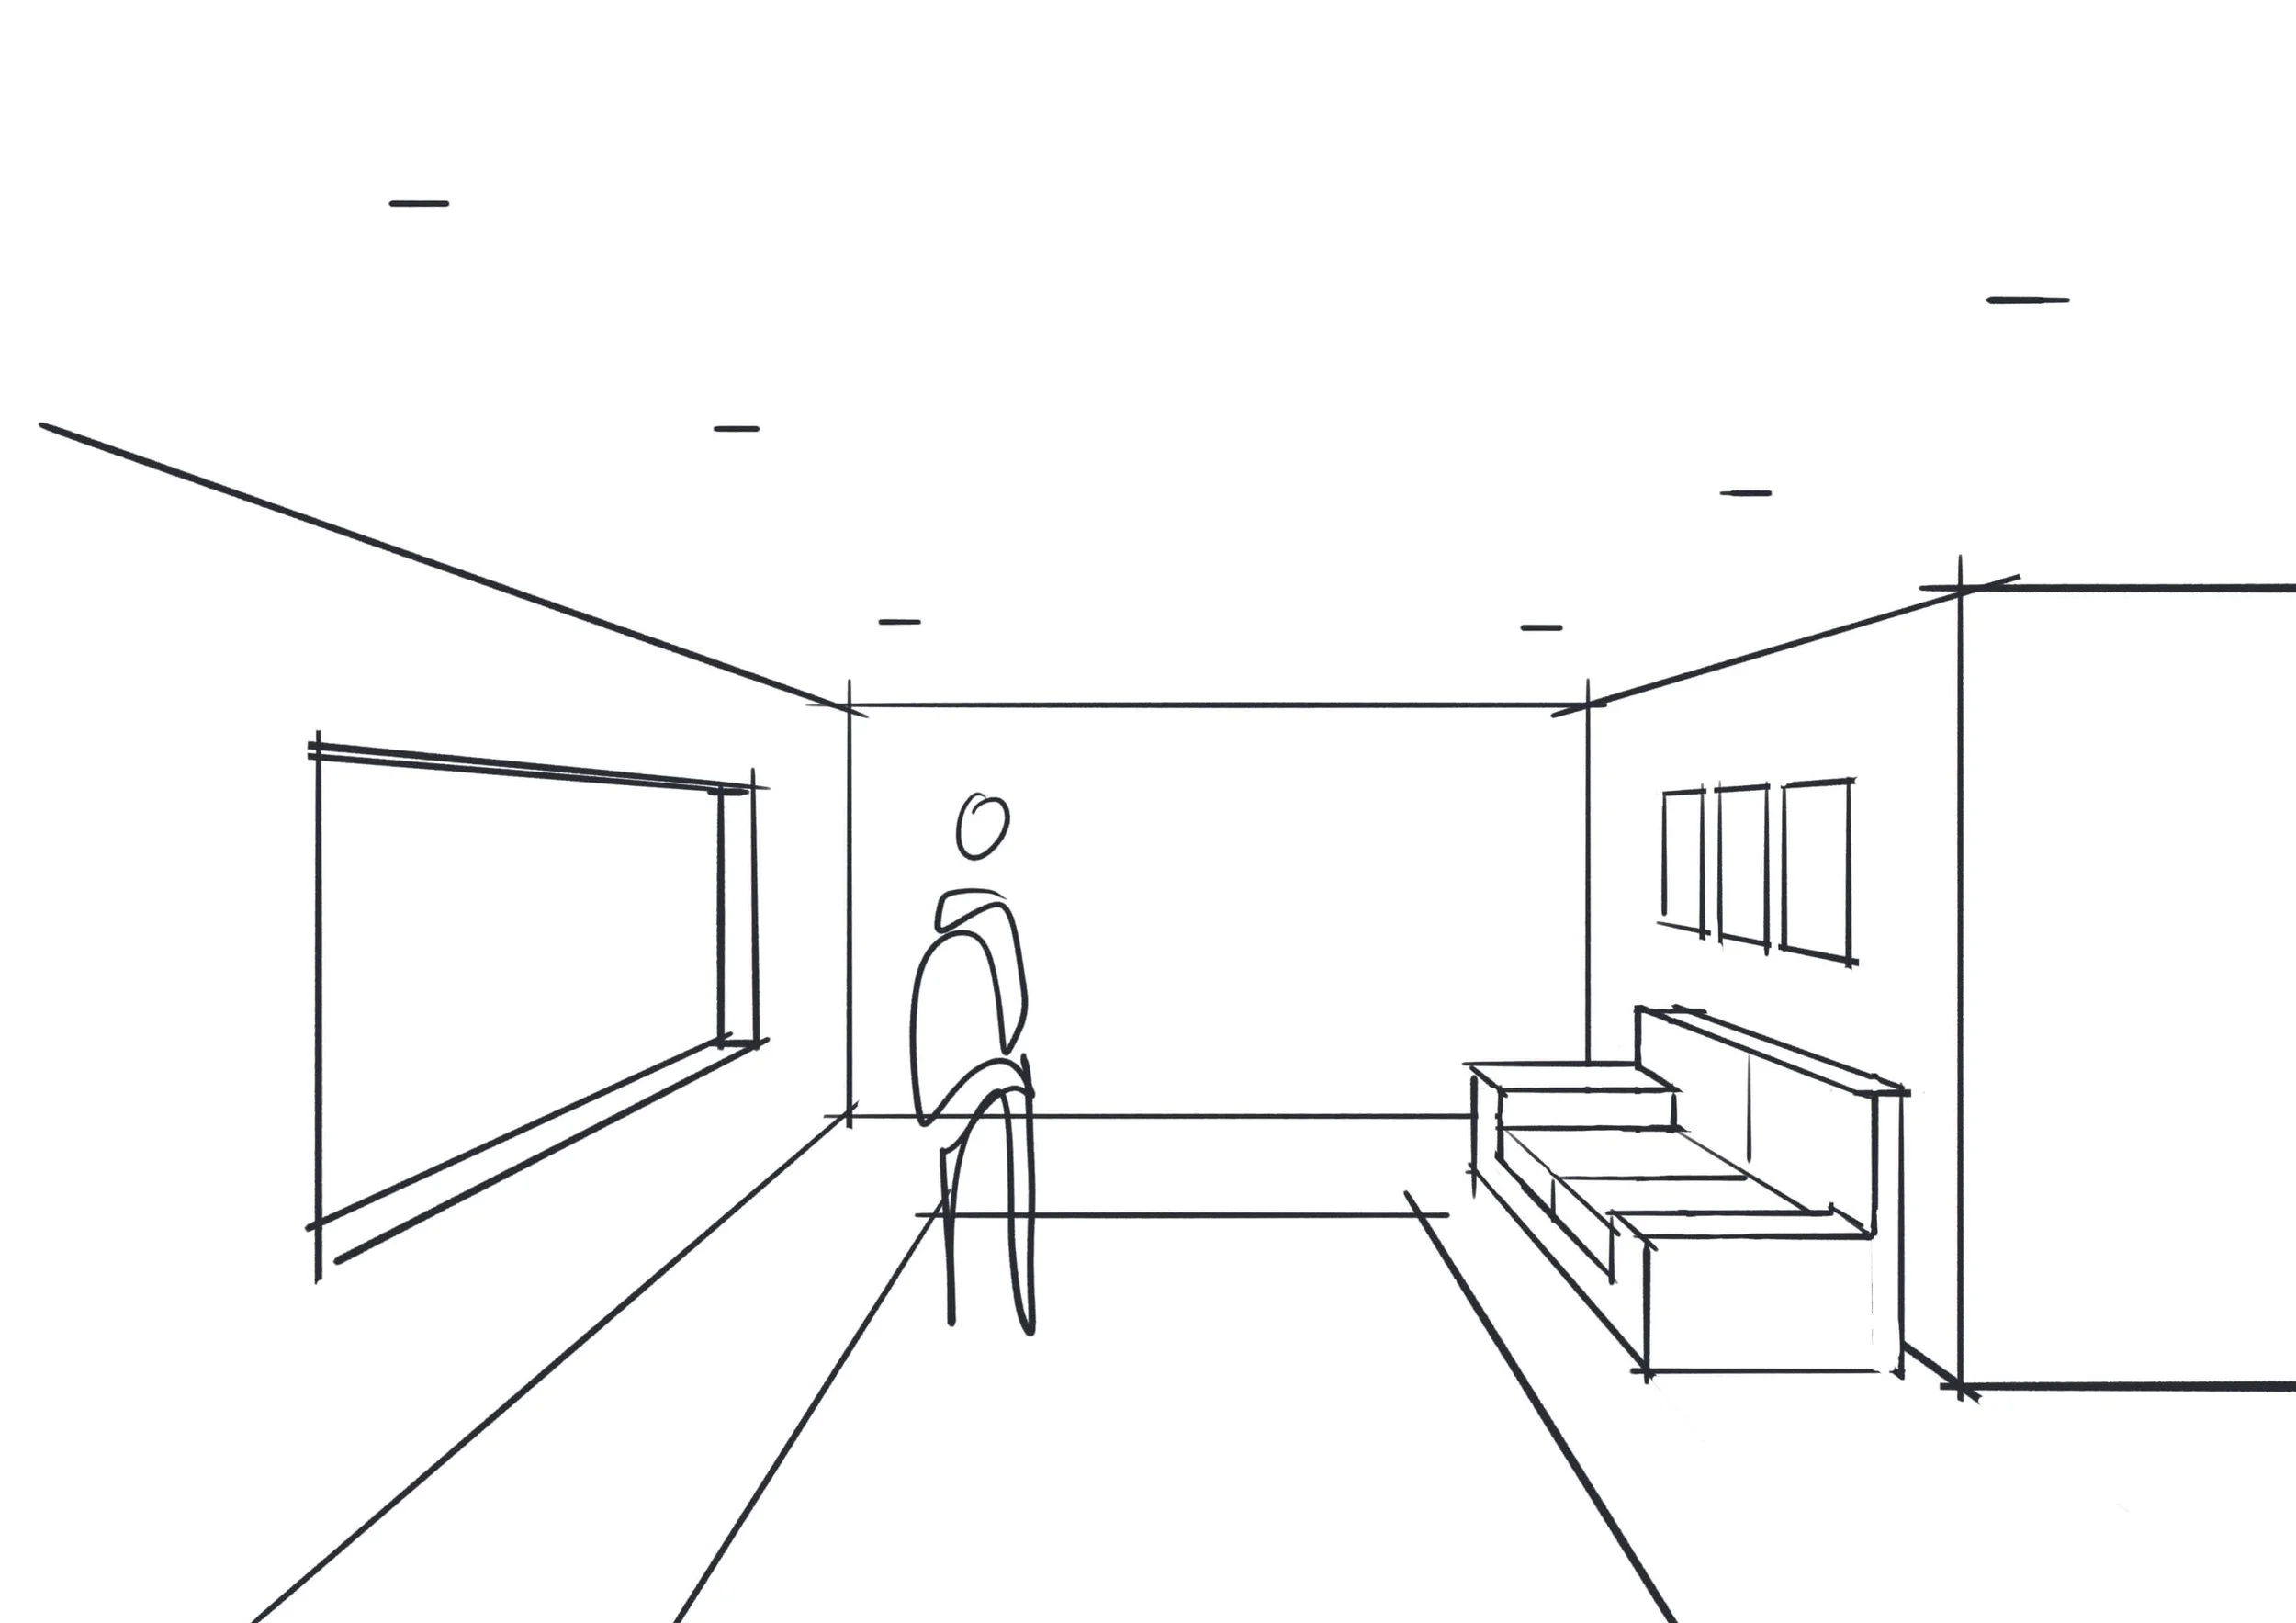
Step 6: Add Detail, Line Weight and Scale
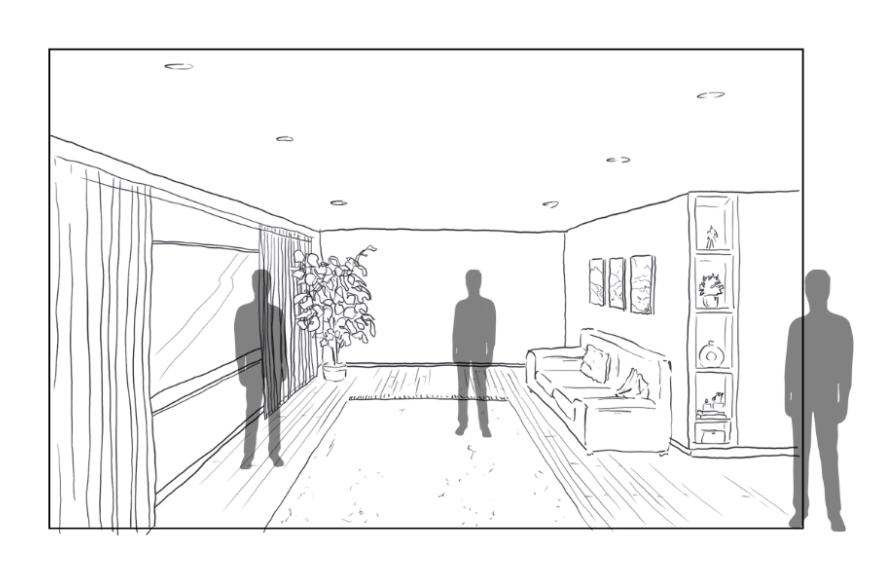
Once the main perspective drawing is constructed, you can start adding the details that bring the space to life. Add furniture, doors, windows and architectural details, then use line weight to create depth and hierarchy.
Finally, add elements such as people, plants, textures and shadows to give the drawing a sense of scale and help communicate how the space might actually feel. You don't need to add every detail. The aim is to make the drawing easier to understand, not to fill every part of the page.
This is the stage where your construction drawing starts to feel like a space. Perspective gives you the structure; the details help you communicate the design.
Want to learn perspective properly?
If this helped, but you want more guidance and practice, my Perspective Drawing Guide takes you through one-point and two-point perspective step by step, with explanations, exercises and practice designed specifically for architecture and interior design students.

Stop copying perspective tutorials. Start understanding why the lines go where they go.
If you can follow a perspective tutorial while you're watching it, but struggle to recreate the drawing on your own, you're not alone.
Perspective can feel complicated when you've been shown what to draw without being taught why you're drawing it.
“...allowed it to finally click.”- Kayla, Architecture Student, USA
“Something I had struggled with felt much more manageable.” - Kshaf, BA (Hons) Architecture, UK
“The explanations are simple and easy to understand...the exercises helped me practise and understand perspective more clearly.” - Vinesh Mistry, India
This book breaks perspective down into a clear, visual, step-by-step system so you can understand the rules, practise them, and start constructing perspective drawings for yourself.
Perspective is a system you can learn.
Drawing is a skill, not a talent.
Frequently Asked Questions
-
One-point perspective is a way of creating the illusion of depth using a single vanishing point on the horizon line. It's one of the first perspective techniques I teach because it helps you understand how objects appear to get smaller as they move further away. Once you understand this principle, drawing buildings, interiors and spaces becomes much more intuitive.
-
Perspective isn't just about making your drawings look realistic. It's about communicating your ideas clearly.
After teaching architecture and interior design students for over 15 years, I've seen that students who understand perspective are often much more confident presenting their work. Whether you're sketching an early design idea or creating a portfolio, perspective helps other people understand the space you're imagining.
-
Not at all.
Many students arrive convinced they "can't draw," but perspective isn't about artistic talent - it's about understanding a simple set of rules. Once you know where to place the horizon line and vanishing point, everything starts to make much more sense. Like any new skill, it gets easier with practice.
-
The biggest difference is the number of vanishing points.
One-point perspective uses a single vanishing point and is ideal for looking straight at an object or space, such as a corridor or interior room.
Two-point perspective uses two vanishing points and is used when you're viewing the corner of a building or object. It's a technique you'll use regularly as your drawing skills develop.
-
The most common mistake I see is students guessing where perspective lines should go instead of using the vanishing point to guide them.
Another is forgetting that the horizon line represents the viewer's eye level. Once you understand that relationship, perspective suddenly becomes much easier to visualise.
The good news is that these are all common mistakes, and they're completely fixable with practice.
-
Absolutely. Some of my best students started by telling me they couldn't draw at all. Confidence doesn't come before you start - it grows as you practise.
One-point perspective is often the first drawing exercise I introduce because it gives you a framework to follow. Rather than guessing, you're learning a process, and that's something anyone can improve with time.
-
It's a question I used to get asked all the time.
Learning perspective by hand helps you understand how space works before relying on software. CAD programmes can generate perspective views instantly, but they don't teach you why objects appear the way they do.
When you understand perspective, you'll sketch ideas more confidently, communicate with clients more clearly, and make better design decisions long before you open a computer.
Next Steps
Continue learning: Two-Point Perspective
Practise: Free Perspective Practice Sheets
Go deeper: Perspective Drawing Guide
Well done
Tag me in your drawings @sonianicolson


Architectural lettering is the professional handwriting style used on drawings, plans, and portfolios. In this guide, you’ll learn the simple rules architects use for clean, consistent lettering - plus download free practice worksheets (PDF) to improve fast.