10 Reasons to Study Architecture and Build a Creative Career

10 Reasons to Study Architecture and Build a Creative Career

Thinking about studying architecture? This article explores ten compelling reasons to pursue a career in architecture, from creative freedom and global opportunities to shaping the spaces where people live and thrive. Written by an experienced architect and interior designer, it’s a must-read for aspiring students.

Read More

5 Reasons to Pursue a Career in Design: Insights from an Architect and Interior Designer

5 reasons to become a designer

If you’re considering a career in design, whether it’s in architecture, interior design, or related fields, you’ve come to the right place. As an architect and interior designer with years of experience, I’m thrilled to share with you the top five reasons why embracing a career in design can be immensely rewarding and fulfilling.

Design is more than just aesthetics—it’s about problem-solving, creativity, and shaping environments that improve lives. I have always had an interest in design and the arts - drawing and making things so naturally, I took Art & Design at school, and my path to becoming a designer started.

5 Reasons Why I Became A Designer

Here are five compelling reasons why diving into the world of design might be your perfect fit:

1/ Do what you love

I love design, it’s that simple. It’s who I am, it’s what I think about. I see, analyze and critic it all the time. I surrounded myself with things that inspired me, and I found new ideas and projects everywhere.

2/ Think outside the box

I get to express my creativity in my work and what I do. I work with other like-minded, creative people. We collaborate, we problem-solve, we encourage and push each other, but most importantly, we think outside the box.

3/ Never stop learning

I am constantly learning. I design, redesign, test, redesign…It’s not easy, and it’s never 9-5 but I design things that are made, or built, and will hopefully be there for a very long time.

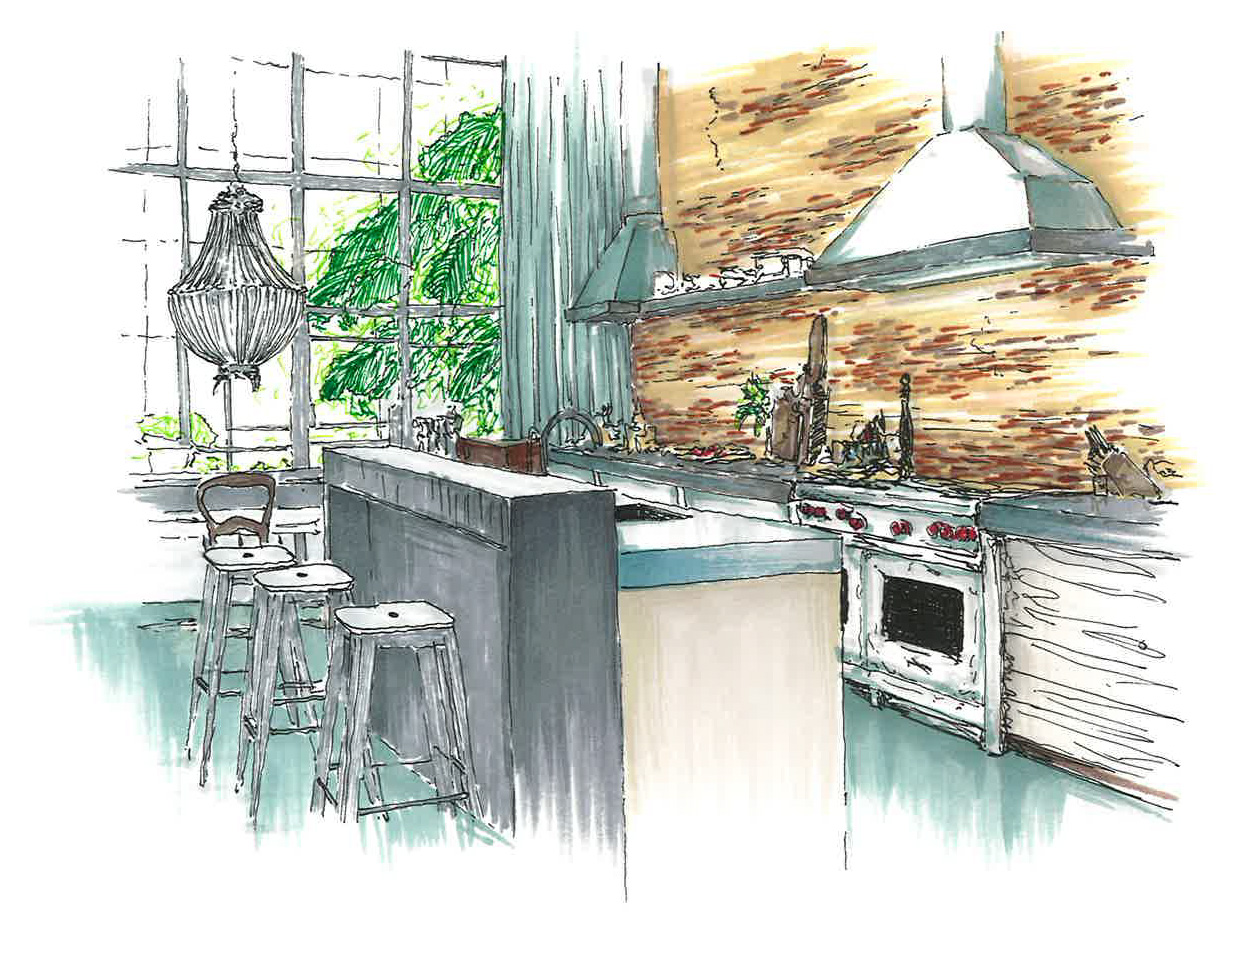
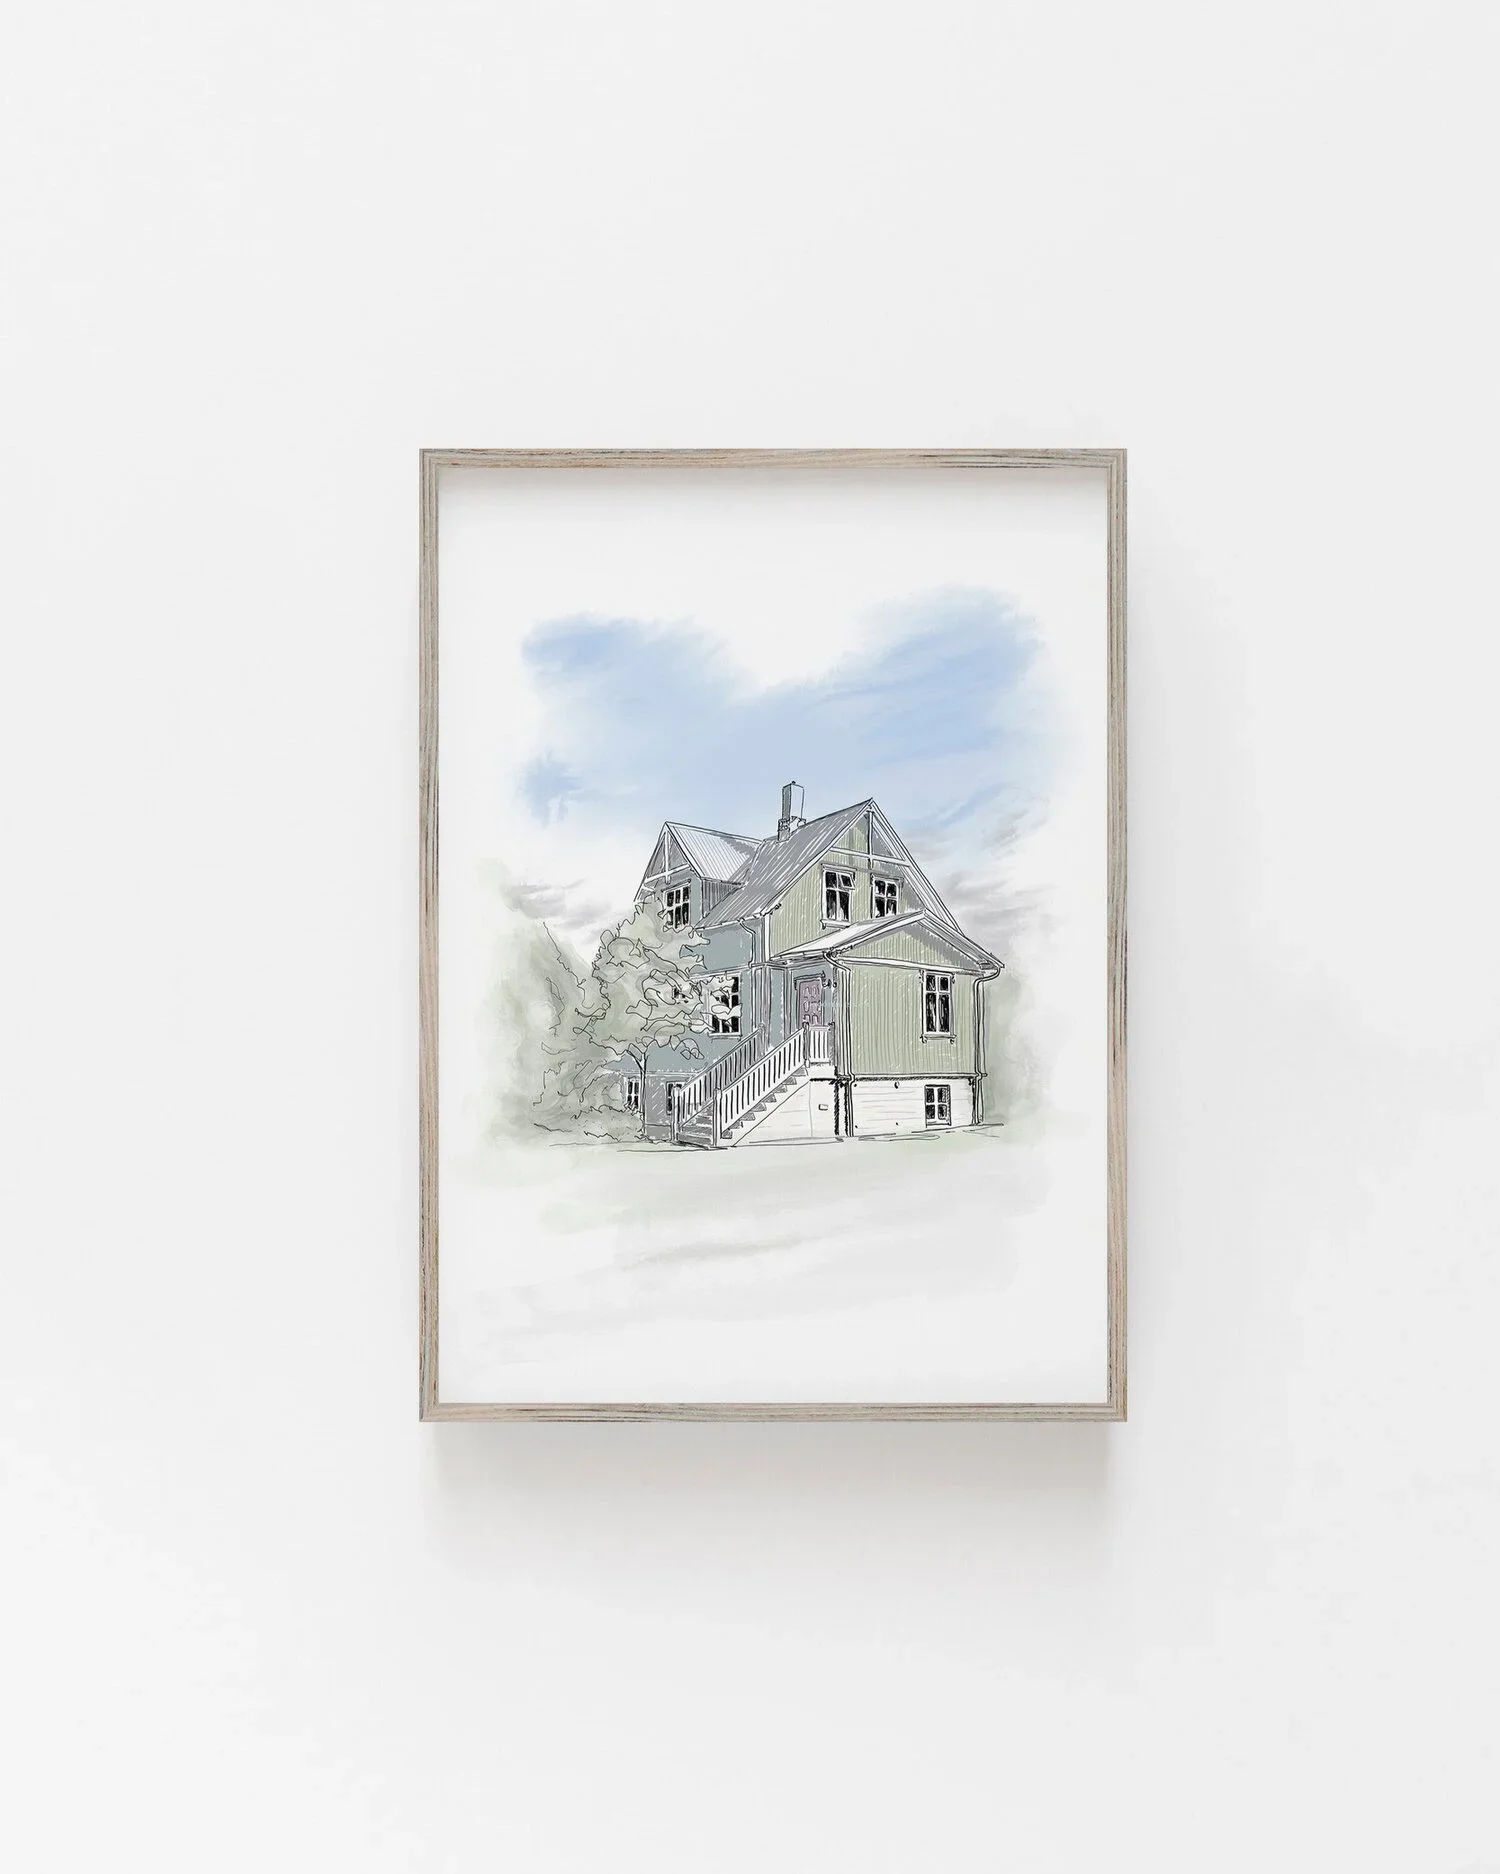
4/ Designing for the world around us, the spaces we live and work in

My job involves a lot of critical thinking and an understanding of psychology. I design for the end-user so it’s not about colour or fluffy decor but I design out spaces; homes and workplaces. It directly affects people’s daily lives.

5/ Give back with a passion for Design

I’m an Architect but I teach too so I get to give back. I’m truly passionate about what I do and love working with students and young designers in their studies and projects.


Join us on Pinterest


Do you want to become a Designer, if so, why?

Architecture Students: Stationery, Software & Smart Prep for Your First Year

Architecture Students: Stationery, Software & Smart Prep for Your First Year

Starting architecture school soon? Here’s everything you actually need - from the best stationery and software to budgeting tips and student must-haves, written by an architect and former lecturer.

Read More

My Message To Students and Graduates

Life as a design student can be intense. Deadlines, presentations, reports, retakes, and the dreaded “computer crash at 2 am” moment. Add in calls from family when you have no time to talk, living on a budget, and you might wonder: why do we put ourselves through it?

Because it’s an investment in your future, your skills, your personal growth, your confidence, and even in the friendships that may last a lifetime. Yes, it’s hard. But it’s also exciting, inspiring, and full of moments you’ll look back on with pride.

My Message To Students and Graduates

My Education Journey

I studied Architecture for the full seven years. I moved away from home, pushed myself out of my comfort zone, and met friends who are now part of my professional network. My degree years were a mix of socialising, studying, and late nights in the studio, and I graduated proud of my 2:1. After a year’s work experience in a large practice, I used my savings to travel through Asia and Australia before starting my master’s degree.

Learning in Two Worlds

My degree was at a technical university, but my postgraduate studies took me to a creative art school. I was awarded a scholarship to complete my master’s in Japan, an experience that changed me completely. Living and studying abroad pushes you to grow in ways you can’t imagine. In Japan, I learned more about myself, my abilities, and my adaptability than I ever would have if I’d stayed in the UK.

The Unexpected Turns

Returning home, I found a great job in an architecture office, thinking, “This will do for now.” A few years later, I qualified as an Architect, packed up my desk, and moved to India.

Here’s the thing: when I was a student, I thought I’d work as an architect for the next 20–30 years. I imagined teaching at a university would happen after retirement. I never expected to be doing it in my 30s, loving it as much as I do now.

To My Students

Many of my students are either on their first work placement or finishing their final year projects. Some have a clear path ahead, others don’t, and that’s okay. Your career won’t be a straight line. It will have twists, detours, and surprises. The key is to stay open, adaptable, and ready to make the most of every opportunity.

10 Tips for Students & Graduates in Design and Architecture

  1. Enjoy your time at university | it will probably only happen once.

  2. Soak in the details | the laughs, the lectures, the study trips, even the tough days.

  3. Make your work your own | show your personality through it.

  4. Fake it ‘til you make it | you’ll learn more in the process than you expect.

  5. Stay open-minded | don’t let your CV dictate all your decisions.

  6. Think outside the box | and live there too. Travel, explore, seek adventure.

  7. Document your journey | photos, sketches, journals. You’ll treasure them later.

  8. Stay inspired | read, listen, talk, and share ideas with others.

  9. Trust your path | it will work out, even if it doesn’t look how you imagined.

  10. Aim higher than “fine” | if you want more, go out and make it happen..


Final Thought: Be proud of what you’ve achieved. Keep doing more. Inspire others. And if you know someone studying right now, send them a note, a parcel, or even just a few words of encouragement; it can mean the world.

Interior and Architectural Ink rendered Hand Drawings

Interior + Architectural Ink rendered Hand Drawings

Rendering, by hand, with Ink Marker Pens

Over the last few weeks, I have been creating a series of hand-drawn renderings for my Design Communications class. I always believe it is best to show students my work rather than pulling examples from Google, as it is proof that I can actually do what I am teaching, and it builds their trust.

In today’s fast-paced design world, we are often too quick to jump onto a computer to create polished images. While programs like Photoshop are industry standards, there is an undeniable beauty and value in mastering hand-drawn and hand-rendered work first. This tactile skill sharpens your eye for detail, helps you understand light and shadow, and brings a unique warmth to your drawings that software cannot replicate.

I am sharing these examples with you, walking you through my process, the materials I use, and tips so you can start creating your own architectural and interior design renderings by hand.

Architectural hand drawing of a modern living room with teal walls, white sofa, red floral centrepiece, and framed figure sketches, created with ink and marker rendering.

Ink Marker Pens for Interior Design Rendering

Over the years, I have built up a small collection of marker pens, from ProMarkers and Tria to my current favourites, Copic markers. I am not loyal to a single brand, for me, colour range and ink flow matter most. Whatever I have to hand often does the job perfectly.

If you are just starting, I recommend investing in 3 to 4 essentials:

  • A light grey and a darker grey for shadows and depth

  • A warm brown for wood tones

  • A blender pen if the budget allows

You can also layer in details with coloured pencils over your marker work; it adds texture and subtle variation that brings an image to life.

Hand-drawn interior illustration of a classic living room, featuring a teal tufted sofa, antique furniture, table lamps, and warm wood panelled walls, rendered in ink and markers.

Choosing the Right Paper for Ink Rendering

Working with marker pens can feel intimidating at first, but it gets easier with practice. My biggest tip is to always make multiple copies of your line drawing before you start rendering, that way you can experiment without the fear of ruining your work.

Paper choice can make or break your result. Poor-quality paper causes the ink to bleed, feather, or soak through, while thin sketchbook paper can warp or become semi-transparent. I have had the best results using:

  • Thick card stock with a smooth finish

  • Watercolour paper with light absorption, great for layering ink

  • Marker pads, ideal but often pricey if you are not using them regularly

Look for a smooth surface to avoid streaking, and always test your markers on a scrap before starting.

Try It Yourself

If you have never worked with marker pens, remember, less is more. Build up your tones gradually. Add a wash of your lightest colour first, step back, then layer in mid-tones and shadows. Keep checking your work from a distance so you can see the balance of colour and contrast.

If you do not have your drawing to render, take an image from a design magazine, sketch it out with a fine liner or pencil, and start there. Begin with light tones, then layer darker colours for depth, adding texture and highlights last.

The hardest part is knowing when to stop. It is tempting to keep adding more, but sometimes the most beautiful results come from restraint, allowing the white of the page and the looseness of the lines to shine through.