


Mastering Two-Point Perspective: A Comprehensive Guide for Interior Design and Architecture Students
/
A Comprehensive Guide to two point perspective for Interior Design and Architecture Students
Read MoreRead practical tips, creative stories & resources for students, architects & designers - from career advice to hand drawing, sketching & studio life.
A Comprehensive Guide to two point perspective for Interior Design and Architecture Students
Read MoreMastering One-Point Perspective: Essential Guide for Interior Design and Architecture Students
Read MoreInitial concept sketches to the planning of the internal Expo for Controlant, Iceland
Read More
W.O.M.E.N. - Women Of Multicultural Ethnicity Network in Iceland was looking to update its logo ready for their new website and newsletter.
“The goal of W.O.M.E.N. is to unite, to express and address the interests and issues of women of foreign origin living in Iceland in order to bring about equality for them as women and as foreigners in all areas of society. Our homepage contains information about us, issues we are working on and various projects we are engaged in. We also plan to publish news and announcements about events related to immigrants, women and family issues.” - W.O.M.E.N.
The logo was created in Adobe Illustrator. We reworked the design to create a more minimal, modern vibe. The Icelandic flag is tucked into the frame of a globe with the female symbol incorporated.
The logo will be used across all platforms and will be added to merchandise soon.


The Bike Cave here in Reykjavik is a great spot for some delicious fast food with a fun theme attracting bikers and cyclists for some food, a chat, fix their bikes if required, and even take a shower. Located in 101, opposite Reykjavik city airport, it offers amazing views across the city and towards Esja mountain.
The owners of the bike Cave were looking for a fun way to promote their venue locally and spread the word so we proposed the idea of a free postcard to offer customs as a marketing tool to promote the Bike Cave to new customers.
The building’s front elevation has a bold and memorable mural painted on it. I sketched out the building with the mural and added in some people to represent scale and customers. It worked perfectly to help identify the Bike Cave and show its vibe.
The drawing went on the front of the postcard and we kept it simple on the back, promoting the Bike Caves social media and address, and left space for people to use the postcard and write a message.

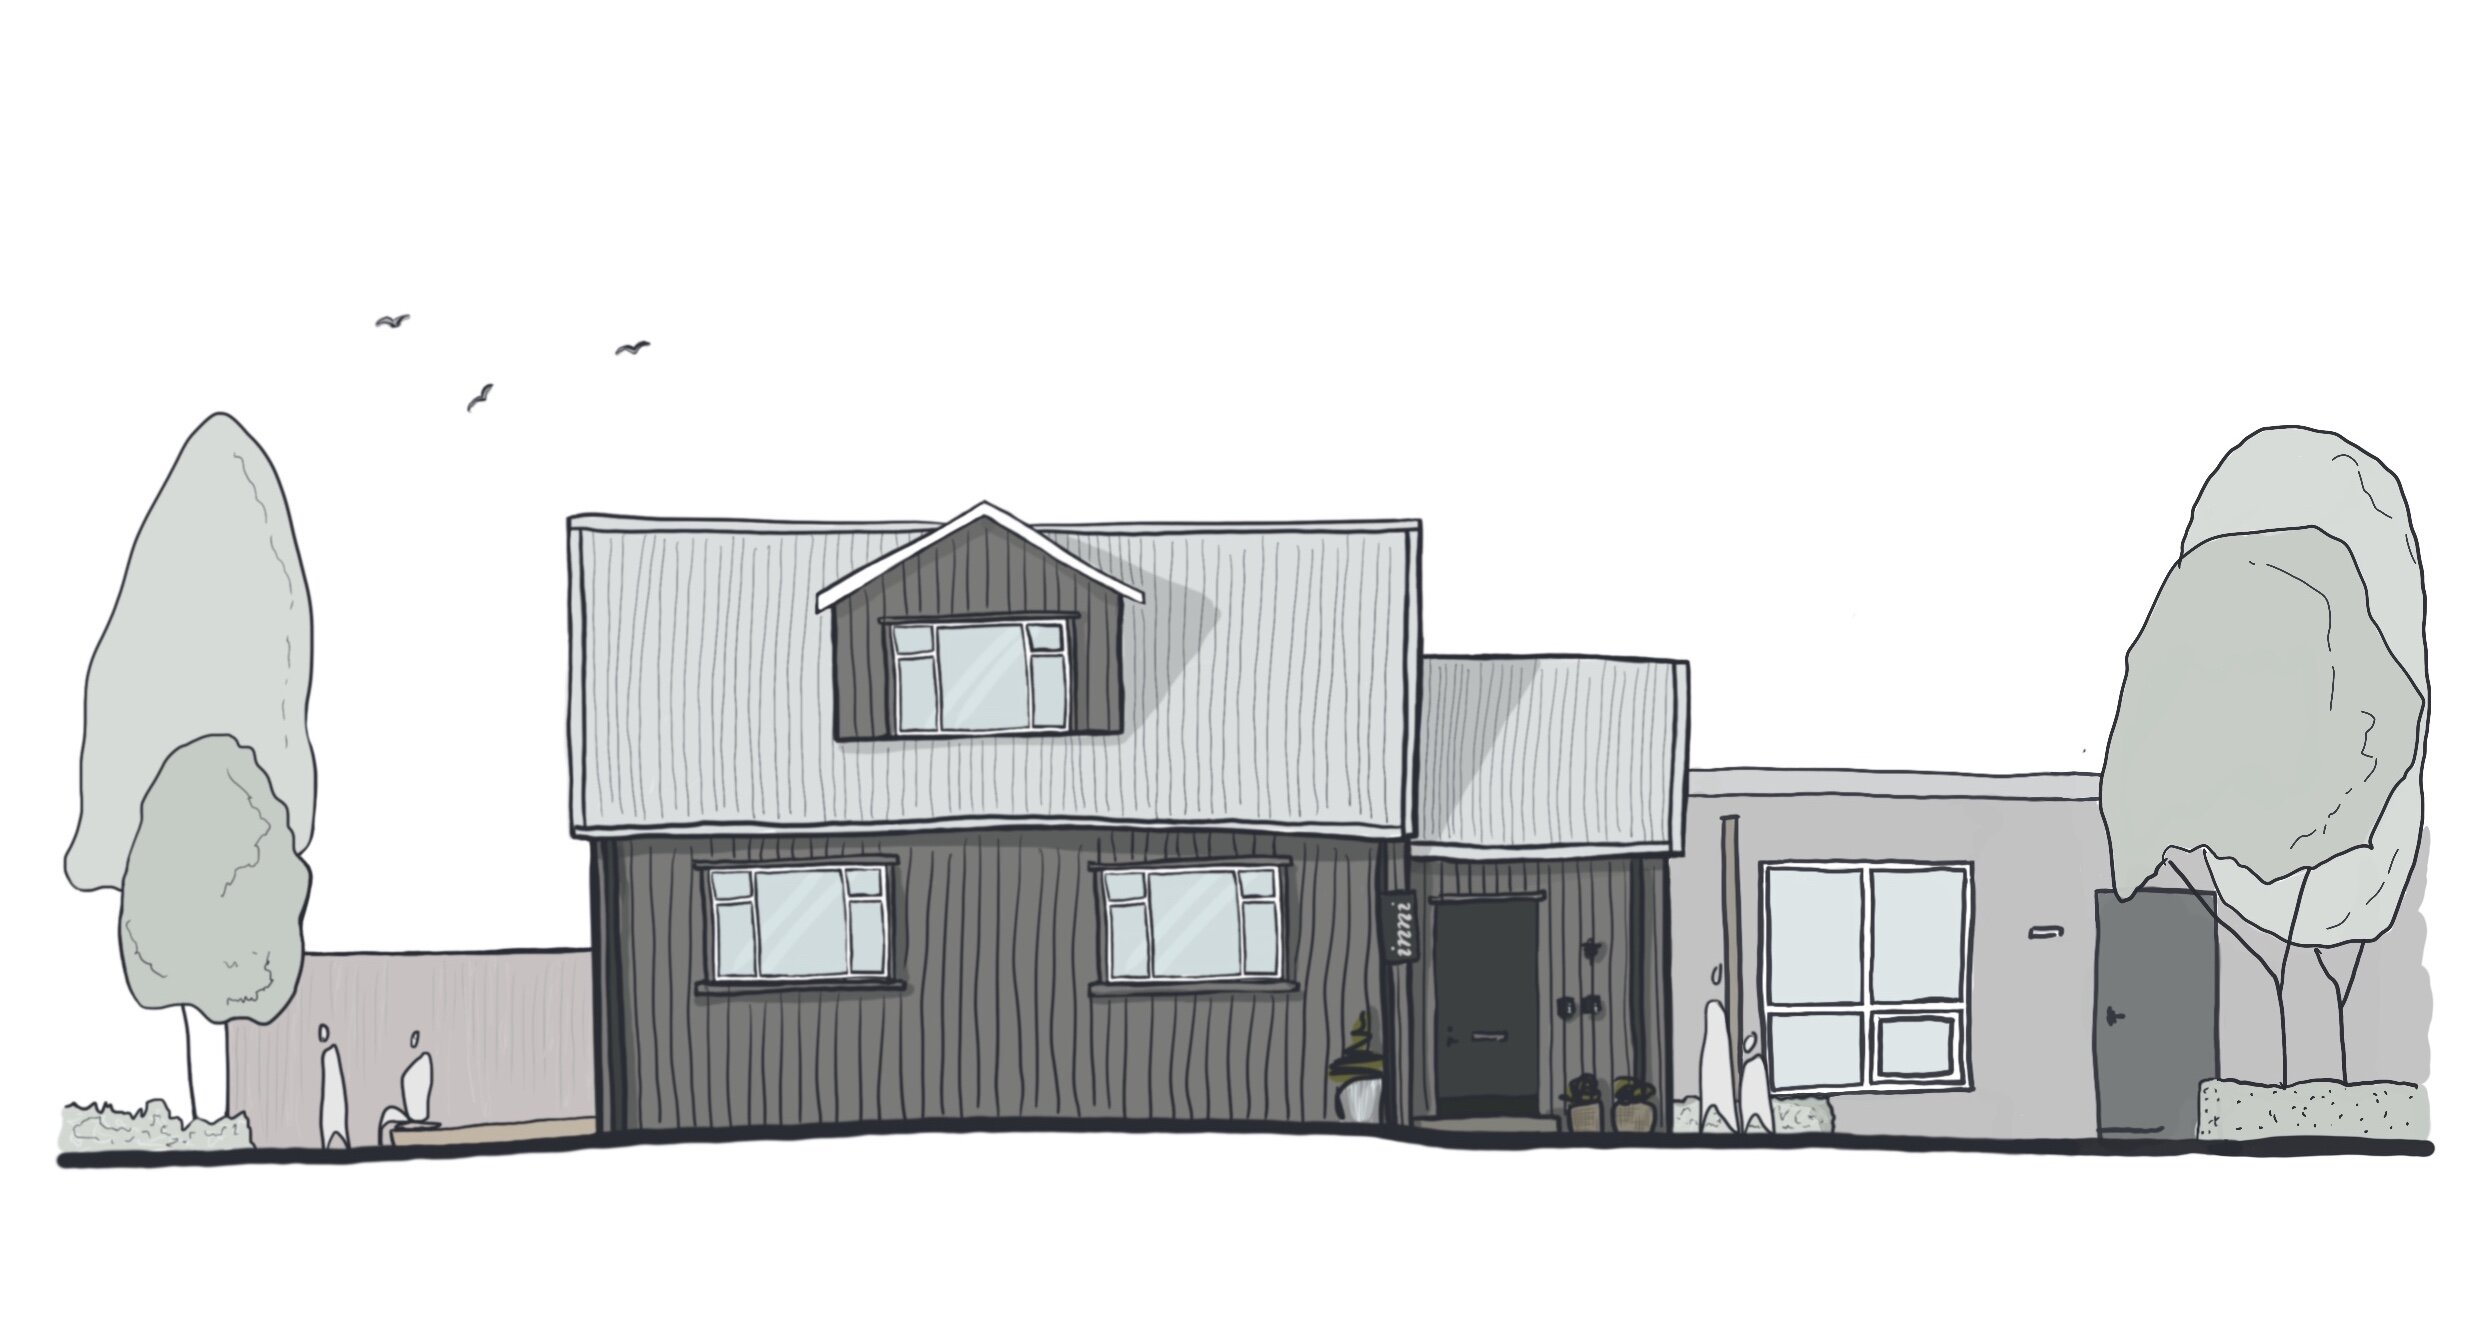
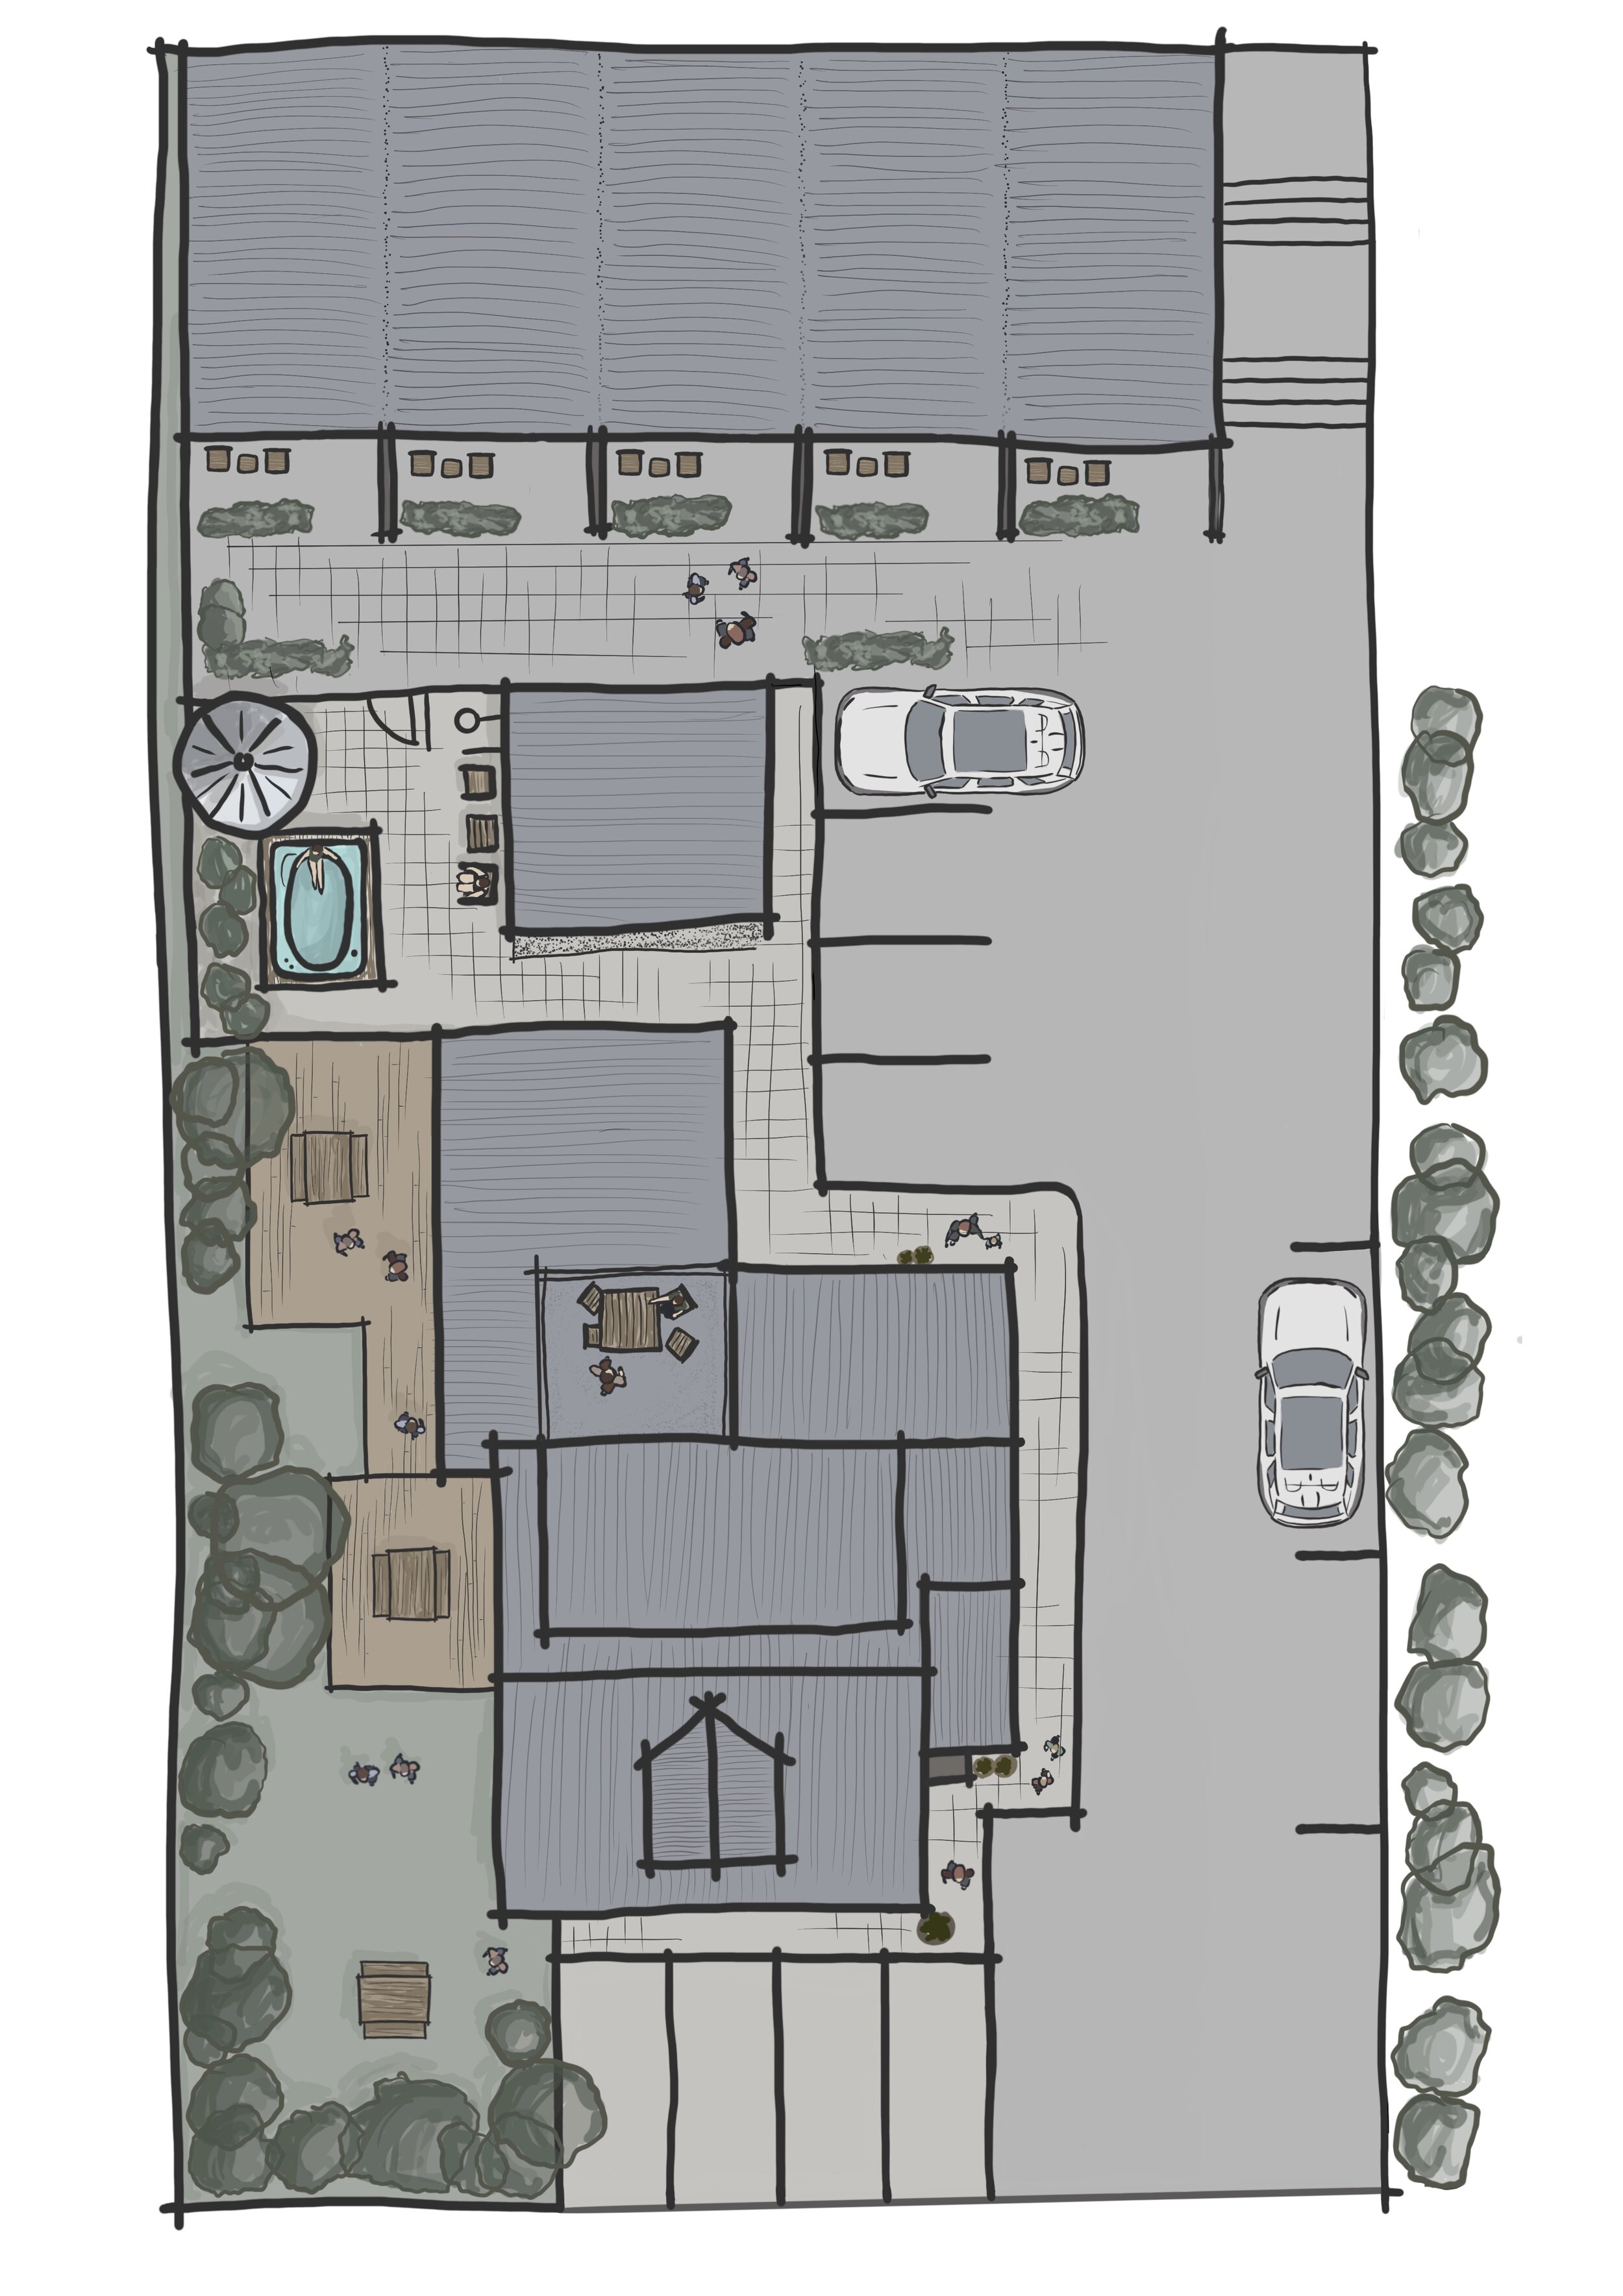
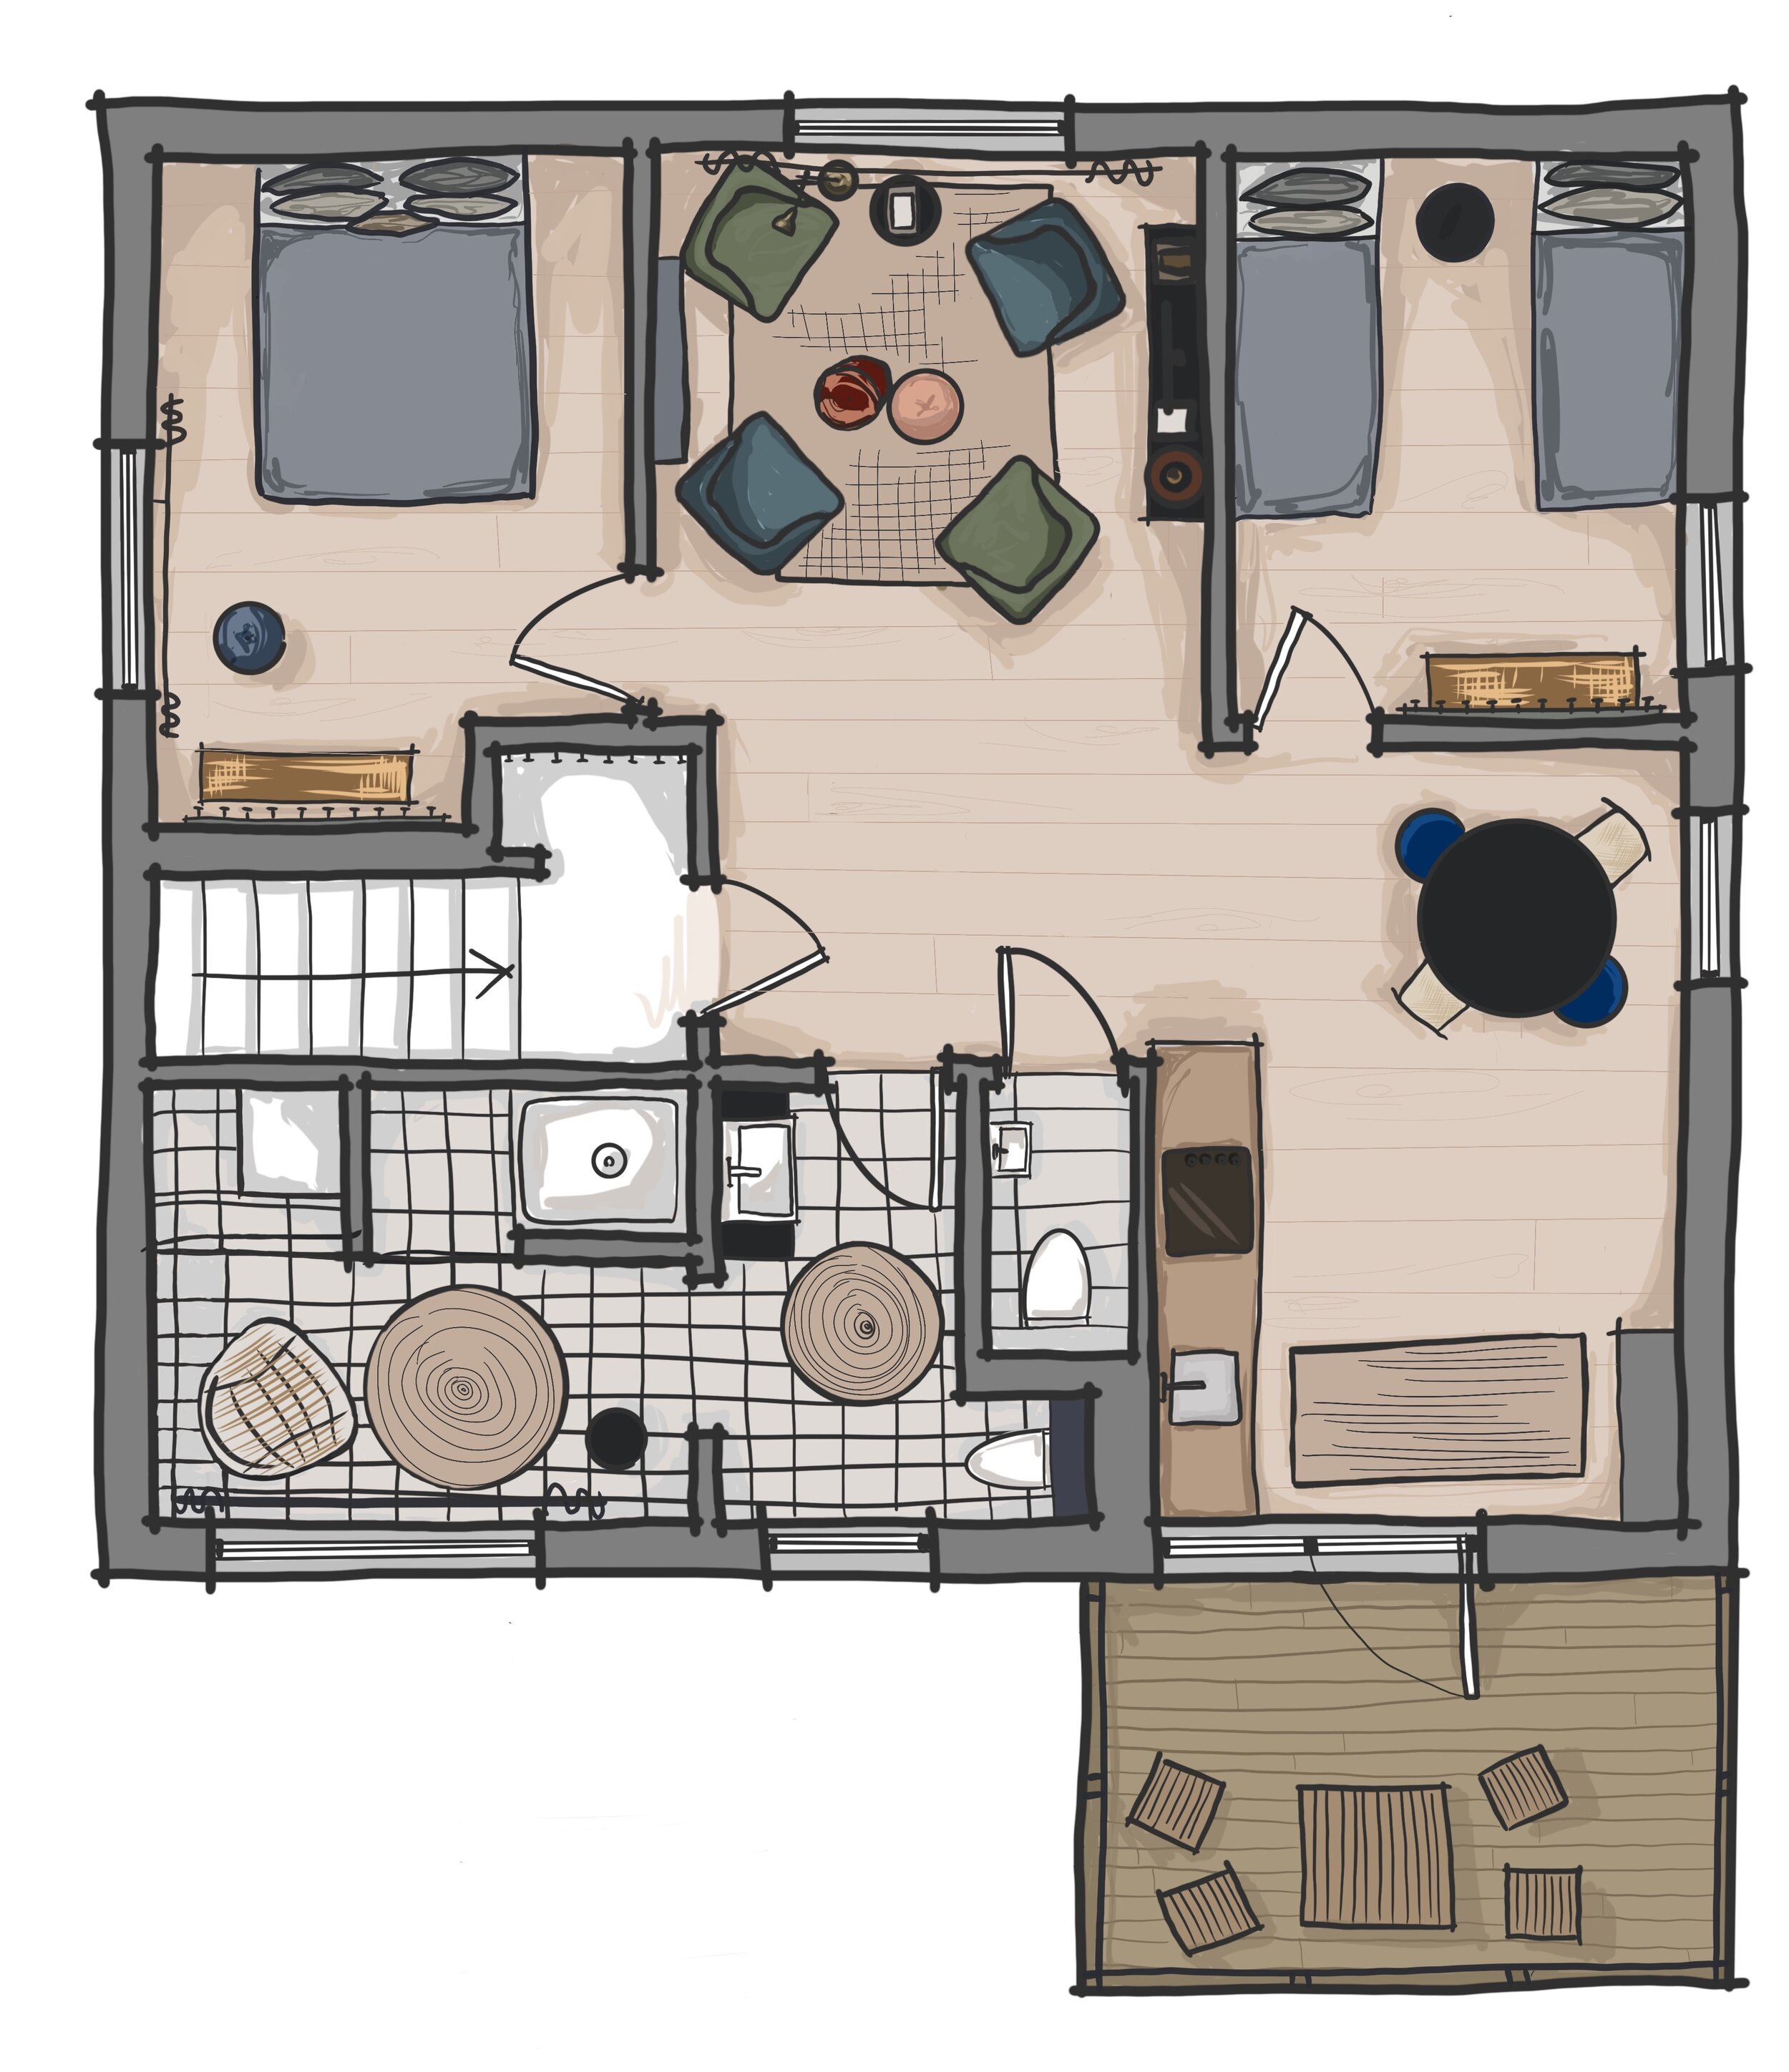
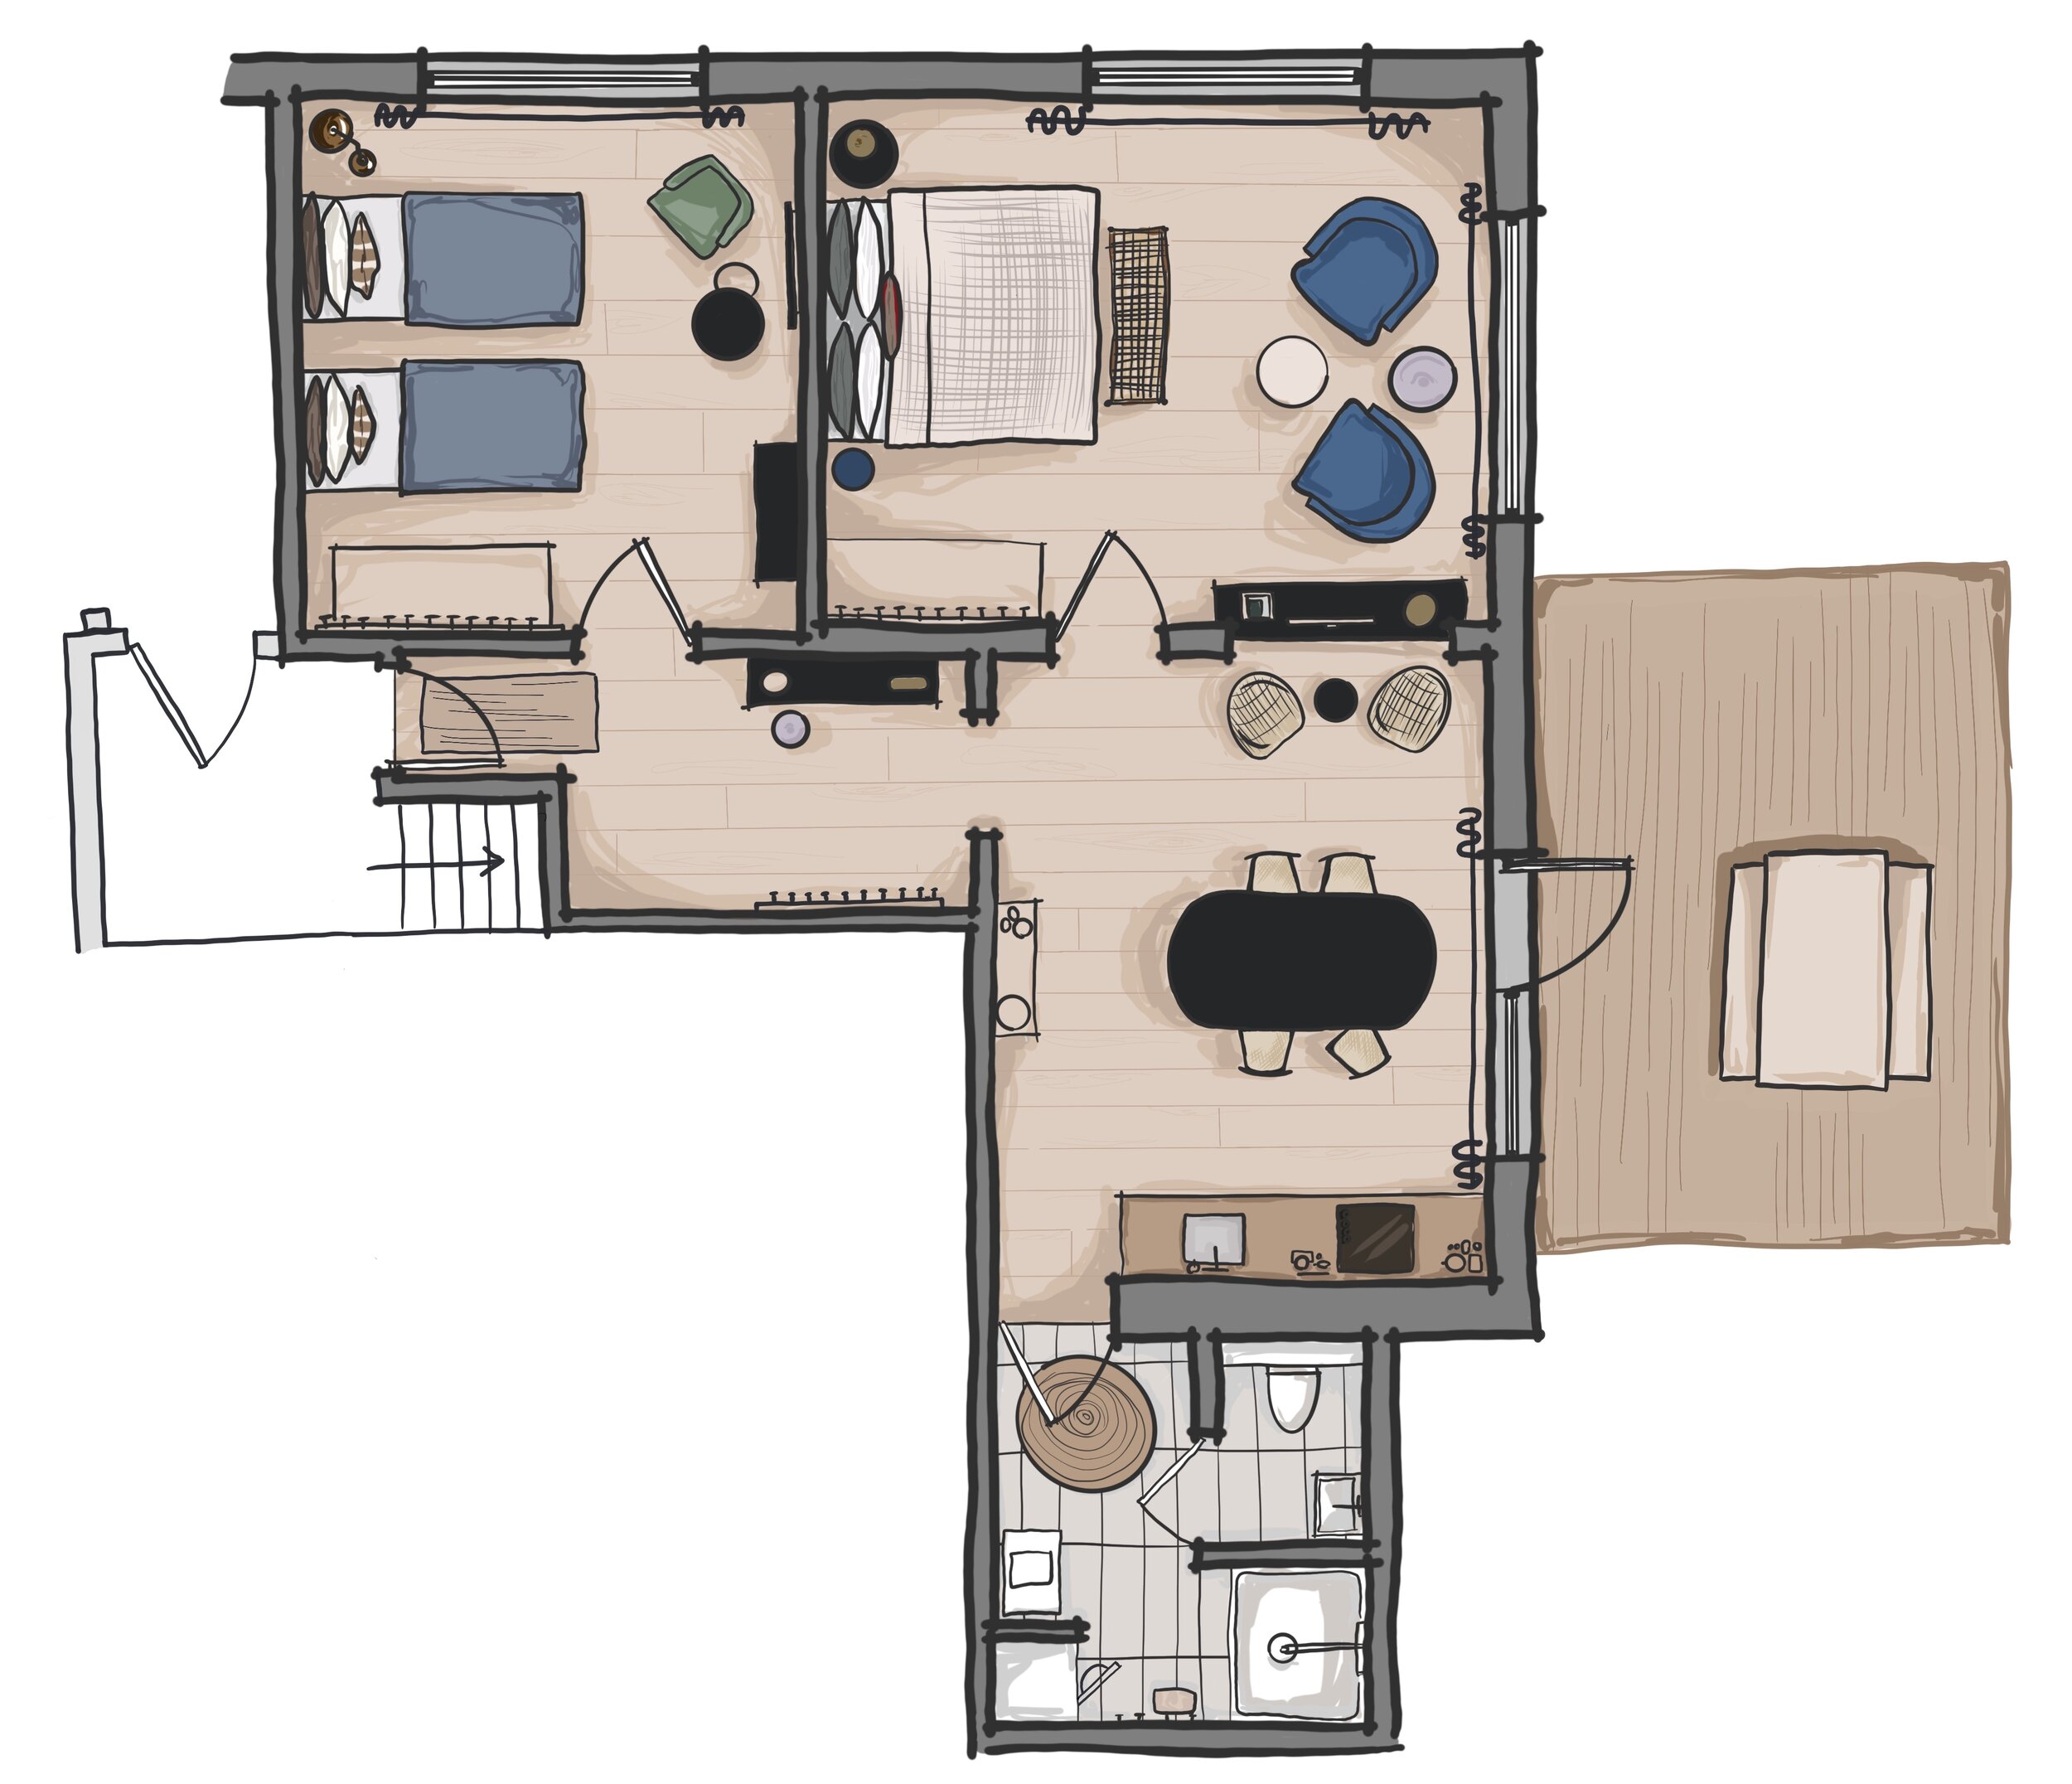
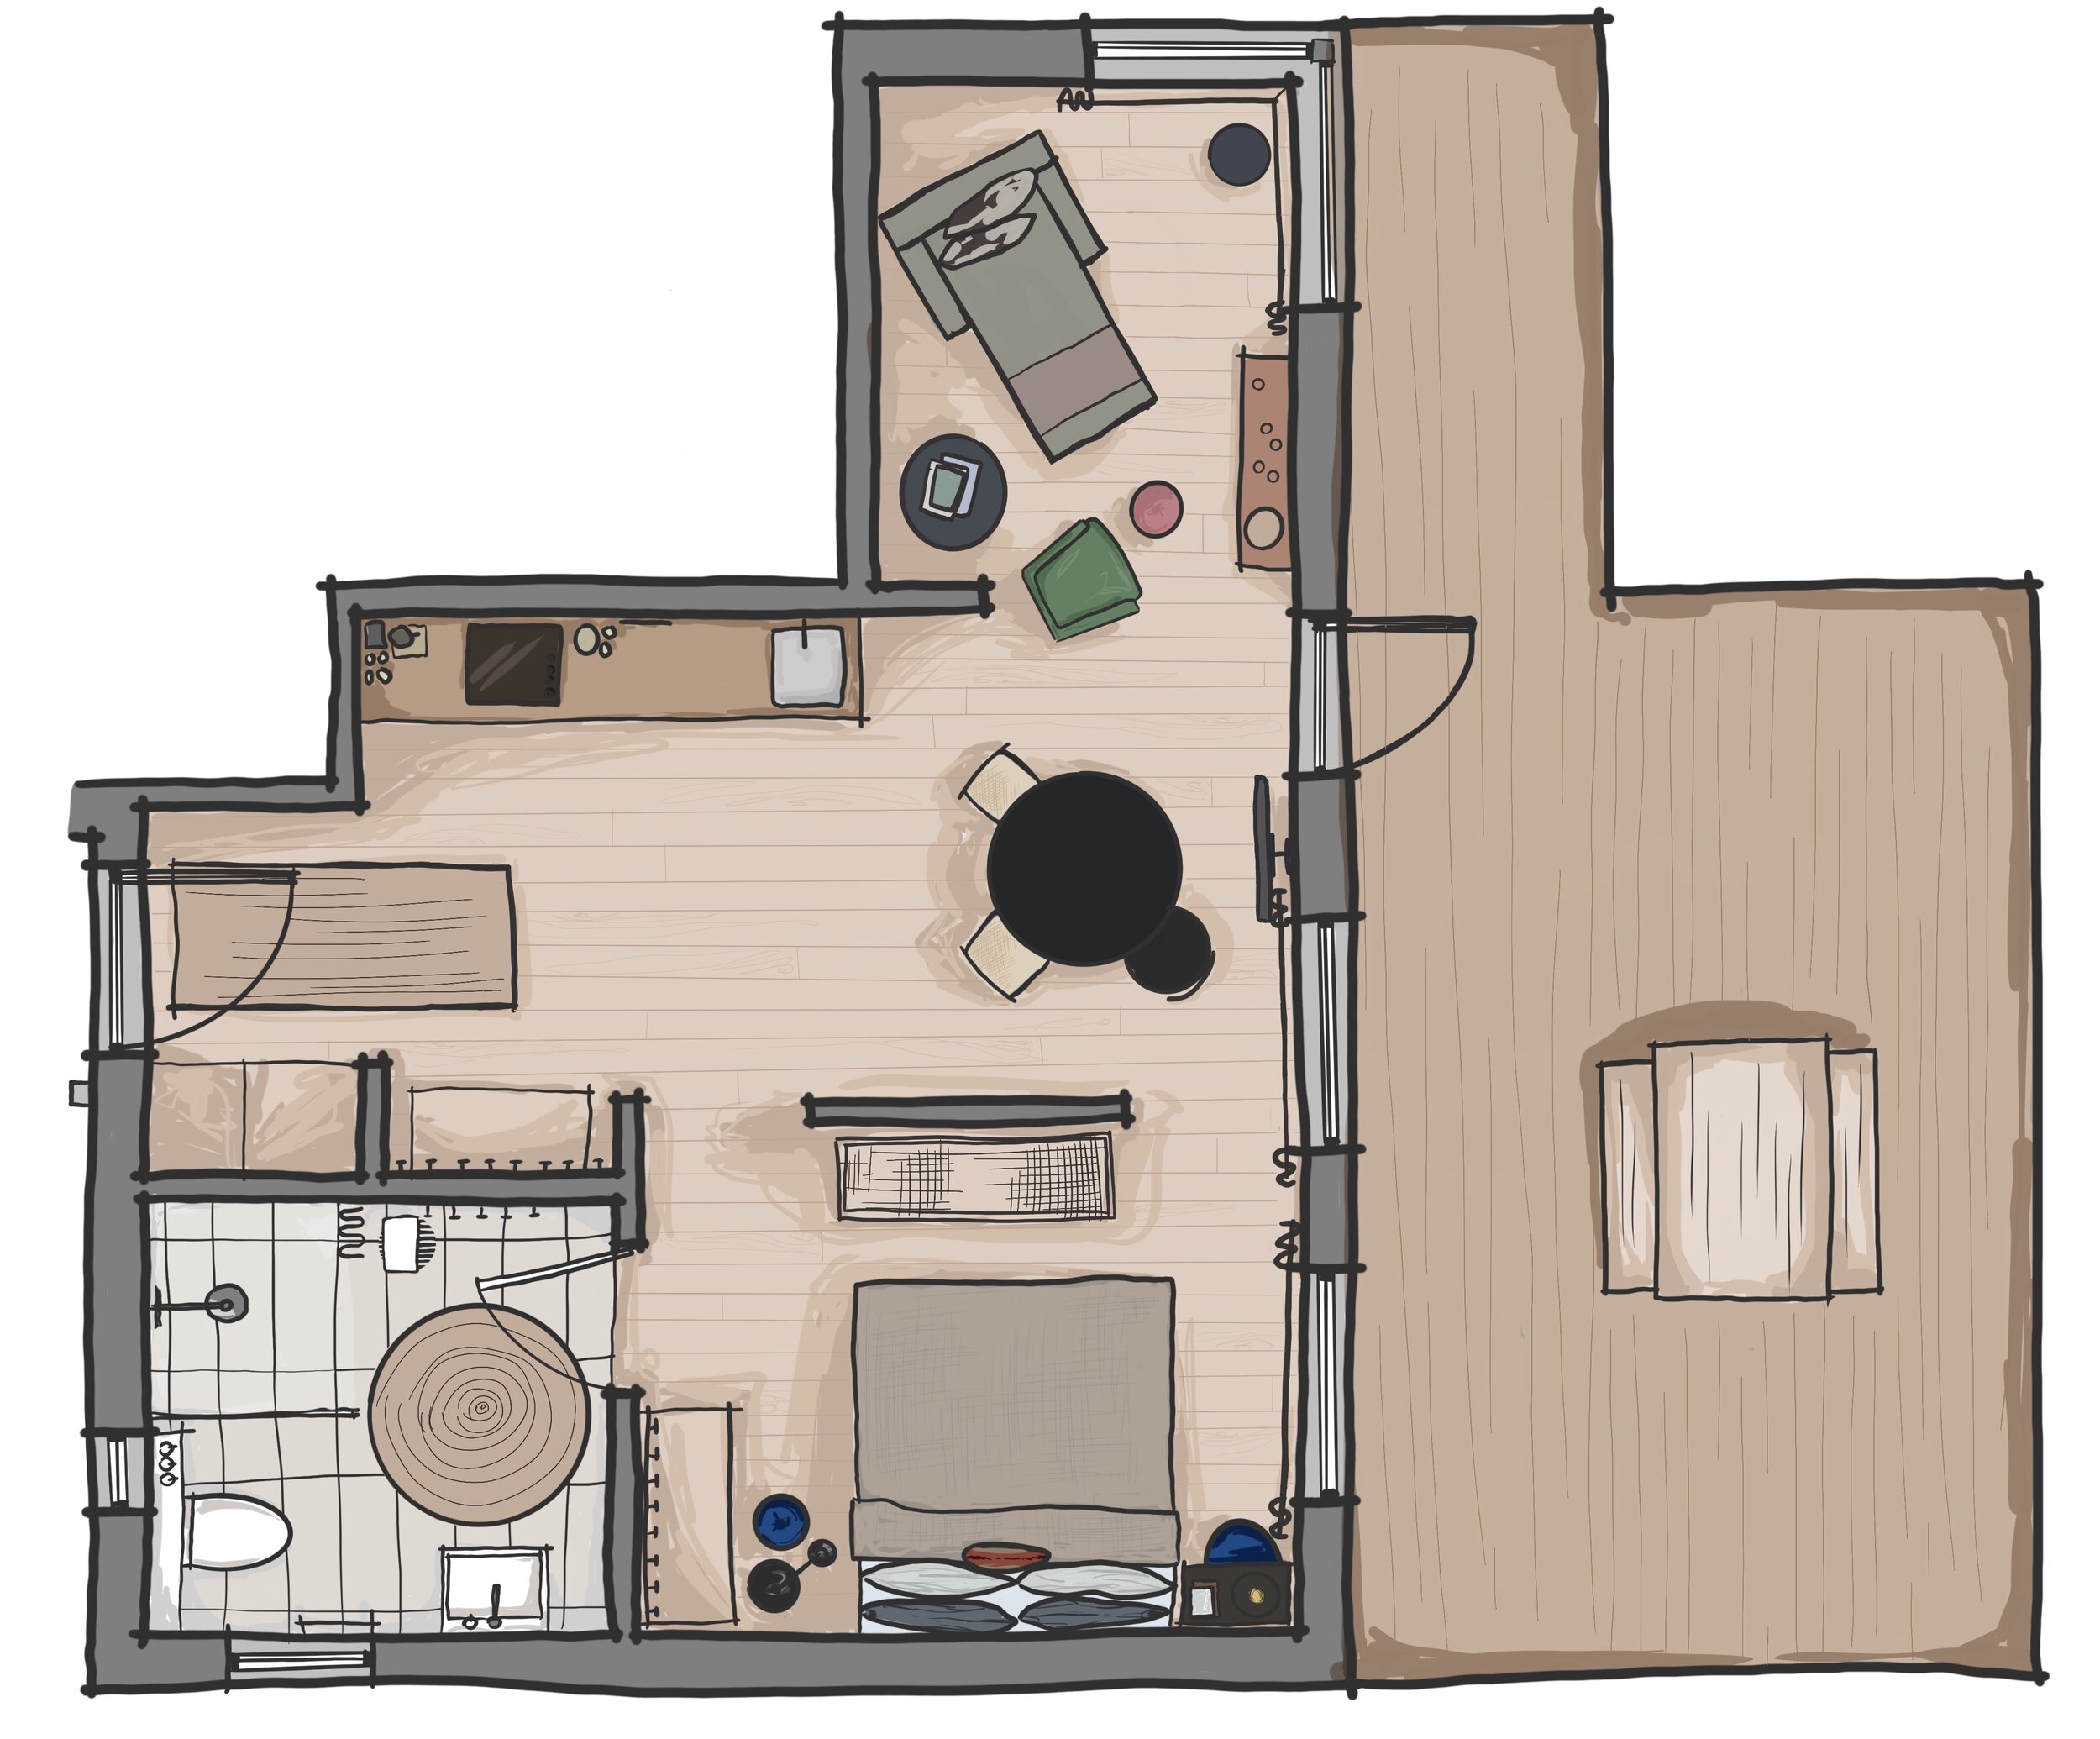
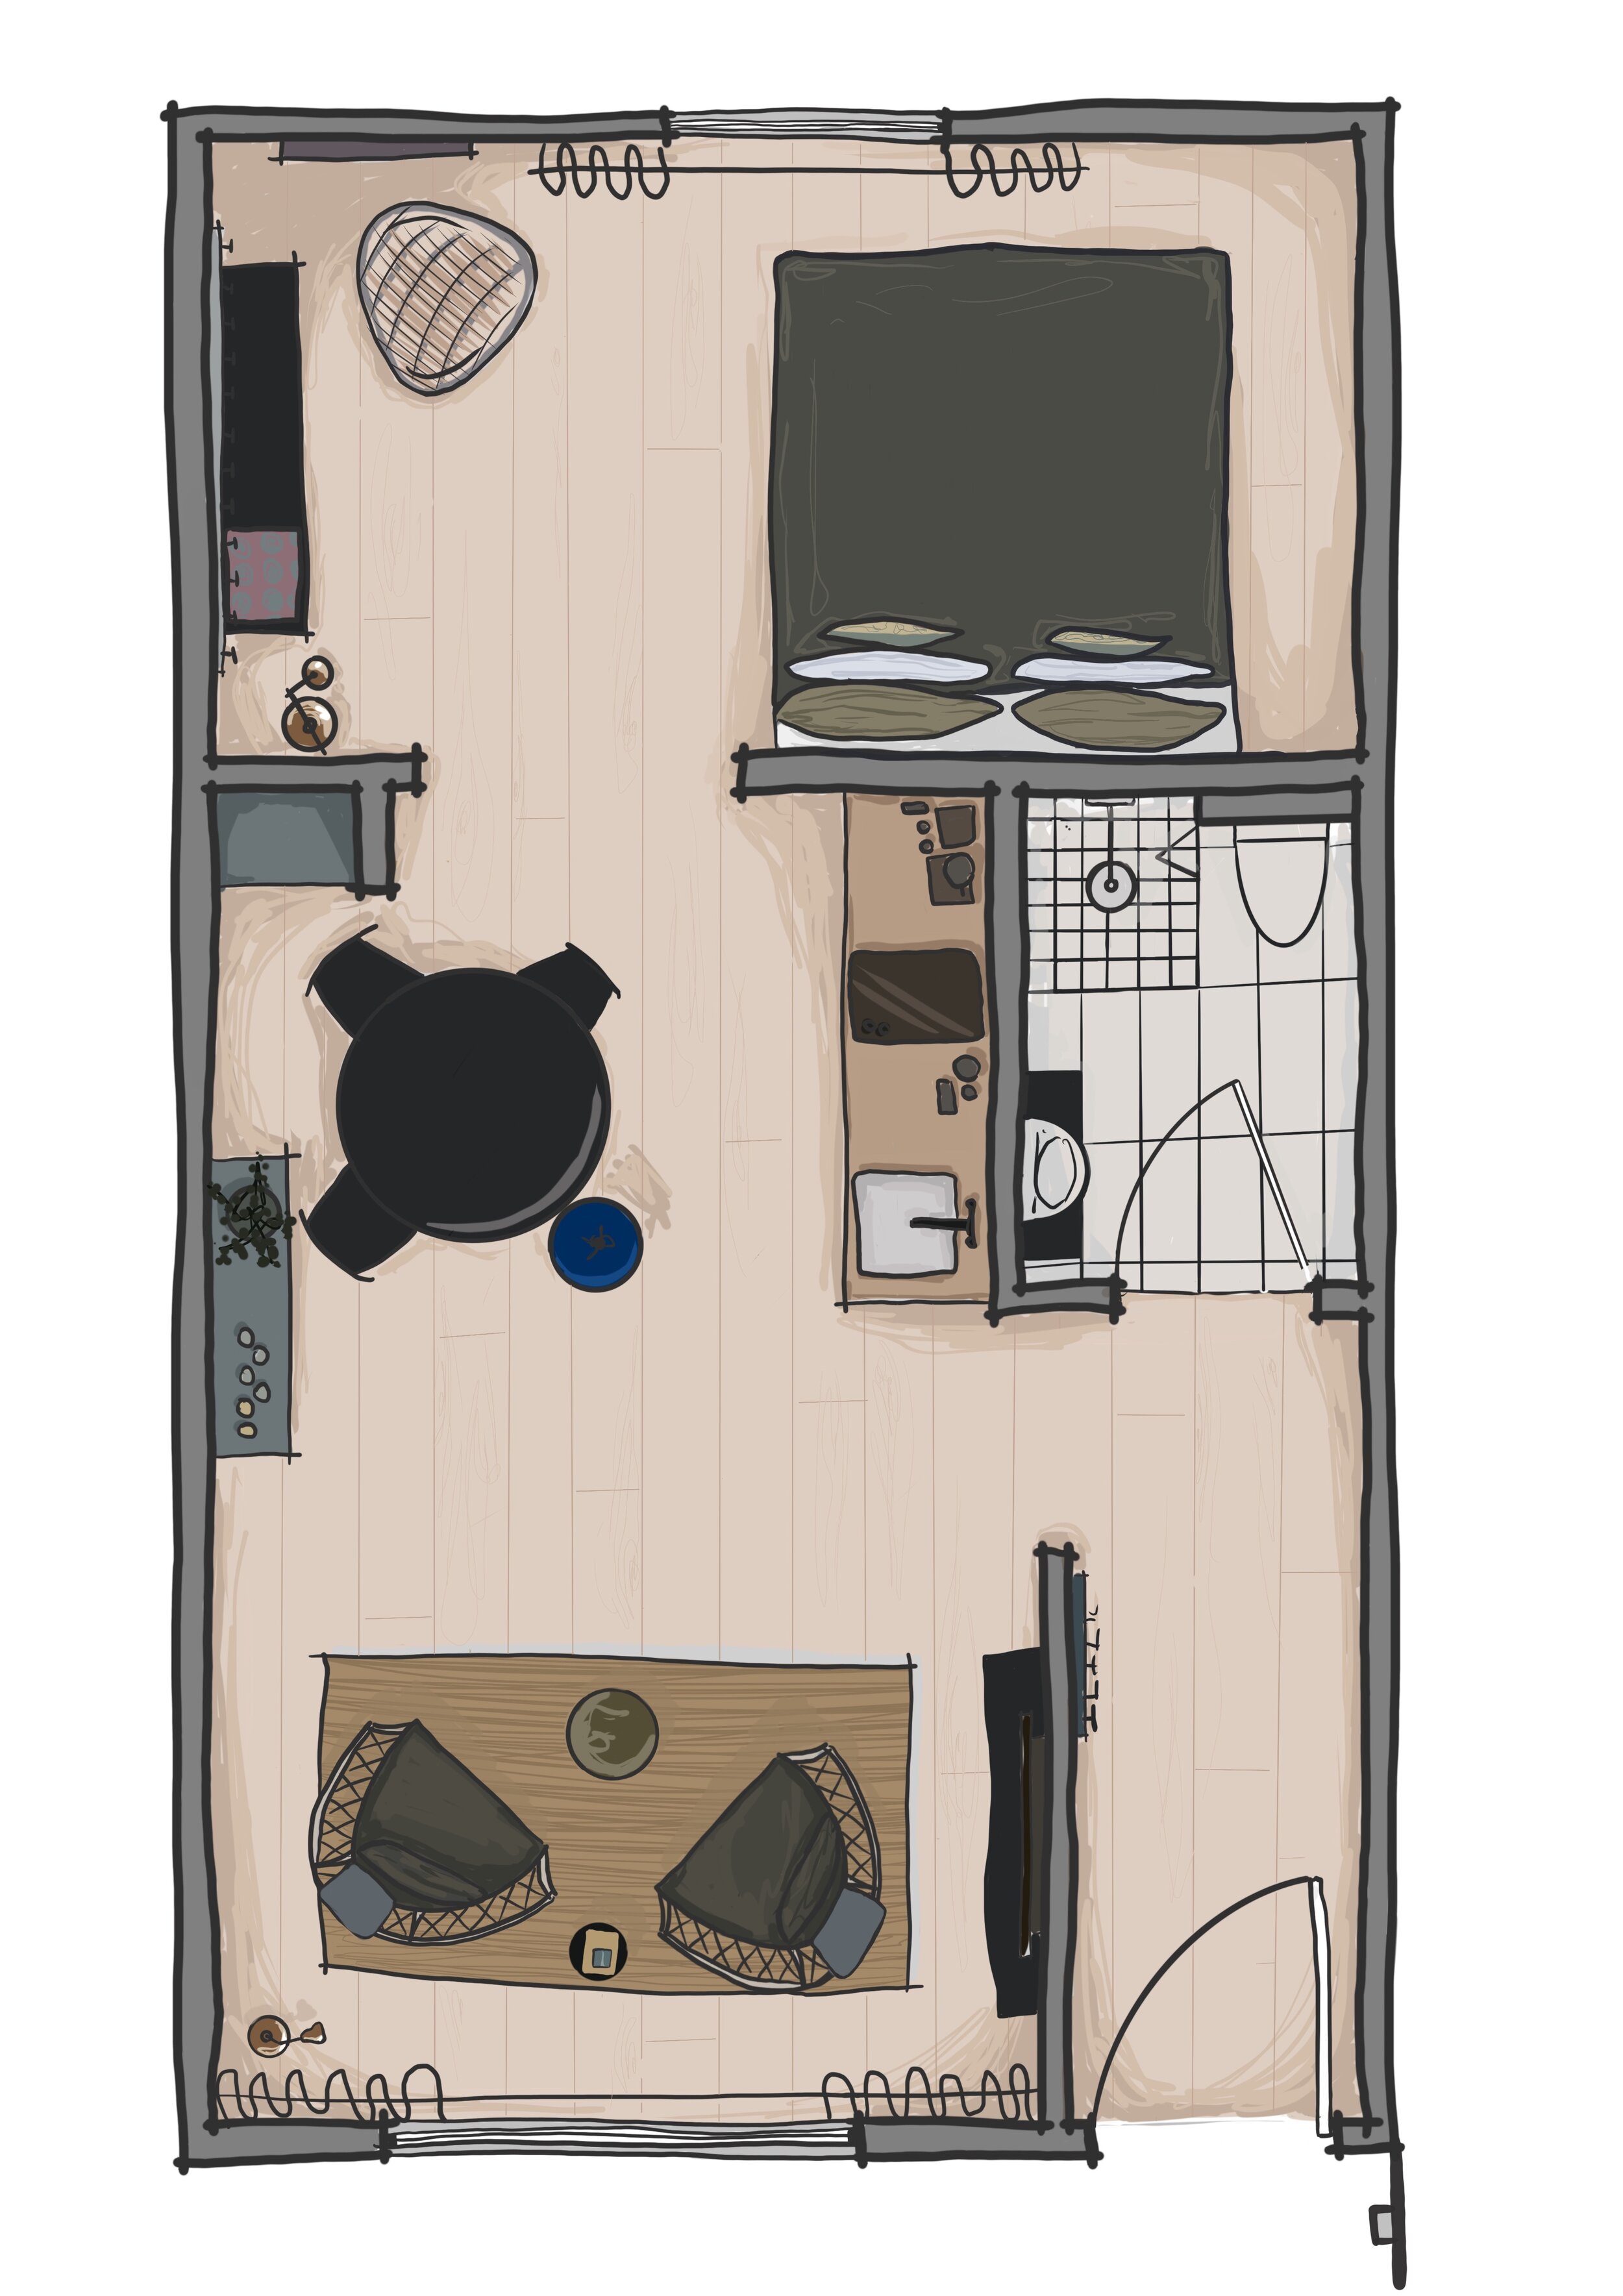
The owners of the Inni Boutique Apartments in Hveragerði were looking to add the floor plans of their apartments to their website to help guests best understand which rooms to book.
After a visit to these gorgeous apartments, we took some pictures and got some basic drawings down before getting back into the studio to create the hand-drawn floor plans and front elevation. The interiors are a sophisticated pallet of warm tones with natural materials mixed in. The finish is high quality and we wanted to best communicate this in our drawings.
Working on the iPad in procreate, we created a floor plan for each type of apartment complete with rendered furniture and fittings and a front elevation which in turn works with for marketing and communicate the style and vibe of these boutique apartments.
The drawings are now on the client’s website here.

Blog posts may contain affiliate links. If you click on a link and make a purchase, we may receive an affiliate commission at no additional cost to you.
Architect & former University Lecturer turned Entrepreneur. I help female Entrepreneurs successfully Design & Build their Creative Businesses in Interior Design, Architecture & Urban Sketching.


Architect & Former University Lecturer | Mentoring the Next Generation of Architects to Succeed from Day One
Follow me @sonianicolson

Home | Newsletter | Courses | ReykjavikSketcher | FAQ | Studio | Services | Wholesale | Press | Contact
© 2025 Sonia Nicolson | All Rights Reserved


