The Creative Confidence Toolkit
/
A practical and uplifting guide for students and creatives. Learn how to boost your creativity, manage overwhelm, and rebuild your confidence with simple daily rituals.
Read MoreRead practical tips, creative stories & resources for students, architects & designers - from career advice to hand drawing, sketching & studio life.
A practical and uplifting guide for students and creatives. Learn how to boost your creativity, manage overwhelm, and rebuild your confidence with simple daily rituals.
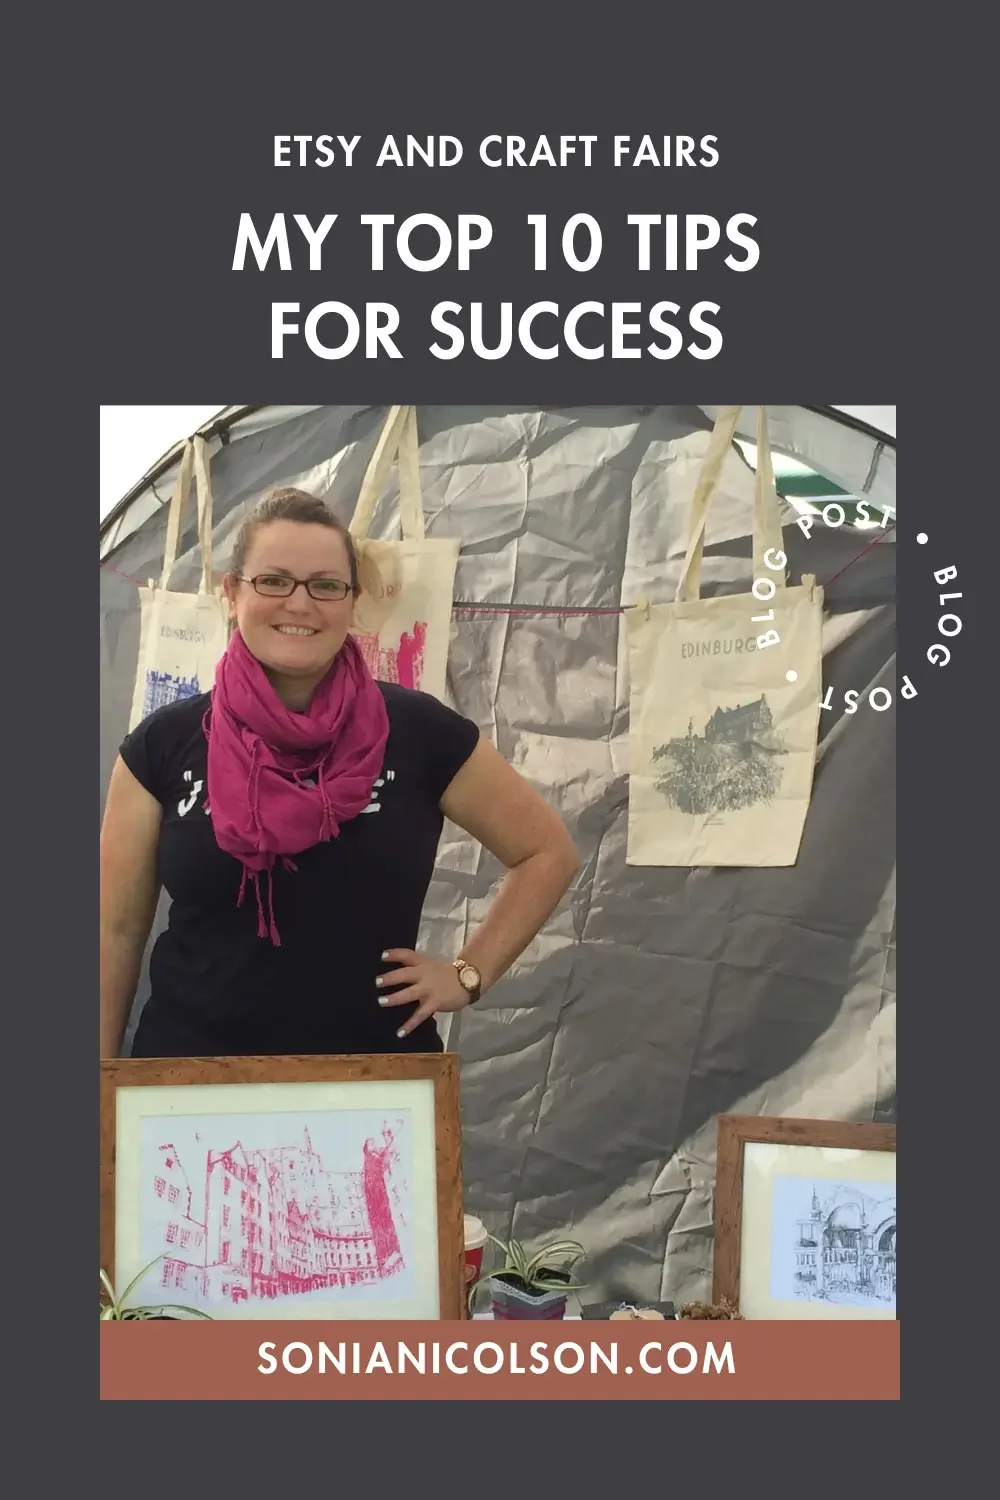
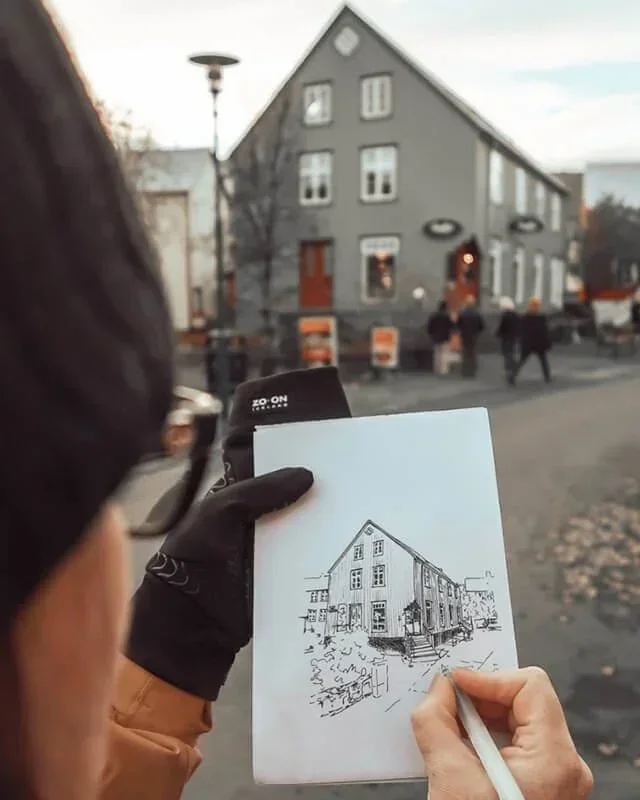
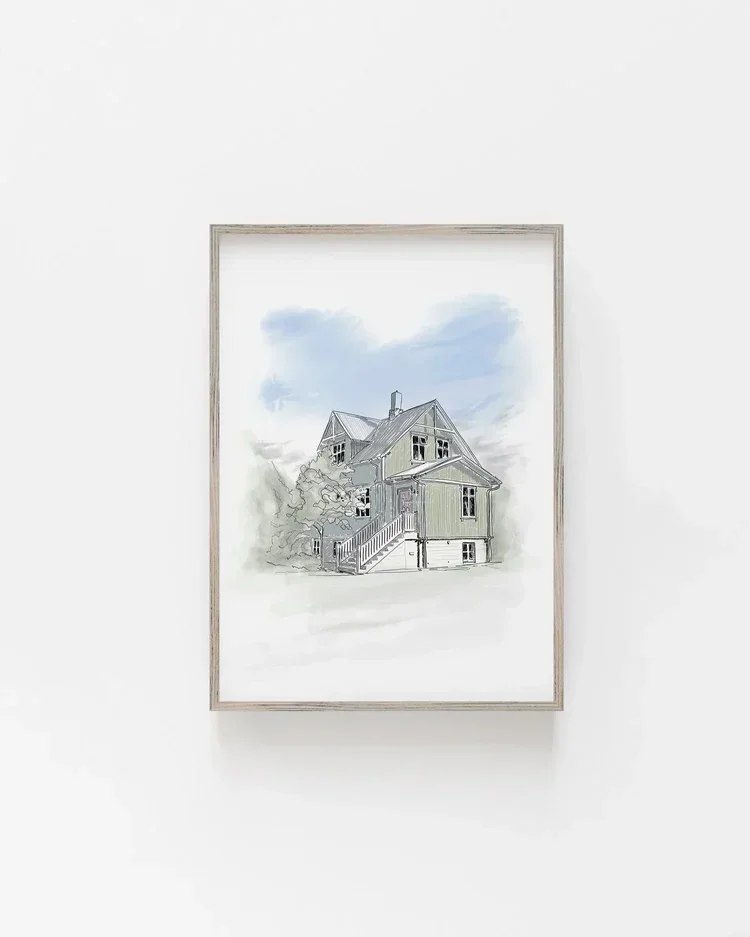
Read MoreBack from Iceland, and what an amazing summer, I'm ready to get back into the studio and start working towards...Dare I say it, Christmas? This year, I'm stepping up my game, challenging my confidence, and getting my work out there at local craft fairs.
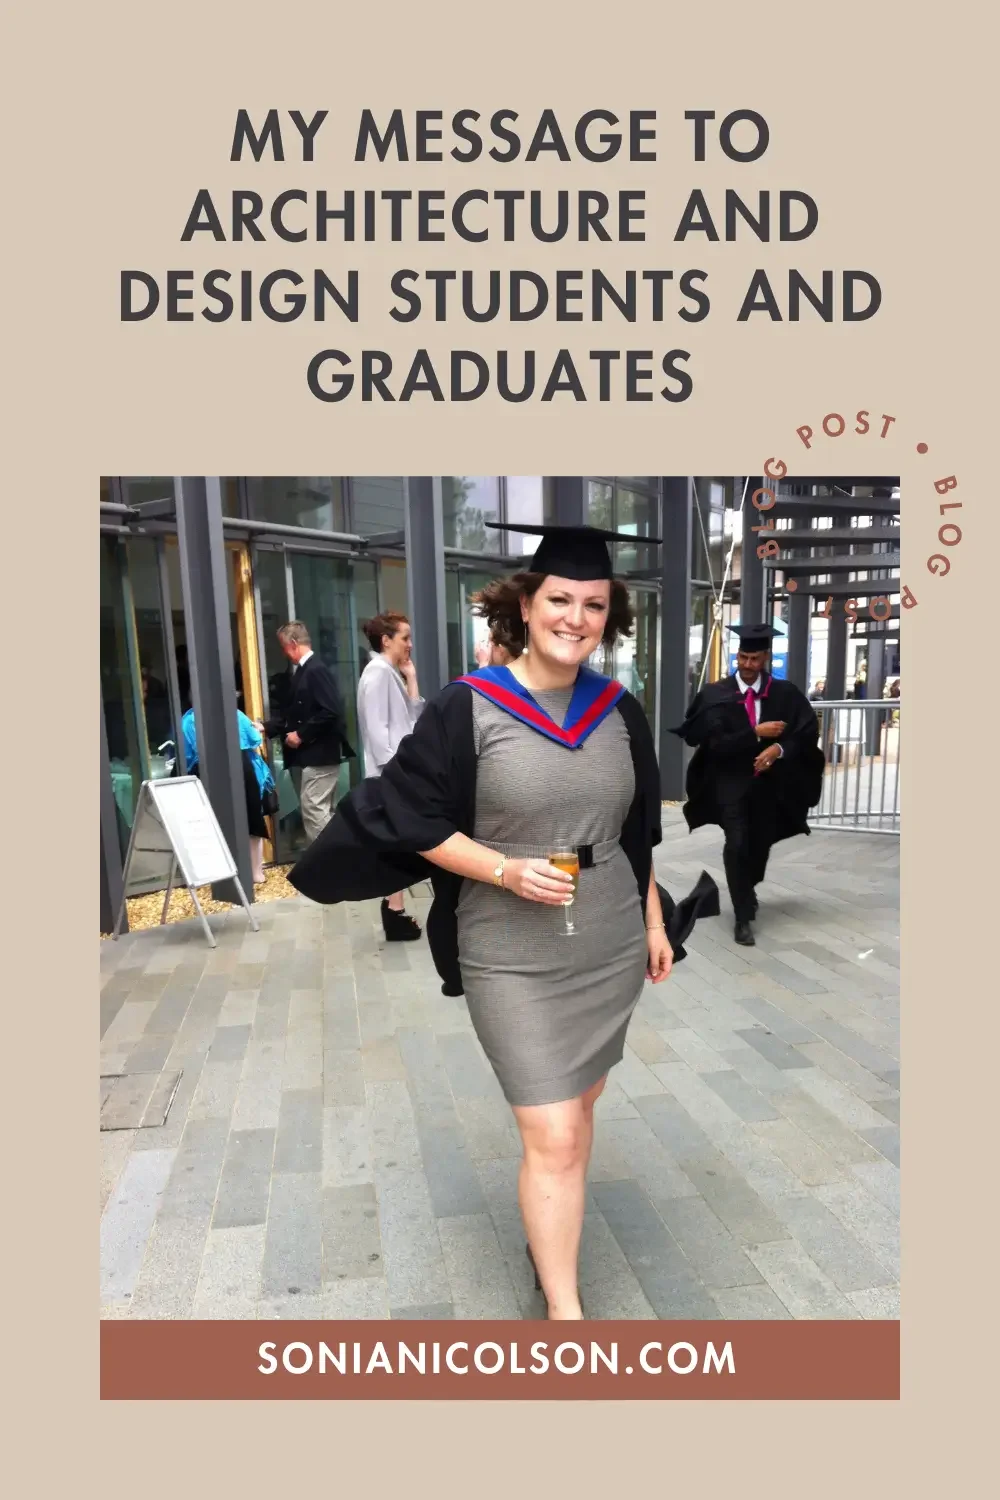
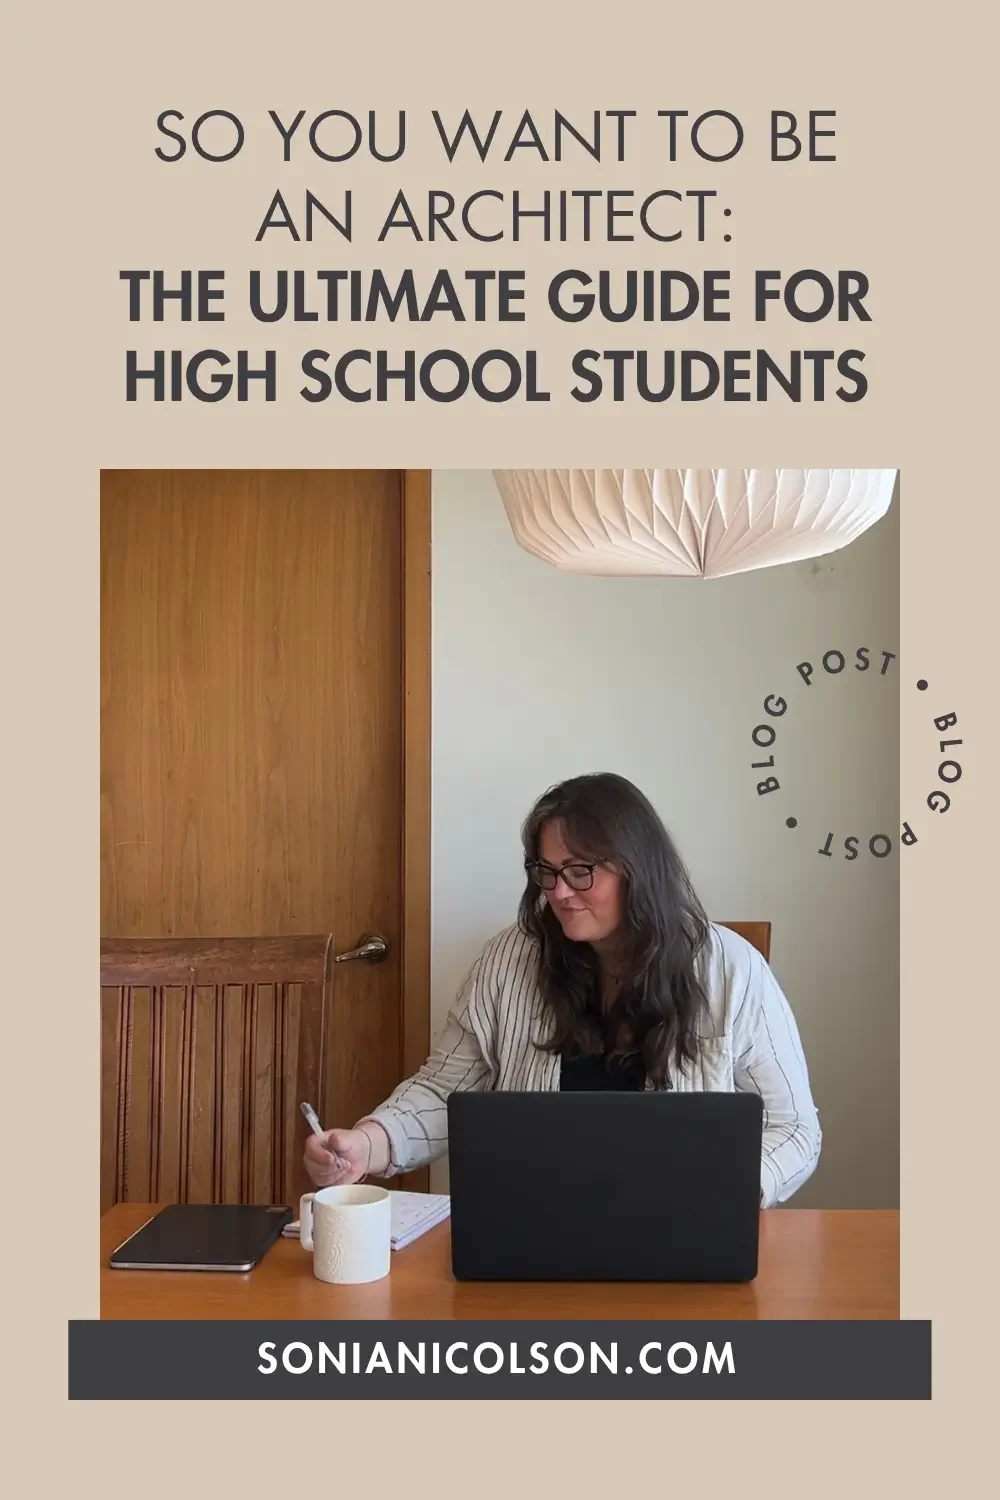
Read MoreLife as a design student is intense, exciting and transformative. In this personal message I share my journey through architecture school and 10 essential tips to help students and graduates navigate their next chapter with confidence.
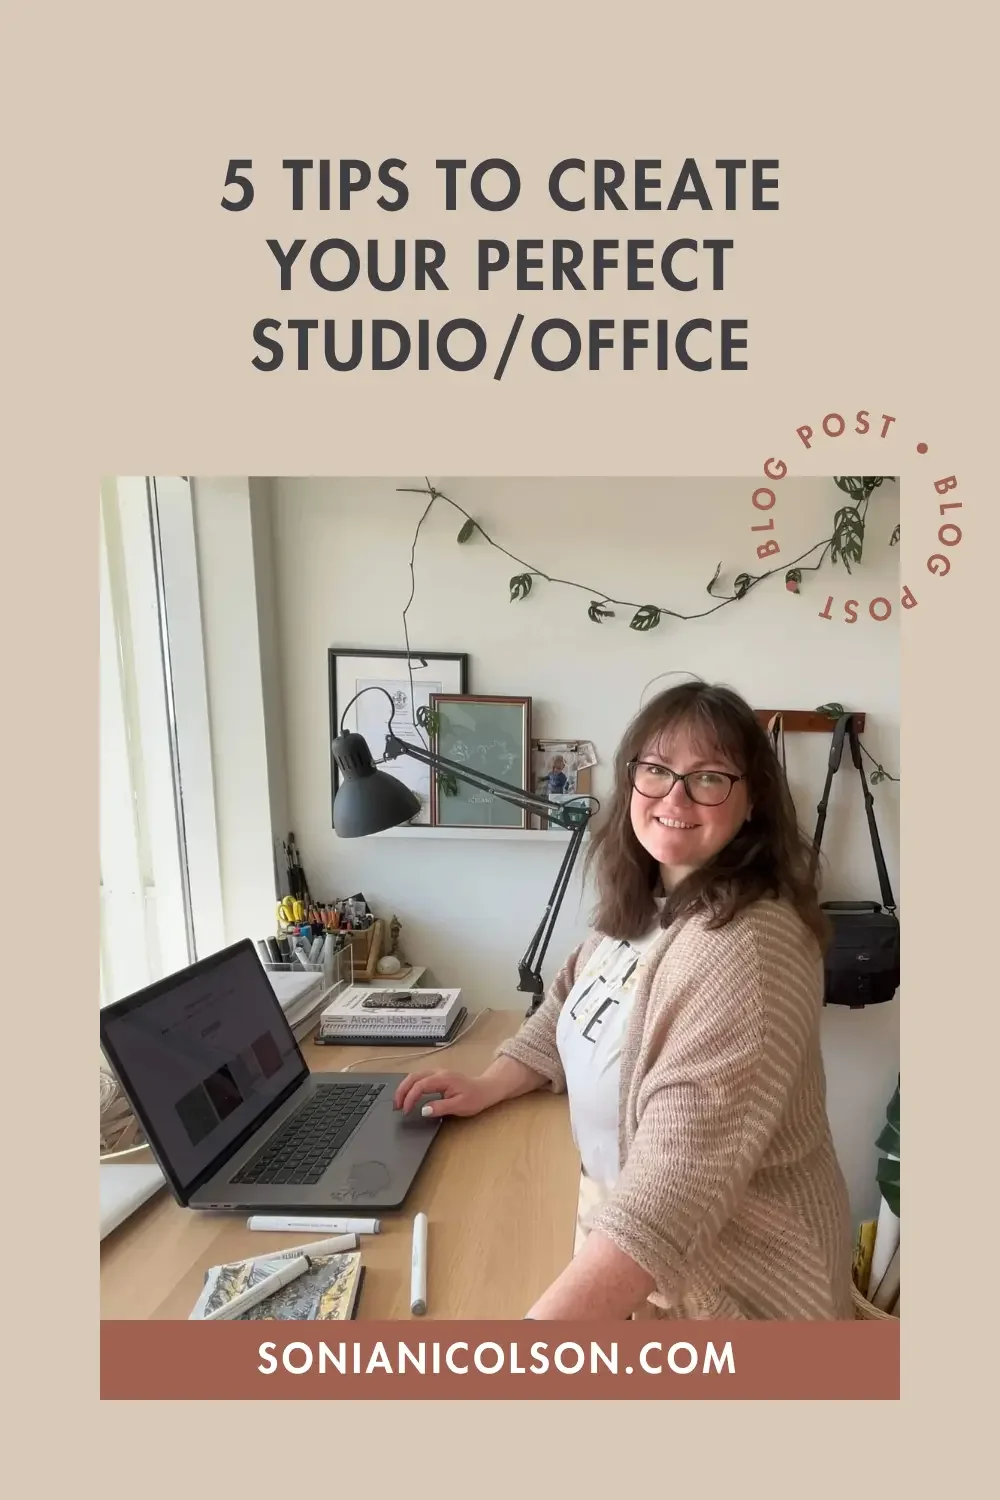
Read MoreWelcome to my studio, a small but hardworking corner of our living room. In this post I’m sharing a behind-the-scenes look at my setup and five practical tips to help you create a calm, functional workspace for your own creative work at home.
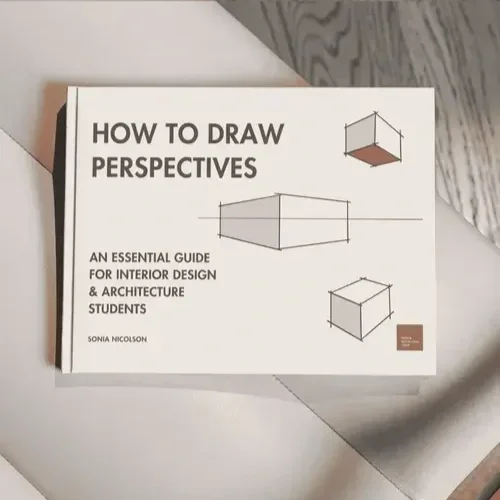
Read MoreA practical guide to architectural ink rendering, sharing tools, paper choices, and step-by-step tips for creating hand-rendered interior drawings with marker pens.
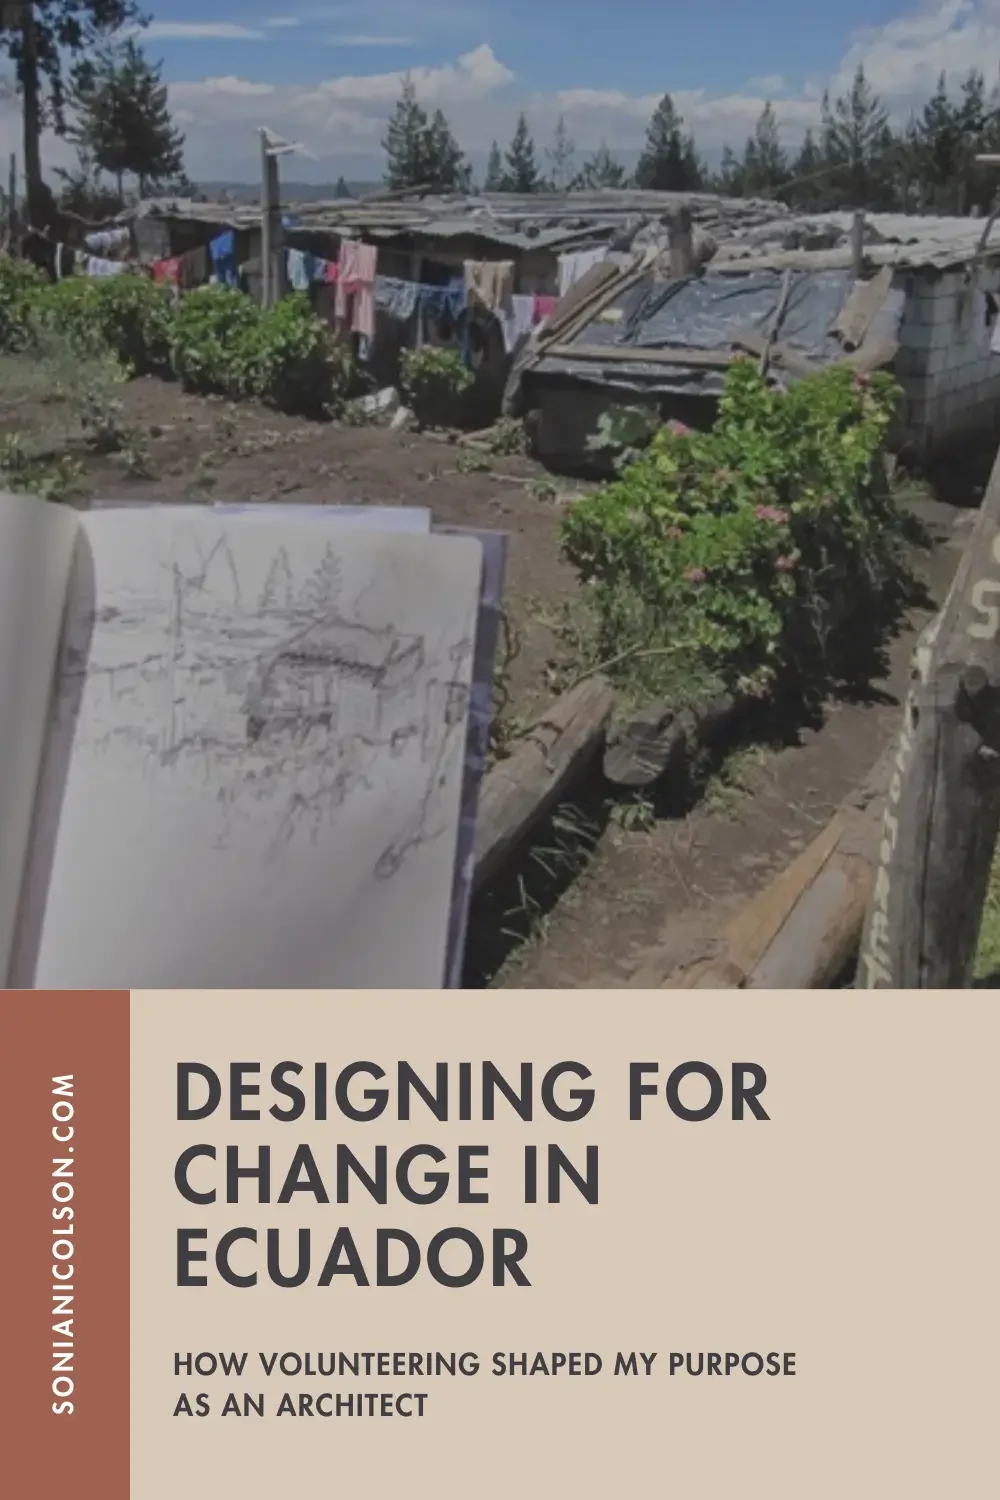
Read MoreVolunteering in Ecuador with Architecture Sans Frontières changed the way I saw design. Through participatory workshops in Quito’s informal settlements, I learned that architecture isn’t just about buildings - it’s about people, community, and the power of collaboration.
Read MoreSonia Nicolson is a British Chartered Architect (ARB) and Fellow of the Higher Education Academy (FHEA), with 15+ years of international experience in Architecture, Interior Architecture & Design, and design education. As a Senior Lecturer, she has taught and mentored over 8,000 students worldwide and now helps aspiring architecture and interior design students develop confidence in hand drawing, visual communication, and portfolio preparation.
Through her courses, ebooks, and mentoring, Sonia specialises in making complex design skills clear, practical, and accessible - especially for students preparing for college, university, applications, or a career in the built environment.
Start your journey on the Start Here page.
New to my blog? Begin with these reader favourites on studying architecture, portfolios, and learning to draw.
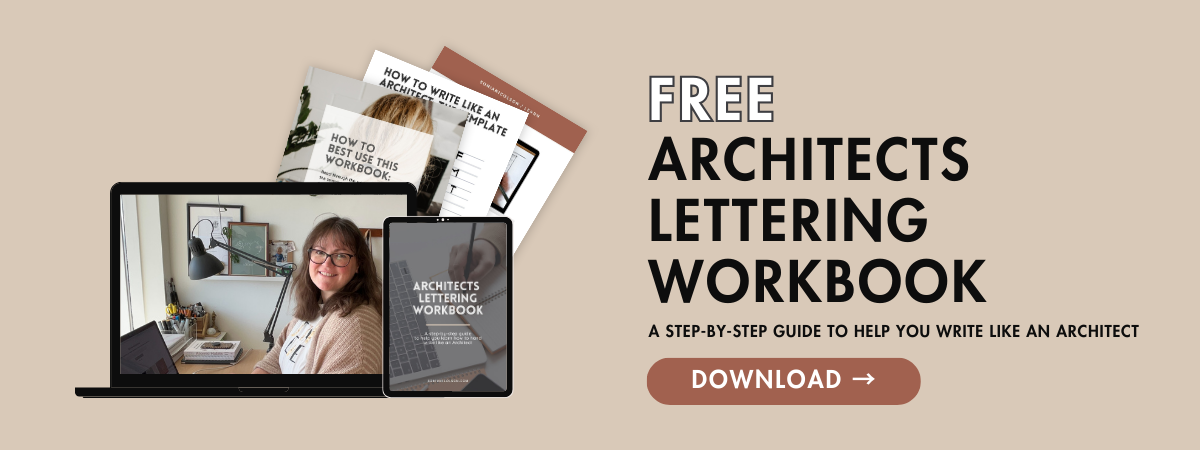
Want more support? Explore my Free Resources and Courses.
Architect & former University Lecturer turned Entrepreneur. I help female Entrepreneurs successfully Design & Build their Creative Businesses in Interior Design, Architecture & Urban Sketching.

Architect & former University Lecturer helping you get in, stand out and feel confident in architecture school.
ARB - British Chartered Architect
FHEA - Fellow of the Higher Education Academy
Senior Lecturer, Arts University Bournemouth (UK)
Academic Representative, British Council (Design Education)
Academic Director, Raffles Design Institute (India)

Helping architecture students & women in design build confidence through hand drawing.
Follow on Instagram @SoniaNicolson

Press | Privacy Policy | T&C
Copyright © 2026 Sonia Nicolson