Finding Home and Creativity in Reykjavik, Iceland

Finding Home and Creativity in Reykjavik, Iceland

After years of constant movement and academic pressure, Iceland gave me the space to breathe again. Sketching Reykjavik helped me find home, reconnect with creativity, and redefine what balance means as both an architect and a mum.

Read More

Portfolio Preparation Guide: How to Get Ready for Your Art or Design University Interview

Portfolio Preparation Guide: How to Get Ready for Your Art or Design University Interview

Preparing for your art or design university interview? This comprehensive guide, written by a former university lecturer, walks you through how to create a standout portfolio, what to include, how to present it, and what to expect on the day so you can walk in feeling confident and ready to impress.

Read More

Etsy and Craft Fairs: My Top 10 Tips For Success

Etsy + Craft Fairs: My Top 10 Tips For Success

Back from Iceland, and what an amazing summer, I'm ready to get back into the studio and start working towards...dare I say it, Christmas. This year I'm stepping up my game, challenging my confidence, and getting my work out there at local craft fairs. I'm taking part in not one but two local Etsy fairs and will be busy for the next few weeks prepping my prints and products ready for Etsy Autumn & Christmas markets. I'm super excited about them but am also very aware of how much work the previous 'Art in the Park' (image above) took, but meeting other stallholders and, hopefully, lots of you guys make it all worthwhile. So let the planning begin and the creating continue.

craft stall

I'm already excited for this year’s run-up to Christmas and the fairs I'm working towards. I haven't done a lot of local craft fairs but those I have, have been very successful and a lot of fun so I thought I'd share my top tips for setting up and running a stall. If you're thinking about having a stall at a fair, then go for it, what's stopping you?! And, if you have signed up and it's your first time, enjoy it and let me know how it goes.


10 top tips for a successful fair:

  1. Presentation

    First impressions count. Think about your potential customers and their first reaction when they see you and your stall. How do you want to connect with them? How will you make your products stand out? Consider your branding and colour scheme so they know and remember who you are. 

  2. Perfect Products

    Think of your range and its bestsellers, what has previously worked at markets, or in this location. Consider the theme of the fair and the type of visitors it might get. Aim to have your products, with prices and any further information, clearly displayed. You can have all your stock on the table or a small amount displayed and more kept aside, under the table, all packaged up and ready for customers. 

  3. Organization + Finances

    Bring petty cash (lots of change) in a lockable box or container to act as your till, look into a card machine, enquire about wifi, use a money wallet so you can stash cash on you, bring a calculator so you don't have to use your phone all day, notebook and pens to keep track and record sales, and inquiries list for anyone who wishes you to contact them, an inventory of stock and make sure everything is in place for a busy spell on your stall. 

  4. Business cards

    You must use these events to network. This might be for wholesale, commissions, new customers, or new followers on social media. Have business cards on display, leaflets explaining what you offer, and possibly a wholesale info pack giving more information which can be followed up by a call or email if you get their details.

  5. Packaging

    Make sales and packaging easy for yourself so you can help customers quickly and send them happily on their way with a well-packaged product that will not be damaged, shows your branding (especially on the bag they will now be walking around with), and has your contact details on a sticker or business card inside to encourage them to visit your shop or website. 

  6. Hype

    Create a buzz. If you are on social media then get tweeting about your fair. Join or set up a Pinterest group and get pinning the work you will be selling. Talk about it on Facebook and maybe set up an event to invite people to. Announce the event(s) in your newsletter or email your subscribers. Oh, and write a cheeky wee blog post to self-promote. 

  7. Sort out transport

    Rope in a friend/family member to help, that way you can worry about getting your products safely to the fair and setting up the stall, and they can get you there and worry about parking.

  8. Stocktake

    Know what you are taking with you to each fair, especially as you may be doing numerous fairs in a month and be rolling stock over from one fair to the next. It's a good idea to know what worked well, what's left over, and what you might want to run as a special offer/stock clearance. 

  9. Keep warm

    A lot of fairs are in old community centres, church halls or industrial buildings so wrap up warm in layers, bring snacks you can nibble on throughout the day and between speaking to customers, and a flask (or two) of tea.

  10. Think of your poor wee feet

    Wear comfy shoes, you will be standing a lot. Bring a mat (of the camping or yoga variety) or square of carpet to stand on - this will help keep you warm if standing on a concrete floor all day and will cushion you too. 

My Message To Students and Graduates

Life as a design student can be intense. Deadlines, presentations, reports, retakes, and the dreaded “computer crash at 2 am” moment. Add in calls from family when you have no time to talk, living on a budget, and you might wonder: why do we put ourselves through it?

Because it’s an investment in your future, your skills, your personal growth, your confidence, and even in the friendships that may last a lifetime. Yes, it’s hard. But it’s also exciting, inspiring, and full of moments you’ll look back on with pride.

My Message To Students and Graduates

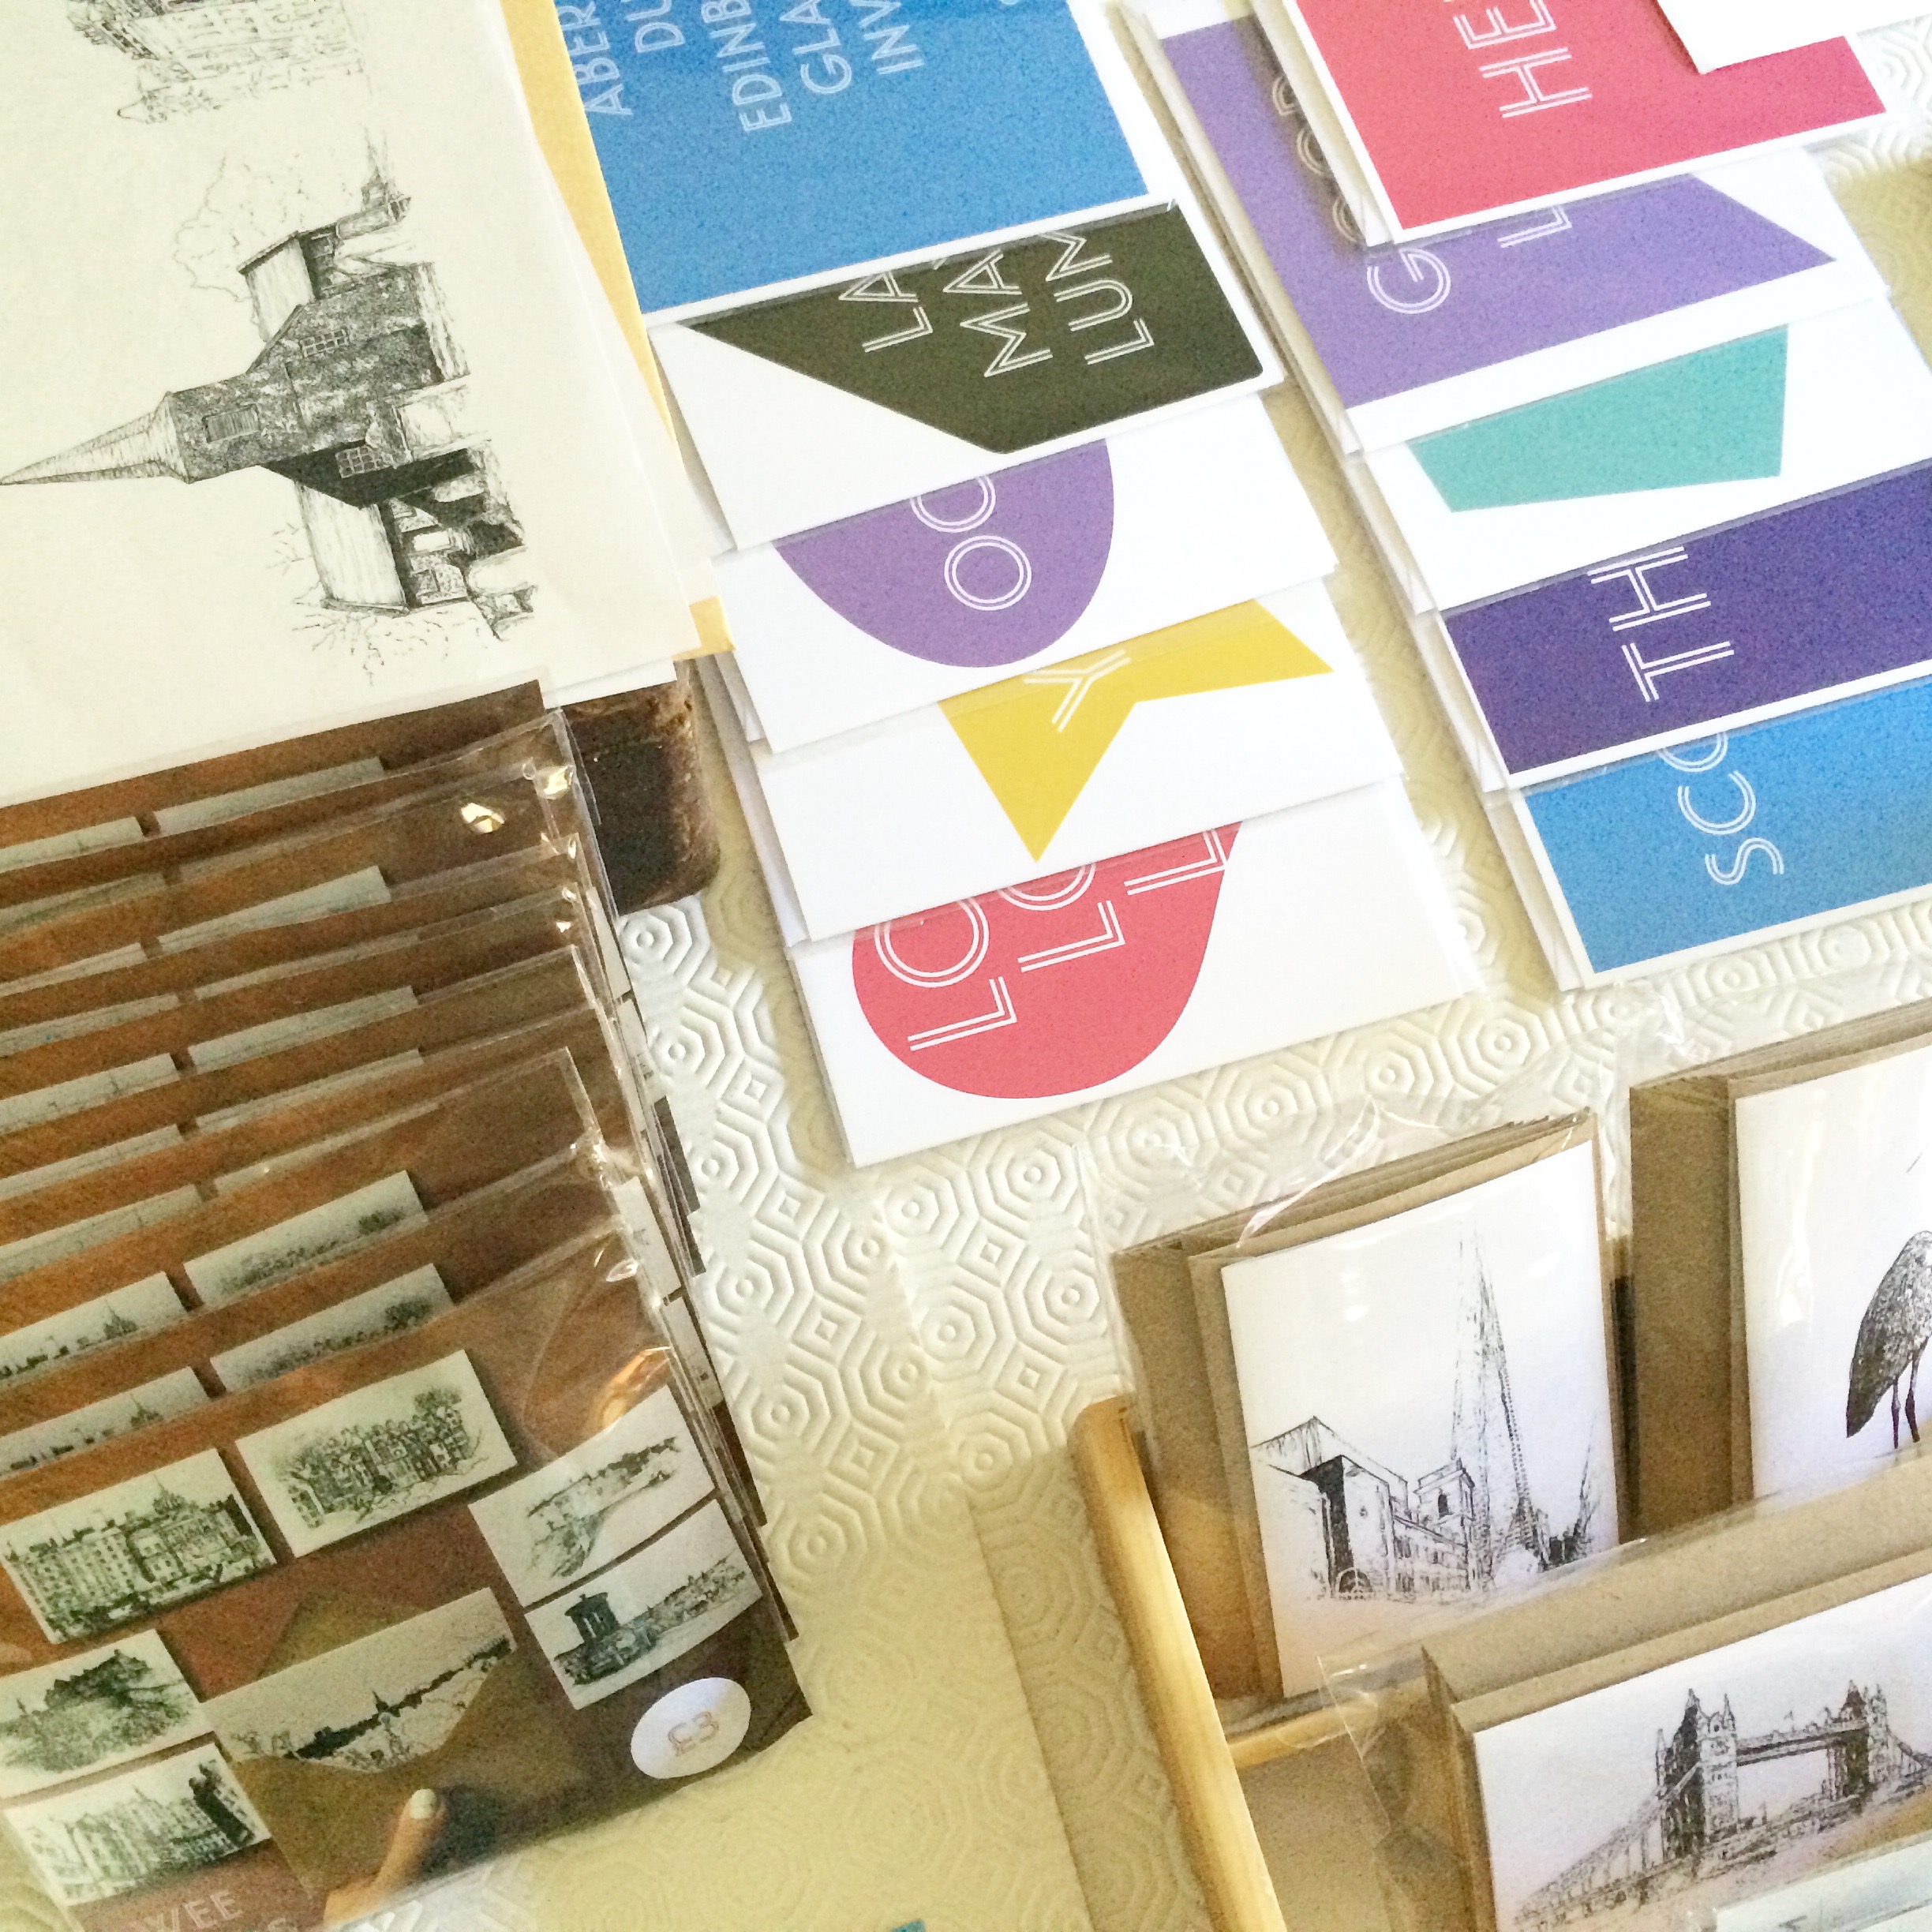
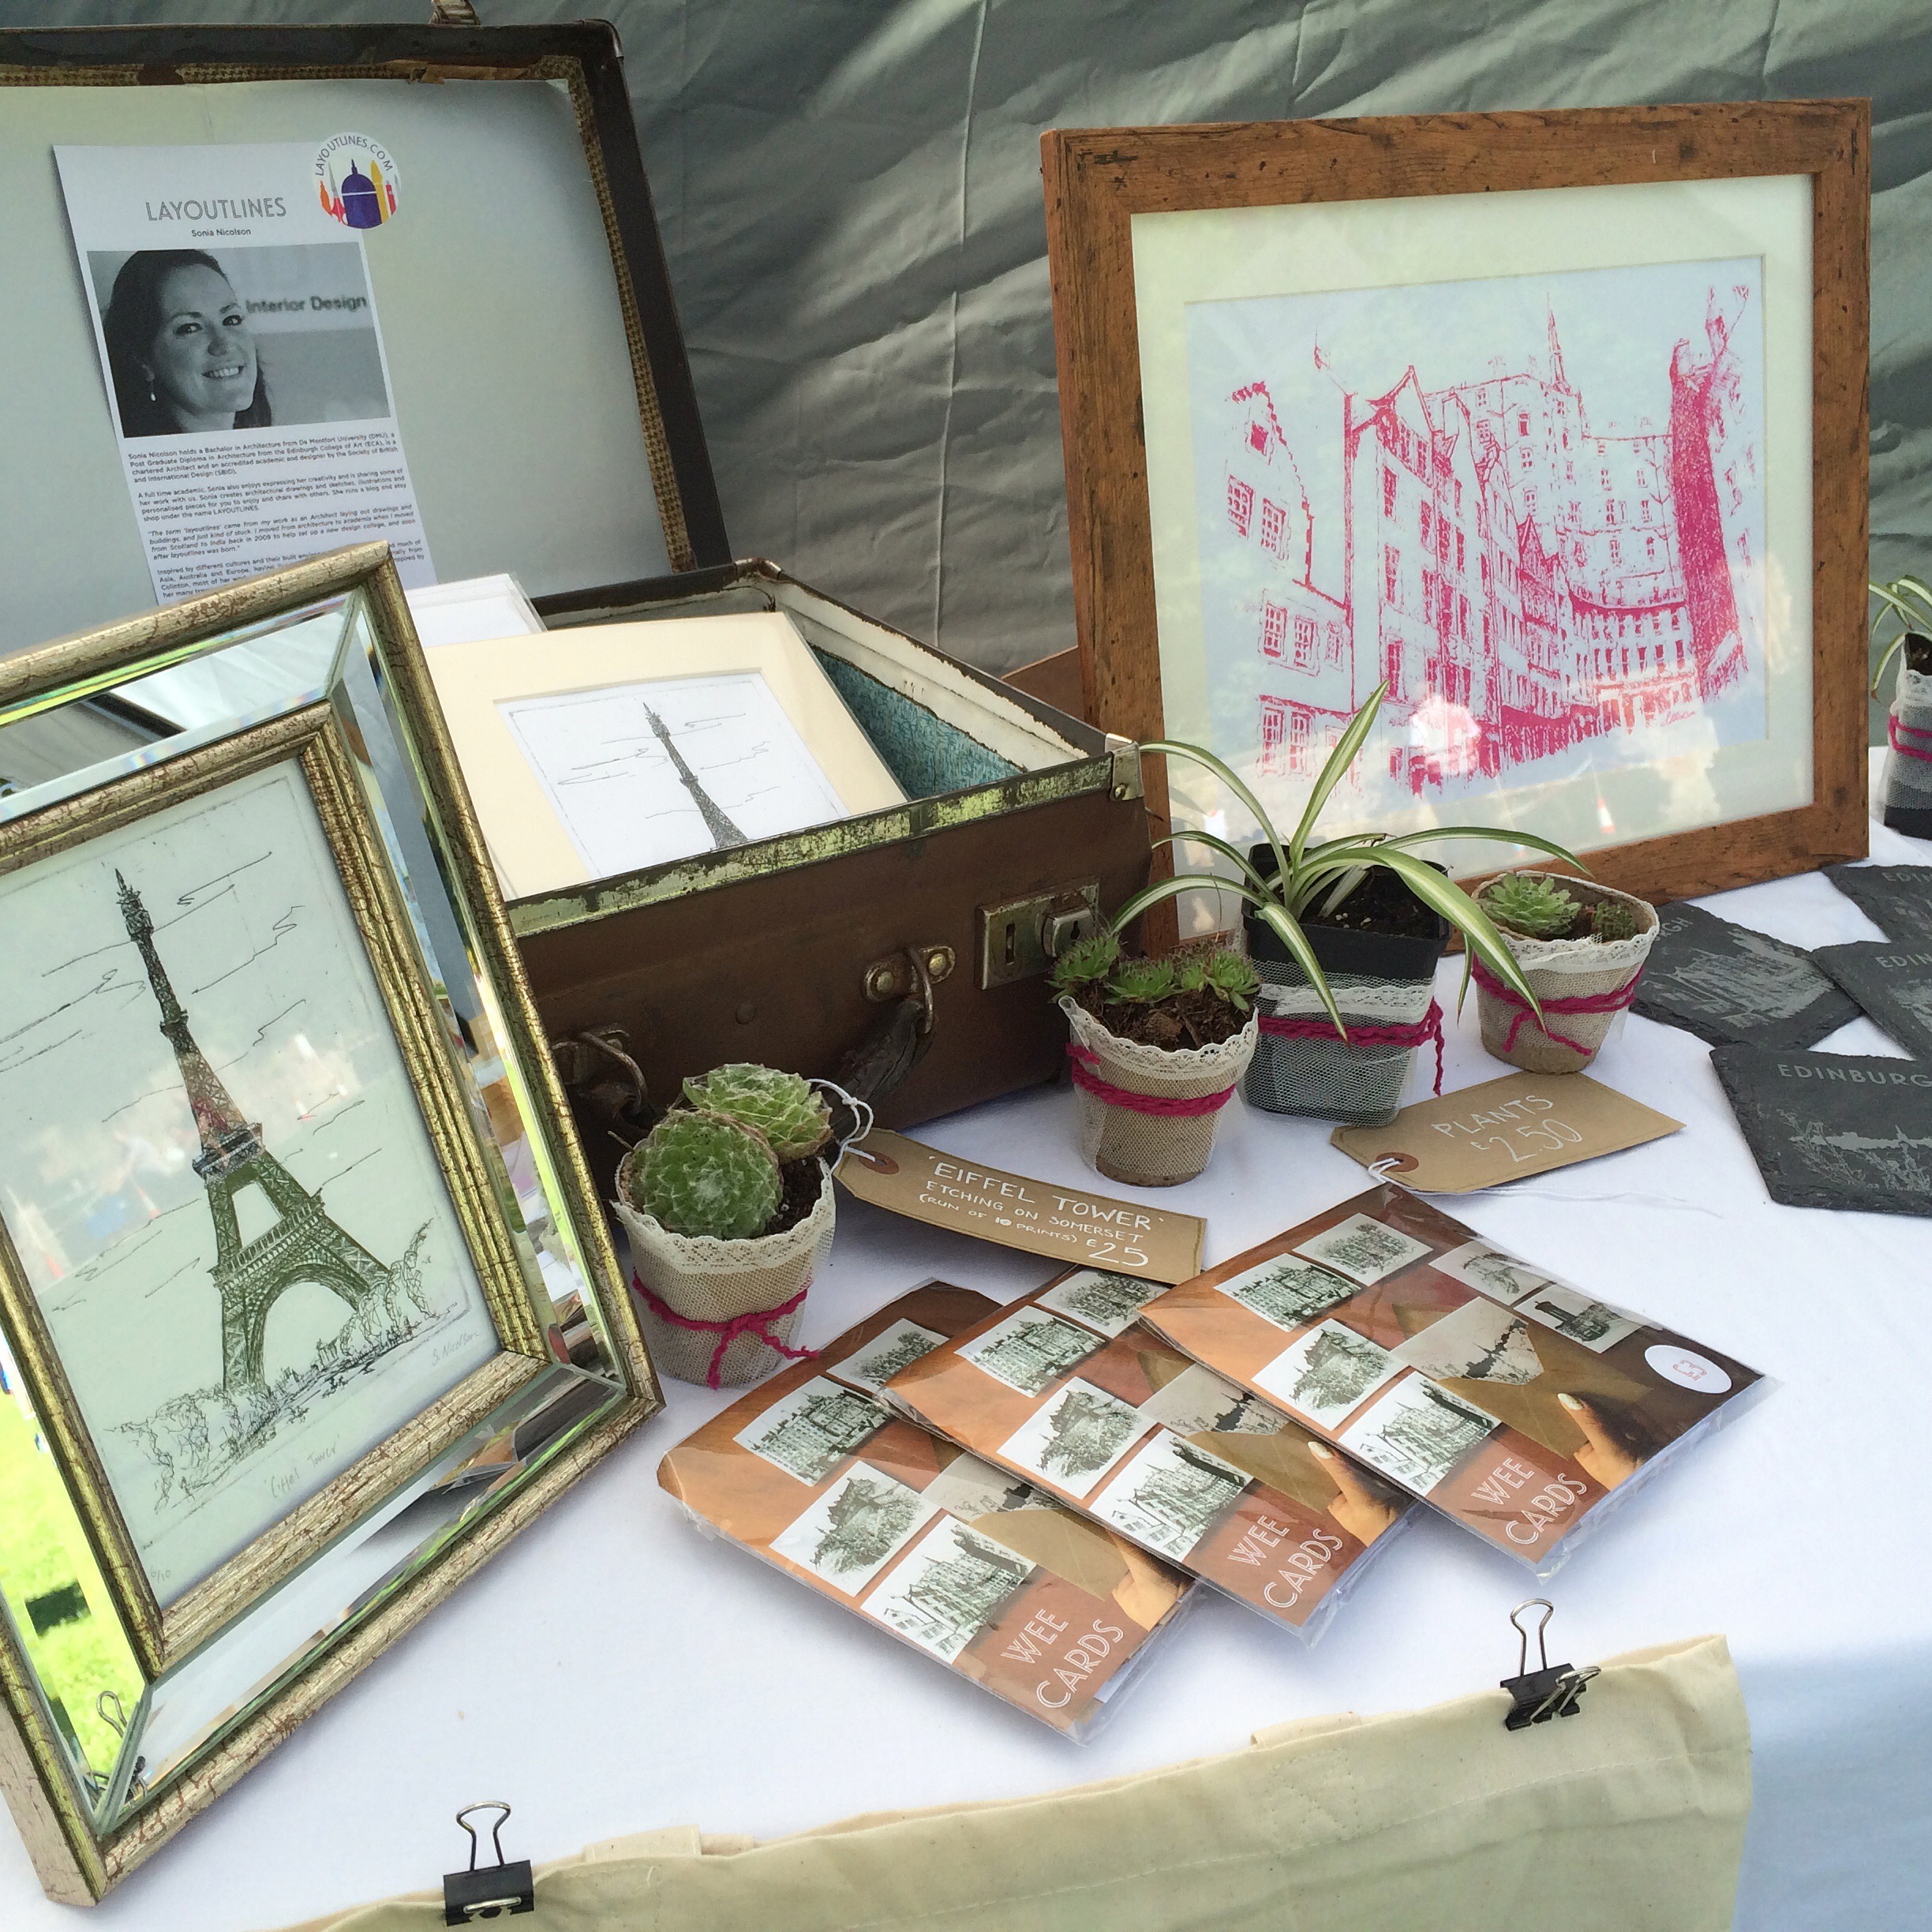
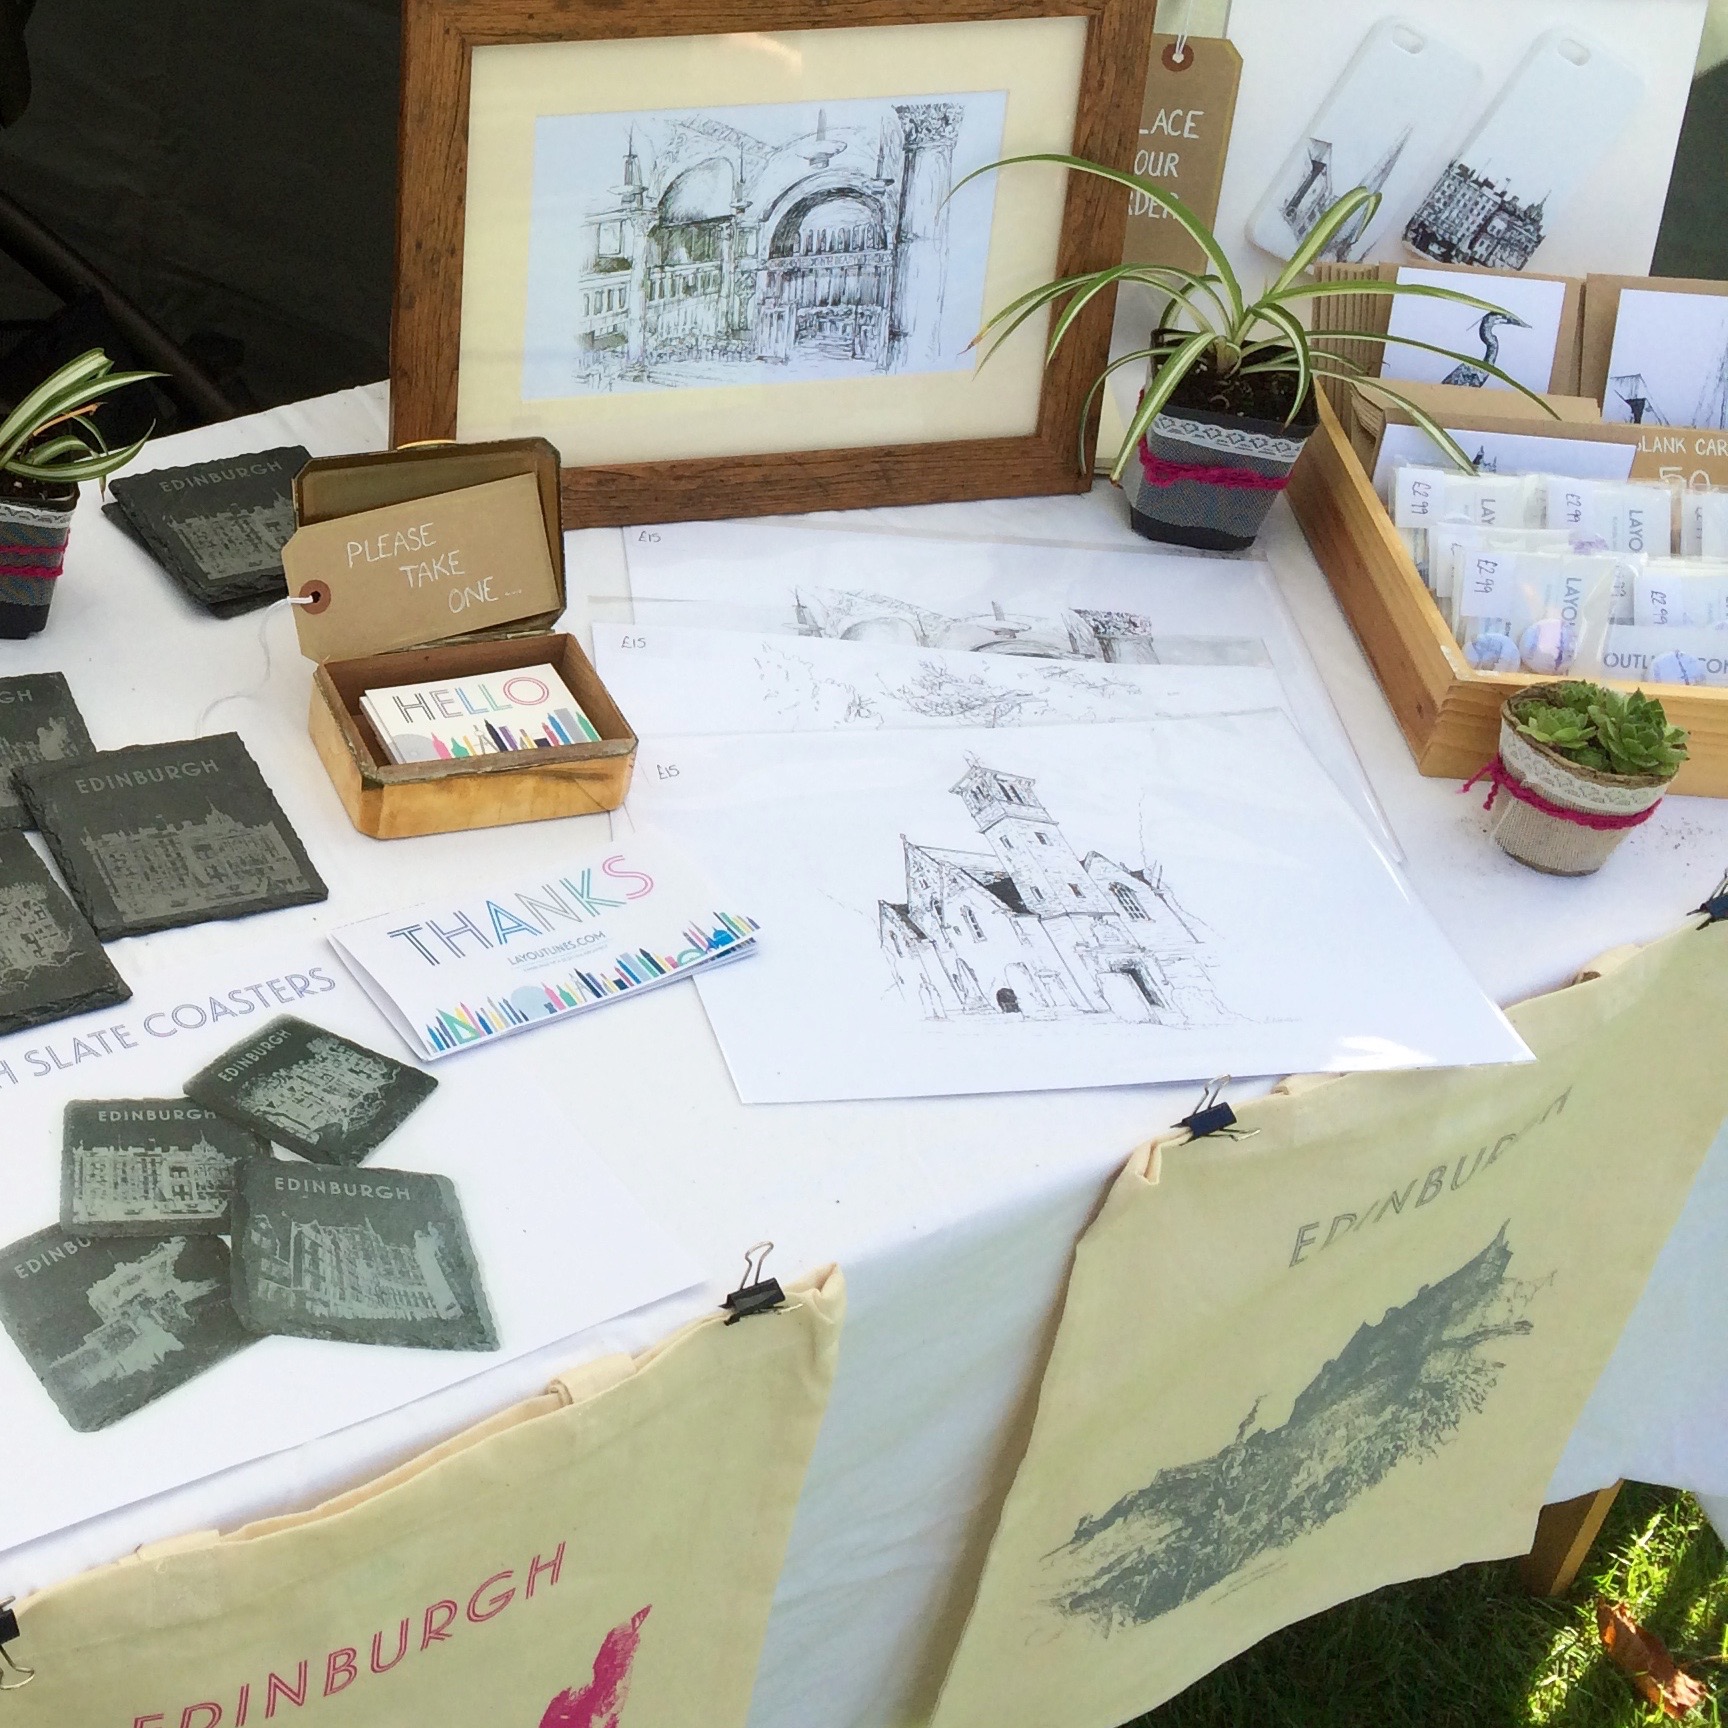
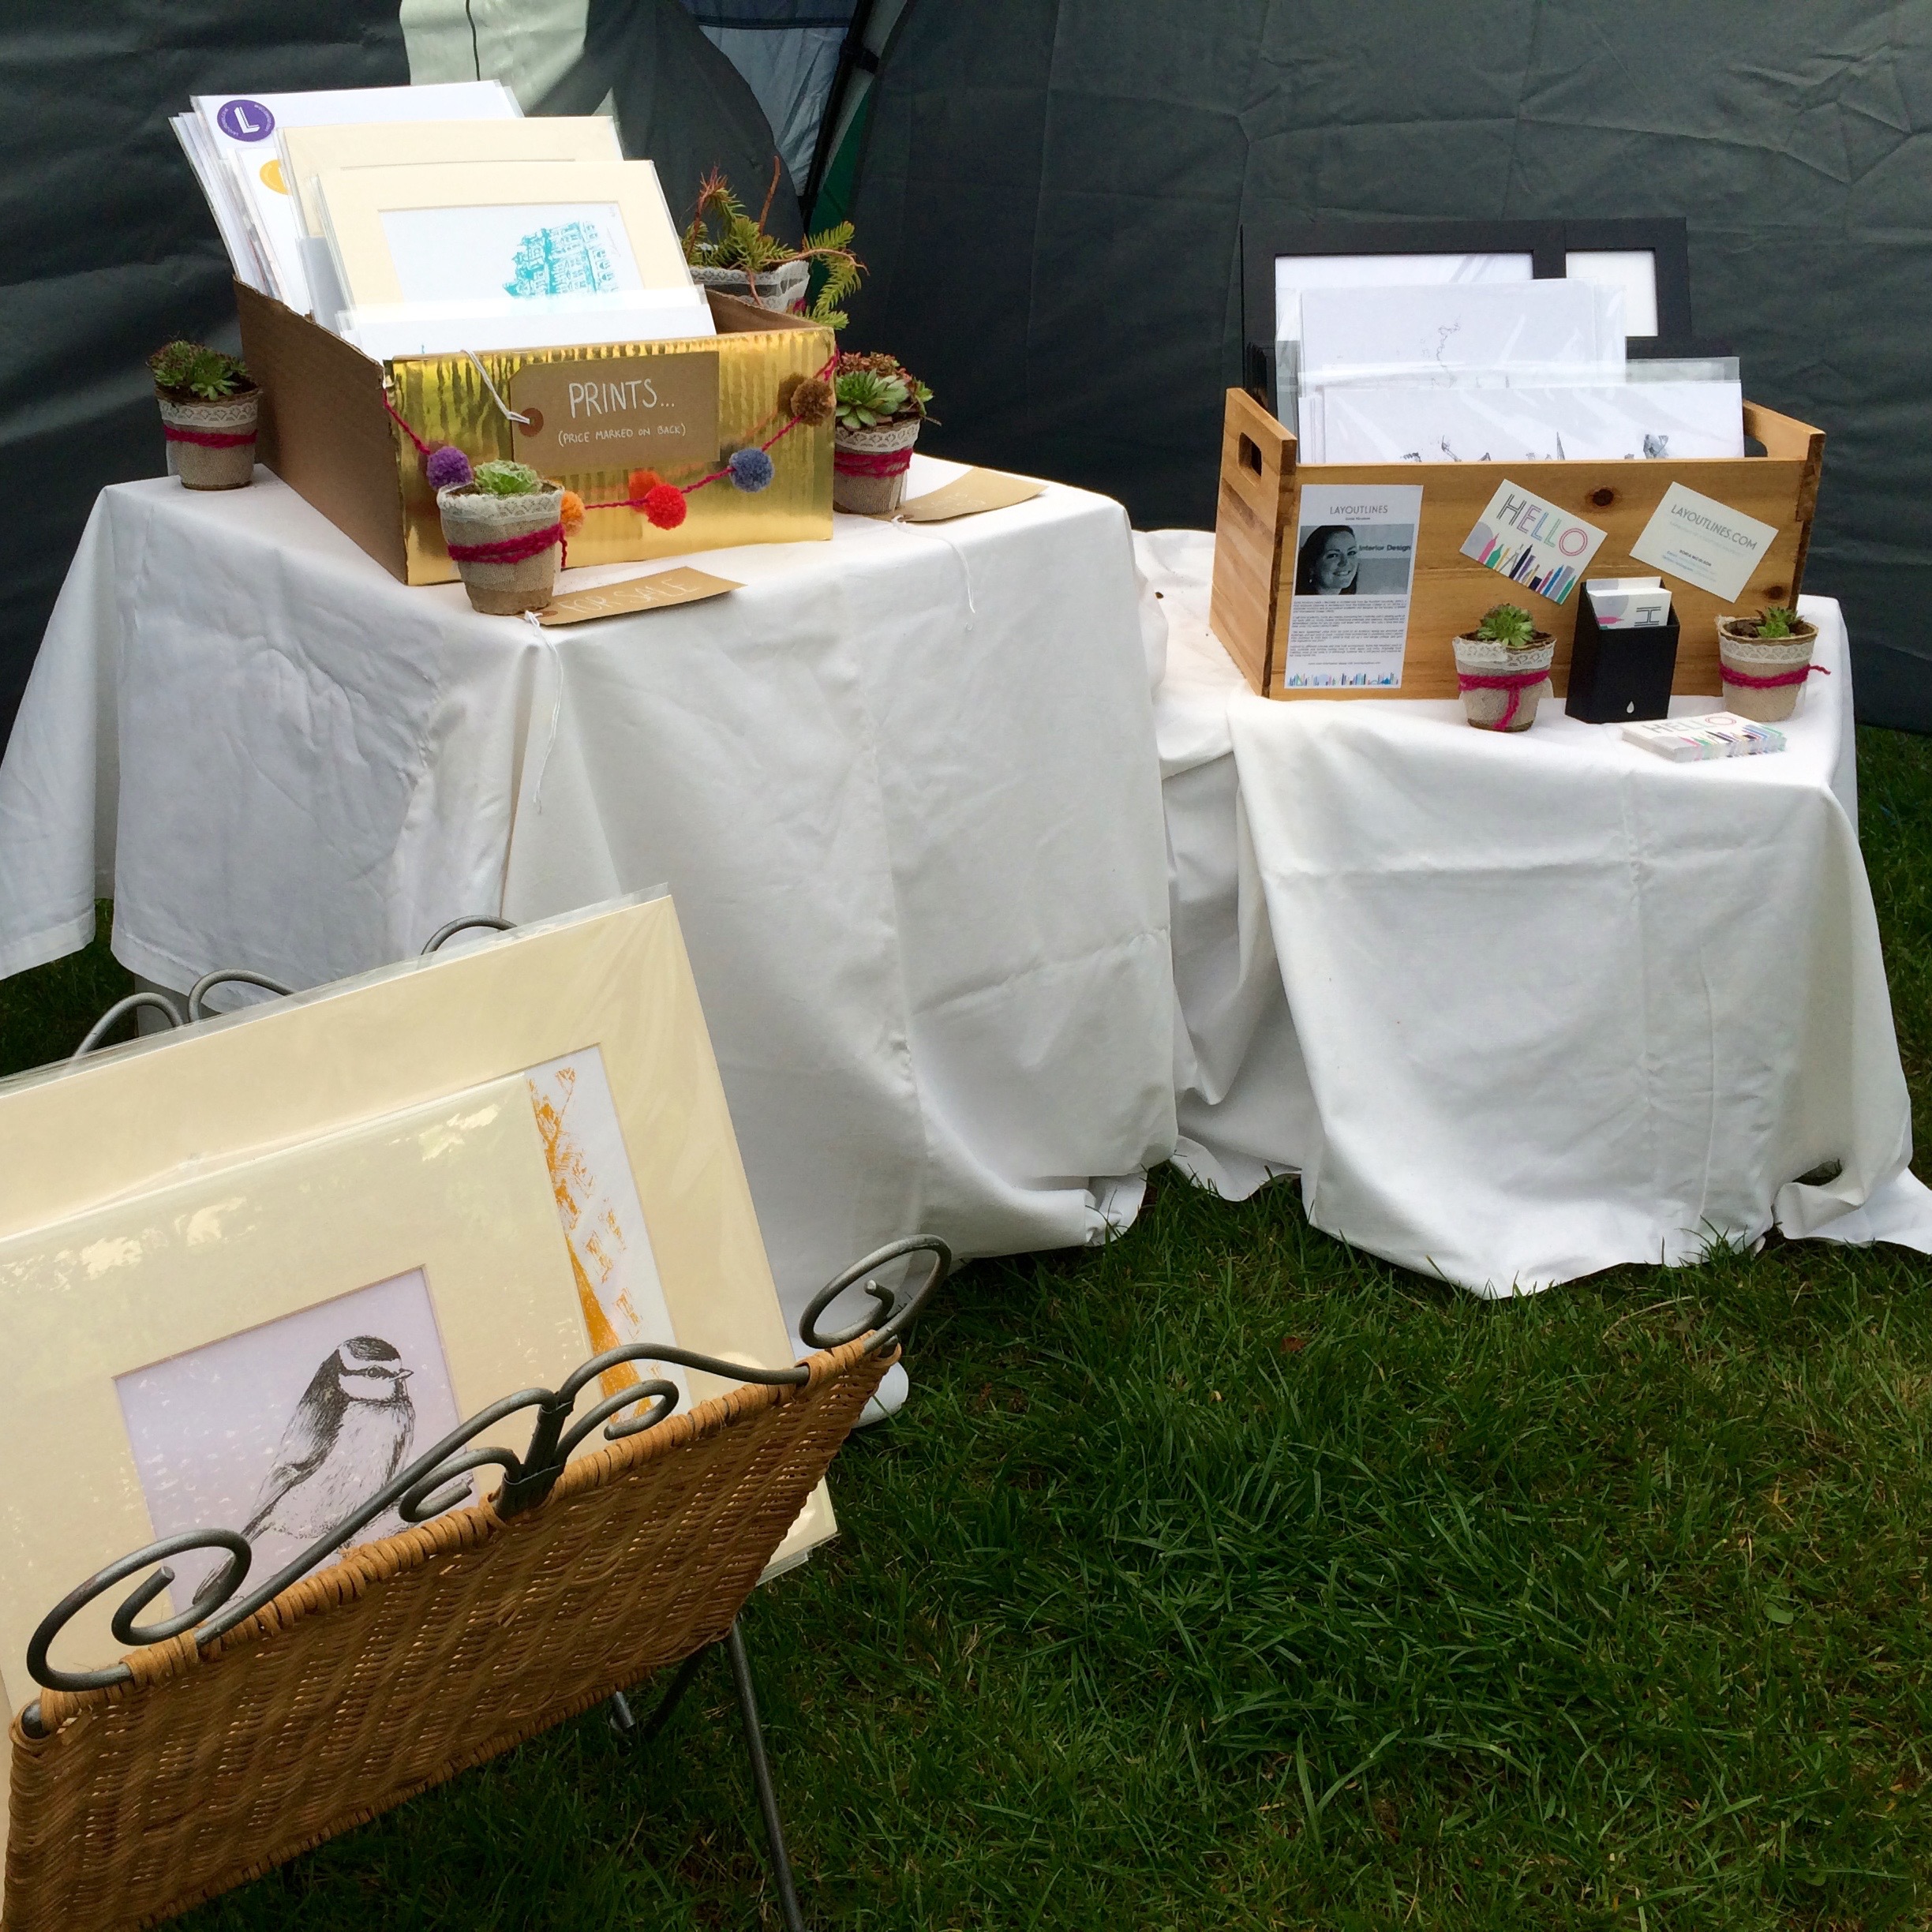
My Education Journey

I studied Architecture for the full seven years. I moved away from home, pushed myself out of my comfort zone, and met friends who are now part of my professional network. My degree years were a mix of socialising, studying, and late nights in the studio, and I graduated proud of my 2:1. After a year’s work experience in a large practice, I used my savings to travel through Asia and Australia before starting my master’s degree.

Learning in Two Worlds

My degree was at a technical university, but my postgraduate studies took me to a creative art school. I was awarded a scholarship to complete my master’s in Japan, an experience that changed me completely. Living and studying abroad pushes you to grow in ways you can’t imagine. In Japan, I learned more about myself, my abilities, and my adaptability than I ever would have if I’d stayed in the UK.

The Unexpected Turns

Returning home, I found a great job in an architecture office, thinking, “This will do for now.” A few years later, I qualified as an Architect, packed up my desk, and moved to India.

Here’s the thing: when I was a student, I thought I’d work as an architect for the next 20–30 years. I imagined teaching at a university would happen after retirement. I never expected to be doing it in my 30s, loving it as much as I do now.

To My Students

Many of my students are either on their first work placement or finishing their final year projects. Some have a clear path ahead, others don’t, and that’s okay. Your career won’t be a straight line. It will have twists, detours, and surprises. The key is to stay open, adaptable, and ready to make the most of every opportunity.

10 Tips for Students & Graduates in Design and Architecture

  1. Enjoy your time at university | it will probably only happen once.

  2. Soak in the details | the laughs, the lectures, the study trips, even the tough days.

  3. Make your work your own | show your personality through it.

  4. Fake it ‘til you make it | you’ll learn more in the process than you expect.

  5. Stay open-minded | don’t let your CV dictate all your decisions.

  6. Think outside the box | and live there too. Travel, explore, seek adventure.

  7. Document your journey | photos, sketches, journals. You’ll treasure them later.

  8. Stay inspired | read, listen, talk, and share ideas with others.

  9. Trust your path | it will work out, even if it doesn’t look how you imagined.

  10. Aim higher than “fine” | if you want more, go out and make it happen..


Final Thought: Be proud of what you’ve achieved. Keep doing more. Inspire others. And if you know someone studying right now, send them a note, a parcel, or even just a few words of encouragement; it can mean the world.

5 Tips To Create Your Perfect Studio/Office

5 Tips To Create YOUR Perfect Studio / Office

Welcome to my studio, aka home-office but I'm guessing that's what many people are rocking. Today I'm taking you through my studio setup and offering up my 5 top tips to help you in creating yours. Art, design, and crafting can [and does] take over our homes, and whilst this can be amazing, it can also drive others insane. My Dad used to threaten to 'clean' with a black plastic bag. 

But that doesn't stop us. 

In my apartment, of course, I have a studio. It’s in the corner of our living room and separated by an open bookshelf for privacy. I have amazing daylight from our south-facing windows out to the balcony and a wall with my certificates and some artwork on it.

My desk has everything I need on it, or by it, and it can get pretty cluttered...it's organized chaos.

  1. Pick a location with lots of natural light

    but also power sockets for artificial light. I sit near the window so I get natural light, and a view of the neighbours but I am not too distracted by what is going on outside.

  2. Surround yourself with inspiration

    This will be different for everyone but for me, it’s pictures of family and friends, inspirational quotes, images and art, stationery, and so on. I have some of my work framed to remind me of my recent works and I use objects I use regularly as display pieces too.

  3. Set the atmosphere

    I do this with music. I have a Sonos speaker and I use the Apple Music app or the Calm app. I love a bit of background noise to distract my mind and all those random thoughts, or an audiobook on audible - I'm currently listening to The Happiness Project. I also love scented candles and often have one or two burning as I work.

  4. Stay organized

    we all love stationery and washi tapes and paper and so on but clutter will only distract and put you off. Make your desk welcoming and easy to work at. Use cups, glasses, empty candleholders, or whatever you can to help store all those pens and pencils you have.

  5. Workspace and surface

    keep this relatively empty so you always have a space to start a new project and remember to protect the surface you're working on. I use a large cutting mat to protect the tabletop and often put down a large sheet of white paper as a background for photos. The more you have lying around, the more your mind will wander to it. Even if that pile of to-do papers aren’t a priority, the fact they are sitting on your desk means your mind is thinking about them, even when you think it’s not.