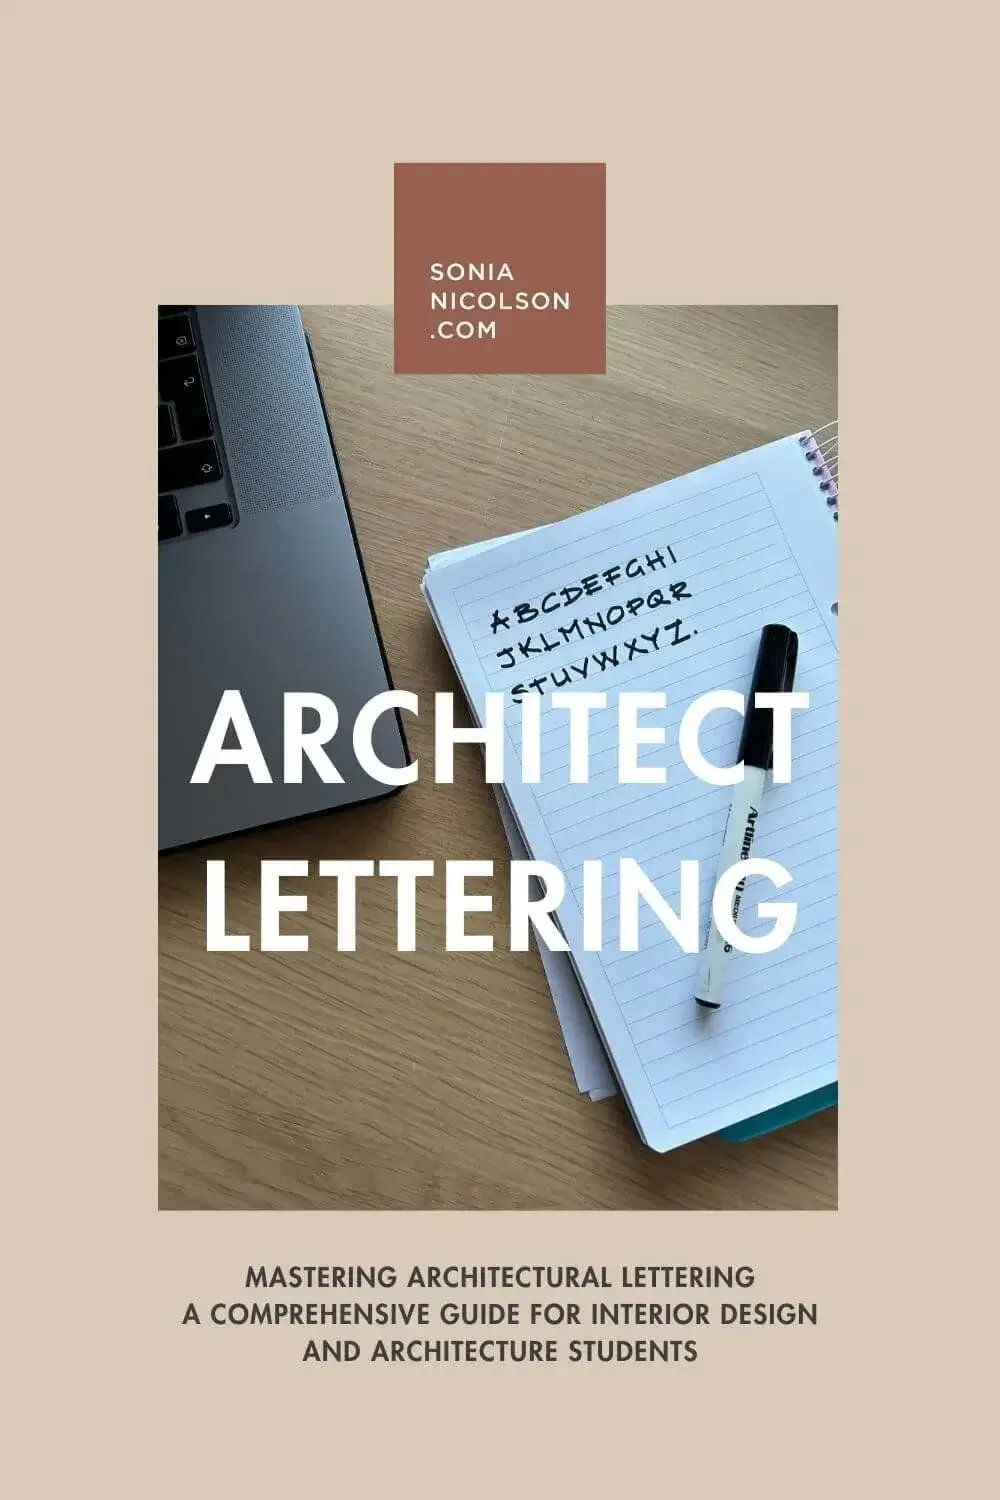
How to Draw Architecture by Hand: A Beginner’s Guide
/Master the art of architectural sketching with essential techniques, tools, and a step-by-step guide for beginners. As a former university lecturer and practising architect, I’ve taught hundreds of students who believed they “couldn’t draw” until they understood the basics of hand sketching.
Why Hand-Drawn Architecture Matters
In today’s digital world, most architectural drawings are created using CAD software, but learning to sketch by hand is still an essential skill for architects, designers, and urban sketchers. Hand drawing improves spatial awareness, creativity, and attention to detail - helping you see and understand architecture in a way that digital tools simply can’t replicate.
Plus, sketching by hand allows you to quickly capture ideas, explore design concepts, and develop a personal drawing style. Whether you're an aspiring architect, an interior designer, or just love sketching buildings, this guide will take you through the basics - no prior drawing experience required.
1. Essential Tools for Architectural Sketching
Before you start drawing, it’s important to have the right materials. While you don’t need an expensive setup, investing in a few high-quality tools will make sketching easier and more enjoyable.
Best Pens & Pencils for Architectural Drawing
Fineliners (0.1mm–0.8mm) | Perfect for precise, controlled lines. Brands like Micron, Staedtler, or Uni Pin are excellent choices.
Mechanical Pencils (0.5mm or 0.7mm) | Great for initial sketches and light construction lines.
Fountain Pens | Ideal for expressive, flowing lines with a unique character.
Choosing the Right Paper & Sketchbooks
Smooth Paper | Works best with fine pens and ink drawing.
Textured Paper | Helps create interesting shading effects with pencils.
Recommended Sketchbooks | Moleskine, Leuchtturm1917, or Stillman & Birn are popular options for urban sketching.
Other Tools to Consider
Kneaded Erasers | Gently remove pencil marks without smudging.
Rulers & Templates | Useful for beginners, but try to practice freehand to develop confidence.
Tip: While digital tools like iPads and Procreate are great, mastering traditional sketching techniques first will give you a stronger foundation.
2. Understanding Basic Architectural Drawing Techniques
How to Draw Straight Lines Freehand
One of the biggest struggles beginners face is drawing straight lines without a ruler. The trick is to use your entire arm, not just your fingers or wrist. Keep your movements fluid and confident - practicing daily will improve accuracy over time.
The Importance of Line Weight & Depth
Varying line thickness creates depth and hierarchy in your drawings:
Thicker lines define the main structure of a building.
Thinner lines add interior details like windows and doors.
Using a combination of line weights helps make your sketches more dynamic and visually interesting.
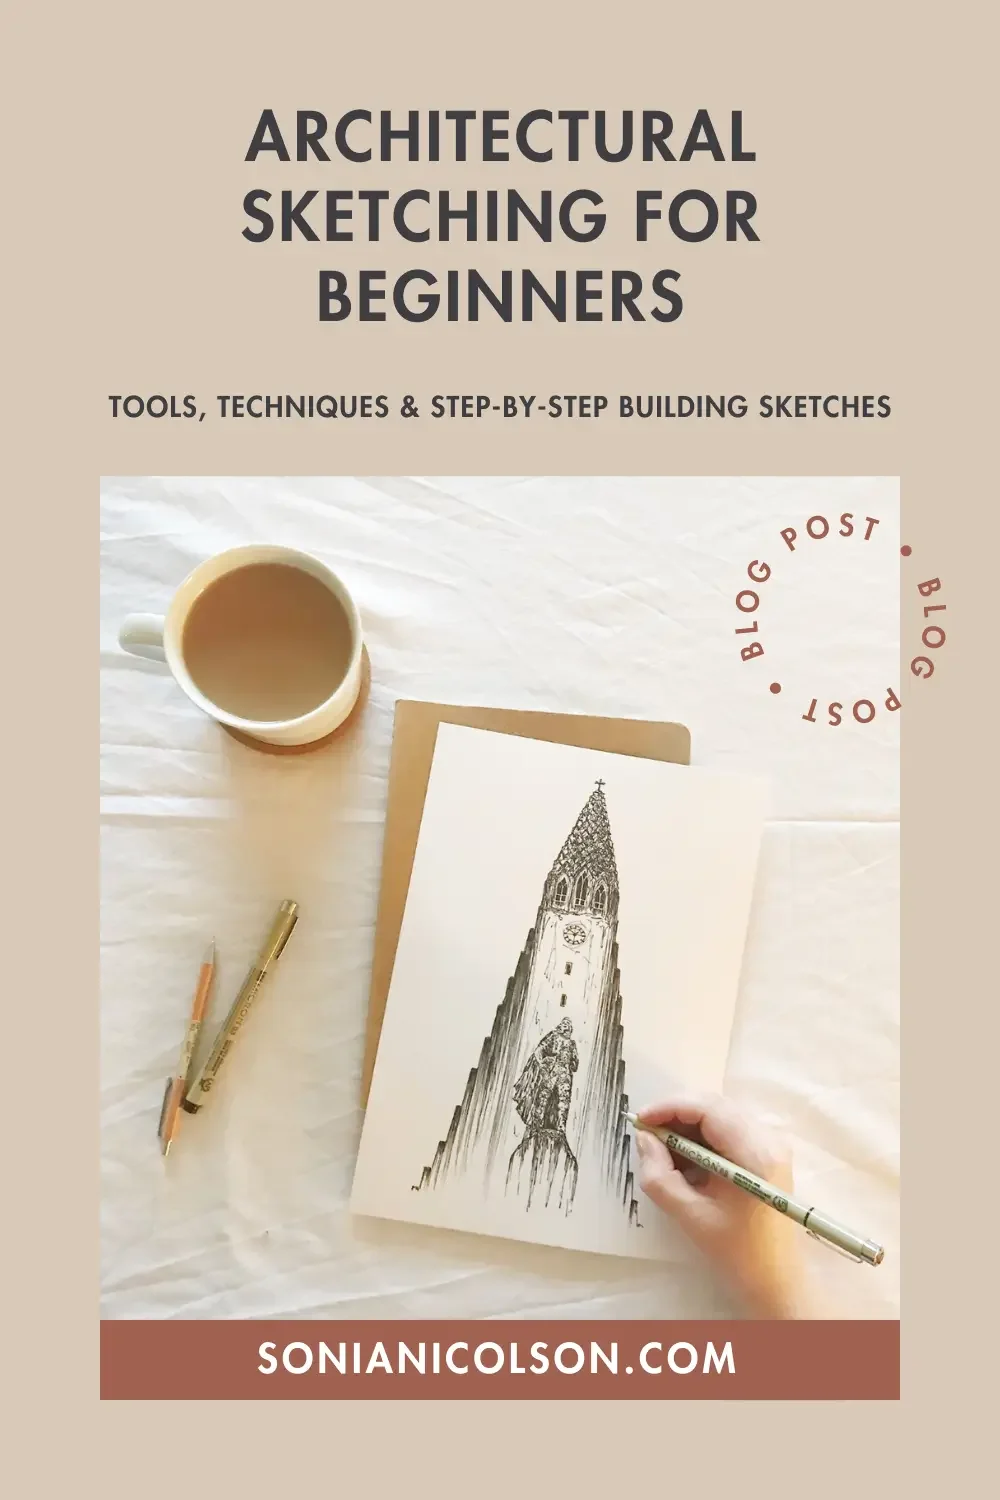
Adding Texture & Shading
To make your sketches look more realistic, try hatching, cross-hatching, and stippling techniques. These methods can help represent different materials, such as wood, brick, or glass. (Check out my Architectural Textures Pinterest board for inspiration)
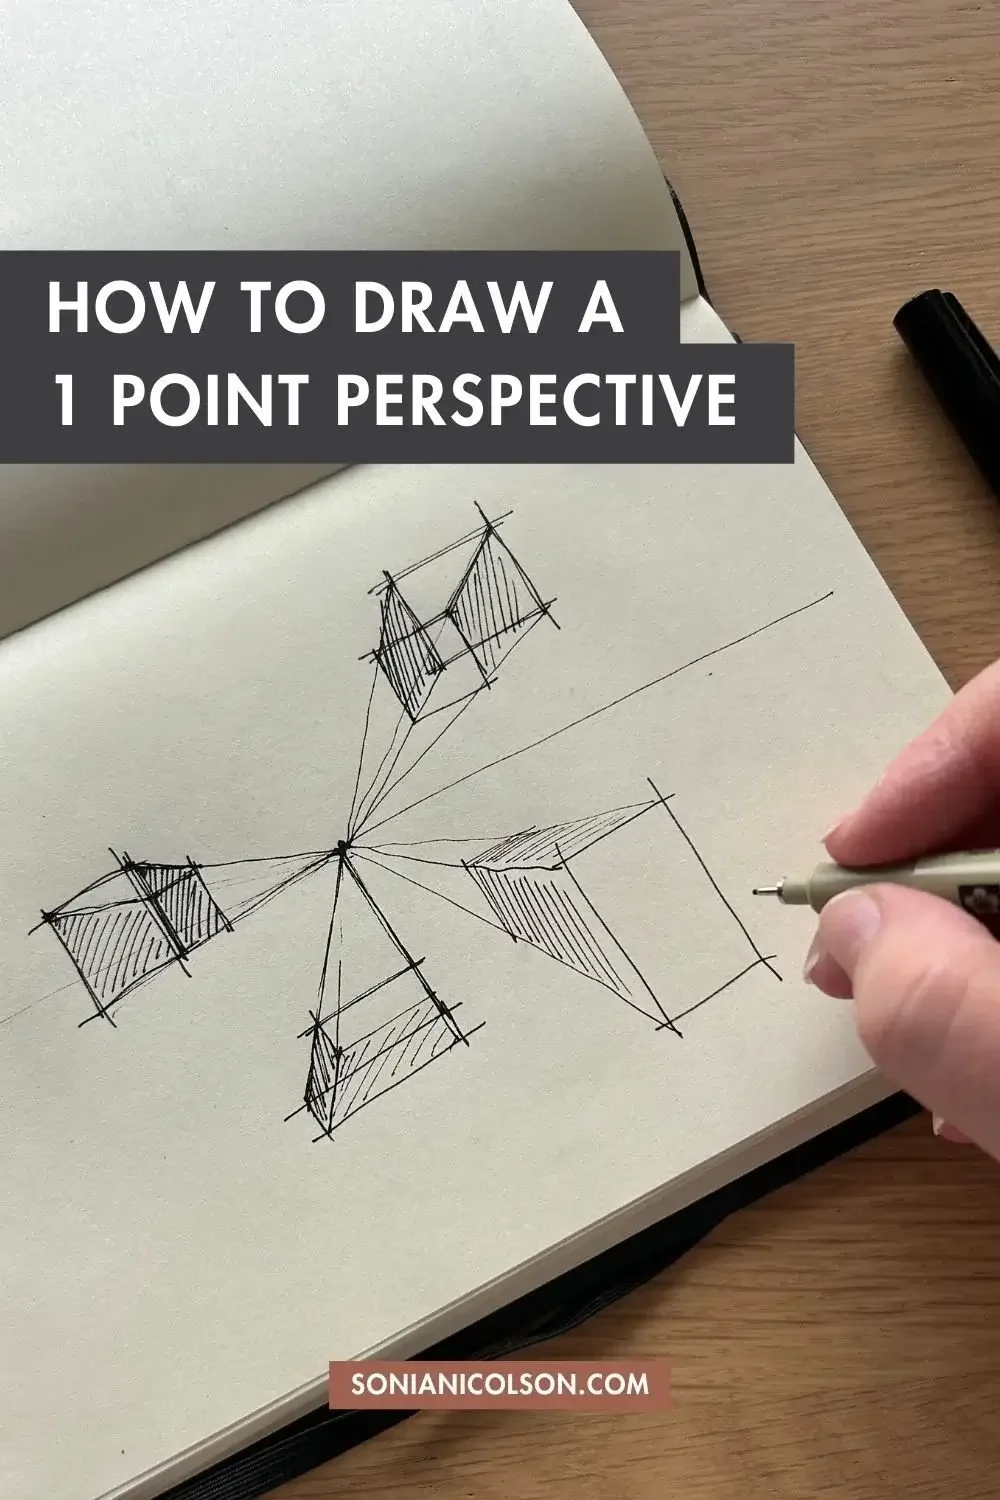
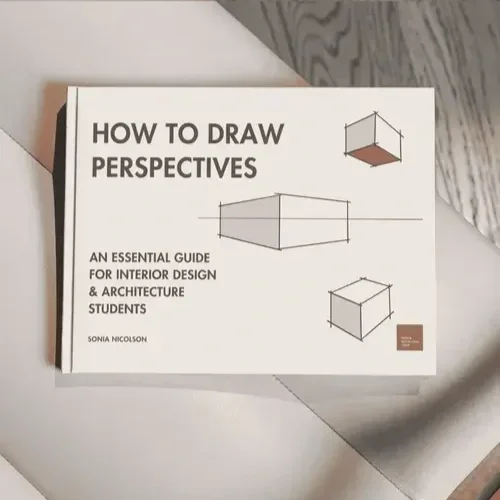
Mastering Perspective
Perspective drawing is essential for creating realistic buildings. The three most common types are:
One-Point Perspective | Good for drawing simple interiors or streetscapes.
Two-Point Perspective | Common for architectural exteriors.
Three-Point Perspective | Used for dramatic, tall buildings viewed from below.
Need more guidance? Download my How to Draw Perspectives Ebook. If perspective has ever felt confusing, this guide breaks it down step by step in a way I wish I’d been taught as a student.
3. Step-by-Step: How to Sketch a Building in 5 Simple Steps
Step 1: Start with the Basic Shape
Begin by lightly sketching the building’s general form using simple geometric shapes. Focus on getting proportions right before adding details.
Step 2: Define the Perspective and Horizon Line
Determine your vanishing points based on whether you’re using one-point or two-point perspective. Lightly sketch guidelines to ensure everything lines up correctly.
Step 3: Add Windows, Doors, and Key Features
Once the basic structure is in place, start outlining architectural elements like windows, doors, columns, and rooflines.
Step 4: Introduce Details and Textures
Now it’s time to bring your sketch to life. Use hatching, stippling, or shading to add depth and dimension to your drawing.
Step 5: Final Refinements
Go over your lines with ink (if desired), clean up stray pencil marks, and add any final details.
4. Common Mistakes Beginners Make (And How to Fix Them)
Wobbly Lines?
Use quick, confident strokes instead of slow, hesitant movements.
Struggling with Proportions?
Compare elements using your pencil as a measuring tool at arm’s length.
Drawings Look Flat?
Enhance depth by using perspective lines, shading, and different line weights.
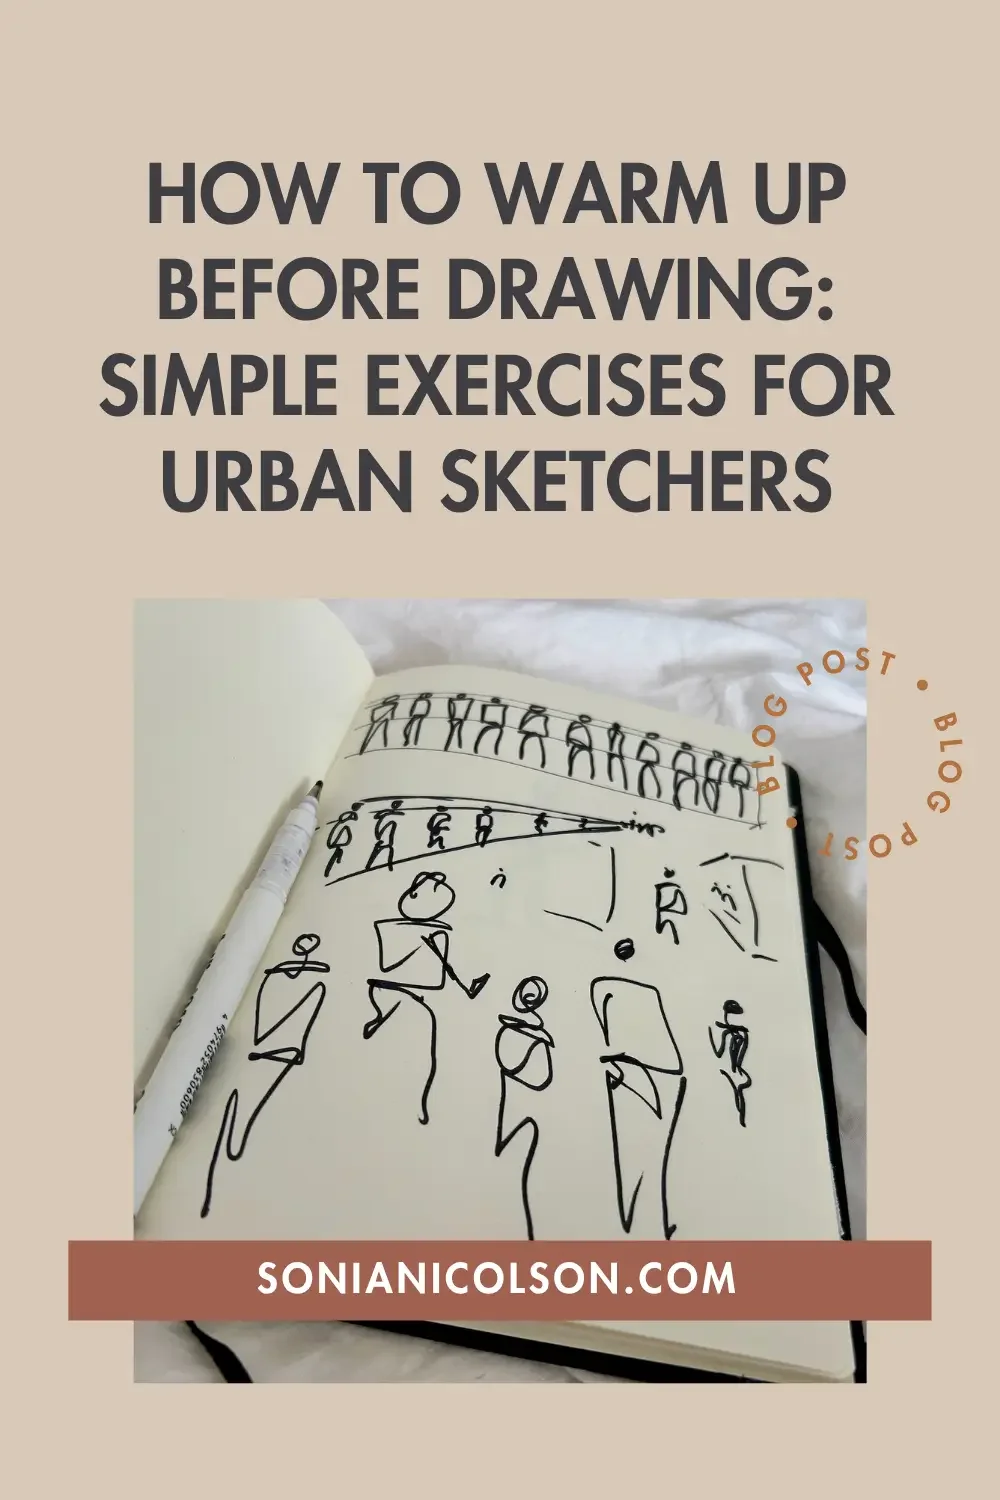
5. Practice Exercises to Improve Your Architectural Sketching
If you want to improve quickly, try these daily exercises:
Warm-Up Drills: Practice drawing straight lines, circles, and cubes
Quick Sketches: Set a timer for 5 minute drawings of real buildings
Urban Sketching: Take a sketchbook outside and draw real architecture
The more you practice, the faster your skills will develop.
Take Your Architectural Drawing to the Next Level
Keep Practicing & Enjoy the Process
Hand drawing isn’t about being perfect - it’s about learning to see like an architect. And that skill stays with you for life. Even 10 minutes a day can dramatically improve your skills. The key is to practice consistently and enjoy the creative process.
Want More Architectural Drawing Tips?
Download my FREE Perspective Practise Sheets
Subscribe to my newsletter for exclusive tutorials & resources
Tag me on Instagram @sonianicolson with your sketches, I’d love to see your work