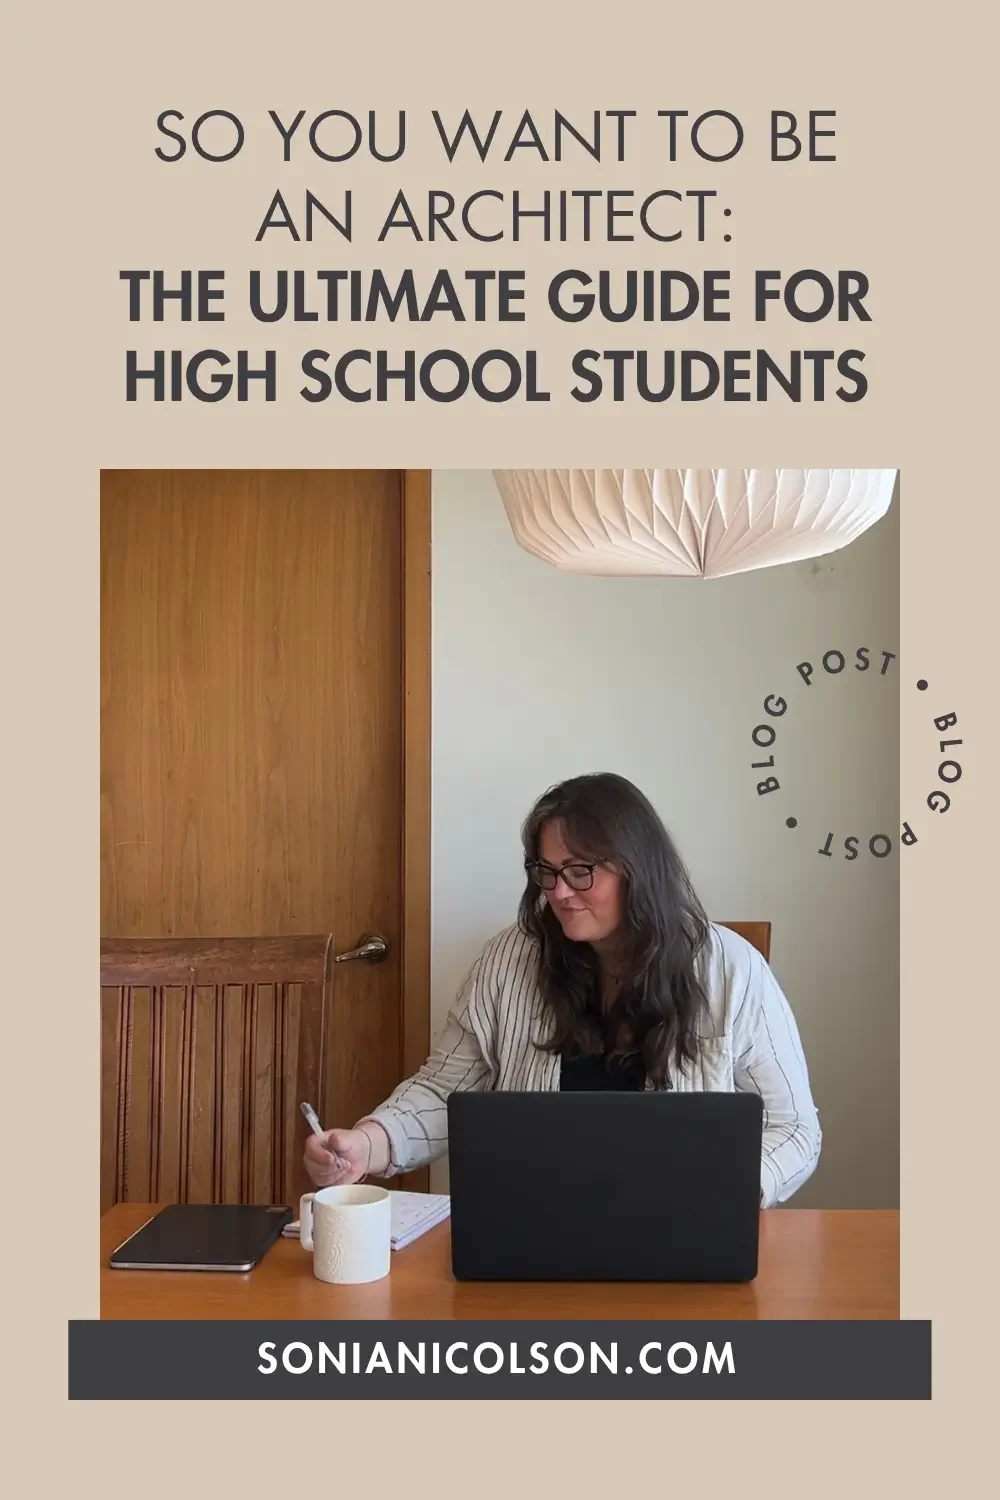
How to Draw a Floor Plan by Hand
/In this guide, you'll learn:
What is a floor plan
Why hand drawing still matters
How to draw a floor plan step by step
Common mistakes beginners make
How to make your plans look more professional
(Step-by-Step for Interior Design & Architecture Students)
If you’re studying architecture or interior design, learning how to draw a floor plan by hand can feel overwhelming at first. Where do the walls start? Why do other students’ plans look clear and yours feel messy? How do you make it look professional without relying on CAD?
As a former Senior Lecturer, this is one of the most common things students asked me to explain. Not because they weren’t capable, but because the process is rarely broken down into simple, logical steps.
The truth is, hand-drawn floor plans aren’t about talent. They’re about understanding a method. And once you learn that method, they become one of the most powerful tools for:
Developing spatial awareness
Communicating your ideas clearly
Building a strong portfolio
and designing with confidence
If you’re still building your core drawing skills, you might find this helpful first: How to Improve Your Architecture Drawing Skills (Even If You Think You’re Bad at Drawing)
In this guide, I’ll walk you through exactly how to draw a floor plan by hand using the same structured approach I’ve taught to hundreds of students.
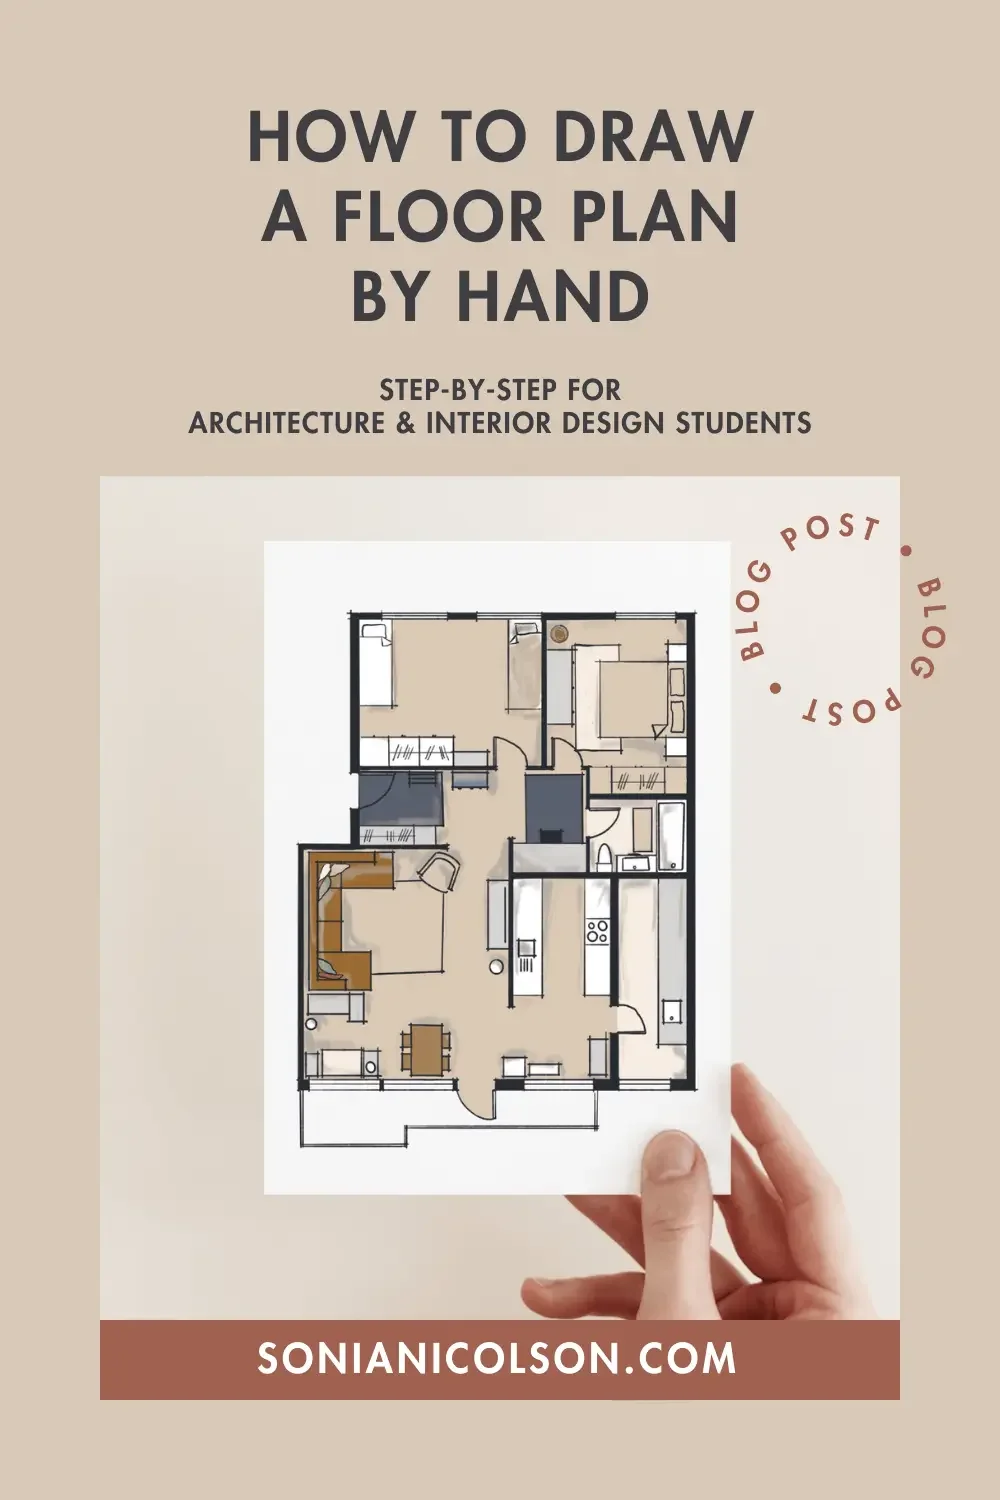
What is a hand-drawn floor plan?
A hand-drawn floor plan is a scaled drawing viewed from above that shows the layout of a building, including walls, doors, windows and spaces. It's one of the first technical drawing skills architecture and interior design students learn because it develops spatial awareness, design thinking and clear visual communication.
Why hand-drawn floor plans still matter
In a digital world, it’s easy to assume that floor plans exist only in CAD. But hand-drawing a plan teaches you something software never can - how space actually works.
When you draw a plan by hand, you:
think more carefully about layout and proportion
understand how rooms connect and flow
make faster design decisions in the studio
develop a clear way of communicating ideas
For students, this is essential.
Universities and design studios are not just looking for polished final drawings. They’re looking for evidence that you can think spatially. A clear, well-structured, hand-drawn plan shows exactly that.
If you’re preparing work for an application or interview, this is one of the drawings that helps demonstrate your design thinking: Architecture & Design Portfolio Preparation Guide (University Interviews)
What I See Students Struggle With
After teaching architecture and interior design students for more than 15 years, I've realised that drawing the walls isn't usually the hardest part. Students often struggle because they try to make their drawings look neat before they've understood the structure of the plan. Once they focus on the process - starting with scale, then walls, then openings, then furniture, and finally line weight - the whole drawing becomes much easier to manage.
What you need to get started
When I taught first-year architecture students, I always reminded them that the goal wasn't to produce a perfect floor plan on the first attempt. It was to understand the process. Once the process becomes familiar, neatness naturally follows.
You don’t need an expensive setup - start with:
A sharp pencil
A fineliner
Good quality paper
Ruler
A flat workspace
Good lighting
A willingness to sketch lightly before committing to darker lines
Before you begin, it helps to loosen up your hand so your lines are more confident and controlled: How to Warm Up Before You Start Drawing: Simple Exercises to Boost Your Creative Confidence
Step-by-step: how to draw a floor plan by hand
1. Choose a Scale That Fits Your Page
Before you start drawing, decide how large your plan will be on the sheet.
For most student projects:
1:50 works well for interiors
1:100 for larger layouts
You don’t need complex calculations at this stage. The goal is to keep the drawing at a consistent size so it's clear and easy to read.
2. Draw the External Walls First
Start with the overall outline of the building. Focus on correct proportions, consistent wall thickness, and light construction lines. This creates the structural framework for everything that follows.
3. Add Internal Walls
Next, divide the space into rooms.
Think about:
How people move through the space
How rooms relate to each other
The function of each area
Keep your lines light and adjustable at this stage.
4. Position Doors and Windows
Openings bring the plan to life.
Make sure:
Doors have the correct swing direction
Windows sit within the wall thickness
Everything aligns with the structure
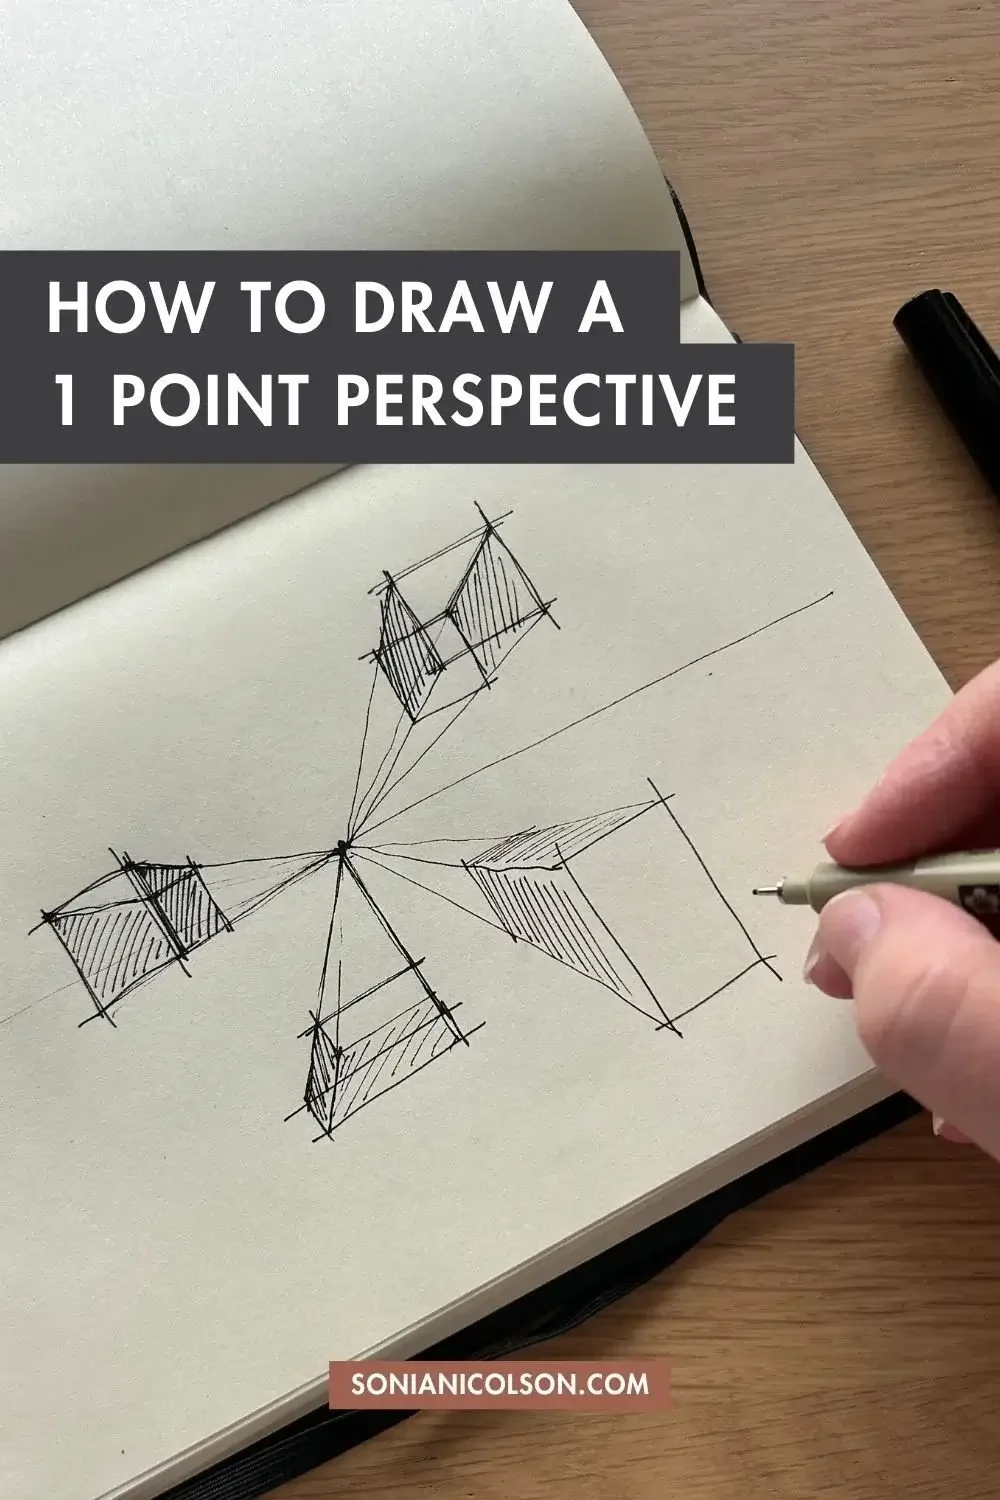
Your understanding of space here links directly to the same spatial thinking used in perspective drawing: Mastering One-Point Perspective and Mastering Two-Point Perspective
5. Add Fixtures and Furniture
This is where the plan starts to feel real. Furniture should fit comfortably within the room, allow for movement space so people aren’t bumping into items, and relate to the function of the layout. This step is especially important for interior design students and is very powerful in architecture portfolios.
6. Use Line Weight to Create Hierarchy
This is what makes a plan look professional.
Typically:
thick lines = walls (0.5 pen)
medium lines = furniture and fixtures (0.3 pen)
thin lines = details (0.2 pen)
Line weight gives clarity and depth to your drawing, so pick 2-3 thicknesses of pens to draw with.
7. Add Room Names and Labels
Clear, consistent lettering transforms your plan from a sketch into a design drawing. If this is the part you find hardest, download my free guide: Write Like an Architect Workbook. It will instantly improve the clarity and professionalism of your plans.
Common floor plan mistakes students make
Most problems come from guessing instead of following a clear process, inconsistent wall thickness, furniture that doesn’t relate to the space and focusing on neatness before structure.
These are not drawing issues - they are process issues, and once the process is clear, confidence grows very quickly.
Where a floor plan fits within architectural drawing as a whole
Drawing Type | Shows | View
Floor Plan | Layout of spaces | Looking down from above
Elevation | Exterior or interior face | Straight-on view
Section | Building cut through vertically | Side view
Perspective | 3D appearance | Human eye level
Why is this skill so important for your portfolio
A hand-drawn floor plan shows:
Spatial understanding
Technical awareness
Communication skills
Design thinking
This is exactly what universities and employers want to see. If you’re applying to study architecture or interior design, your portfolio needs to show how you think - not just what you can produce.
Ready to go further?
If you want my full step-by-step method for structuring your floor plan clearly on the page, drawing walls, openings and spaces with confidence, using line weight to create professional layouts, and producing plans for your portfolio, you can join my How to Draw a Floor Plan by Hand course.
Inside, I teach the exact process I used with my university students to help them go from confused and overwhelmed to producing clear, confident hand-drawn plans.
A clear floor plan isn't created by having perfect handwriting or artistic talent. It's created by following a logical process. That's something anyone can learn with practice - Every architect started with their first plan.
FAQ
-
A floor plan is a scaled drawing viewed from above that shows the layout of a building. It includes walls, doors, windows and spaces, helping architects and designers communicate how a building is organised before it's built.
-
Hand drawing teaches you to think about space rather than relying on software to make decisions for you.
Throughout my years teaching architecture and interior design students, I've found that drawing floor plans by hand helps students develop a much stronger understanding of proportion, layout and spatial relationships. Those skills carry across to CAD, digital modelling and professional practice.
-
Yes.
While most final construction drawings are produced digitally, hand sketches remain an important part of the design process. They allow architects to test ideas quickly, communicate concepts and solve design problems long before opening CAD software.
-
For many student projects:
1:50 works well for interior spaces.
1:100 is often used for larger layouts.
The most important thing is choosing a scale that allows your drawing to remain clear and consistent.
-
The most common mistakes I see are:
inconsistent wall thickness
guessing furniture sizes
forgetting circulation space
adding details before the structure is correct
using the same line weight throughout the drawing
Fortunately, all of these improve once you follow a clear process.
Final thoughts
You don’t need to be the best drawer in the room to create a strong floor plan. You need a clear process, a bit of practice, and the confidence to start. This is a skill that will support you throughout your entire design education and career - in the studio, in your portfolio, and in professional practice.
And it’s completely learnable.
Remember...
Drawing isn't about talent, It's about understanding. The more clearly you understand the process, the more confidently you'll draw. Every architect starts somewhere. Keep going.