

Architecture Drawing Explained: The Complete Guide for Students
/One of the strangest things about starting architecture school is how quickly everyone starts speaking a language you don’t remember learning; Plans, Sections, Elevations, Line weights, Scale, Axonometrics, Perspective. And somehow, it can feel as though everyone else already knows what they’re doing.
You don’t.
And neither did I.
Architectural drawing is a language. It’s a way of taking something that exists in your head - an idea, a space, a building, a detail - and communicating it clearly enough that somebody else can understand it. Sometimes that somebody is your tutor, sometimes it’s a client, sometimes it’s a contractor standing on a building site trying to work out exactly what you want them to build, and sometimes it’s simply you, trying to work out whether the idea in your head actually works.
After studying architecture, working in architectural practice and spending more than 15 years teaching architecture and interior design students, I’ve come to believe that learning architectural drawing isn’t really about learning to make beautiful pictures. It’s about learning to see, understand and communicate.
So if you’re starting architecture school and wondering what on earth the difference is between a plan, section, elevation and perspective, or why everyone suddenly cares about line weights - start here.
This is the guide I wish someone had given me.
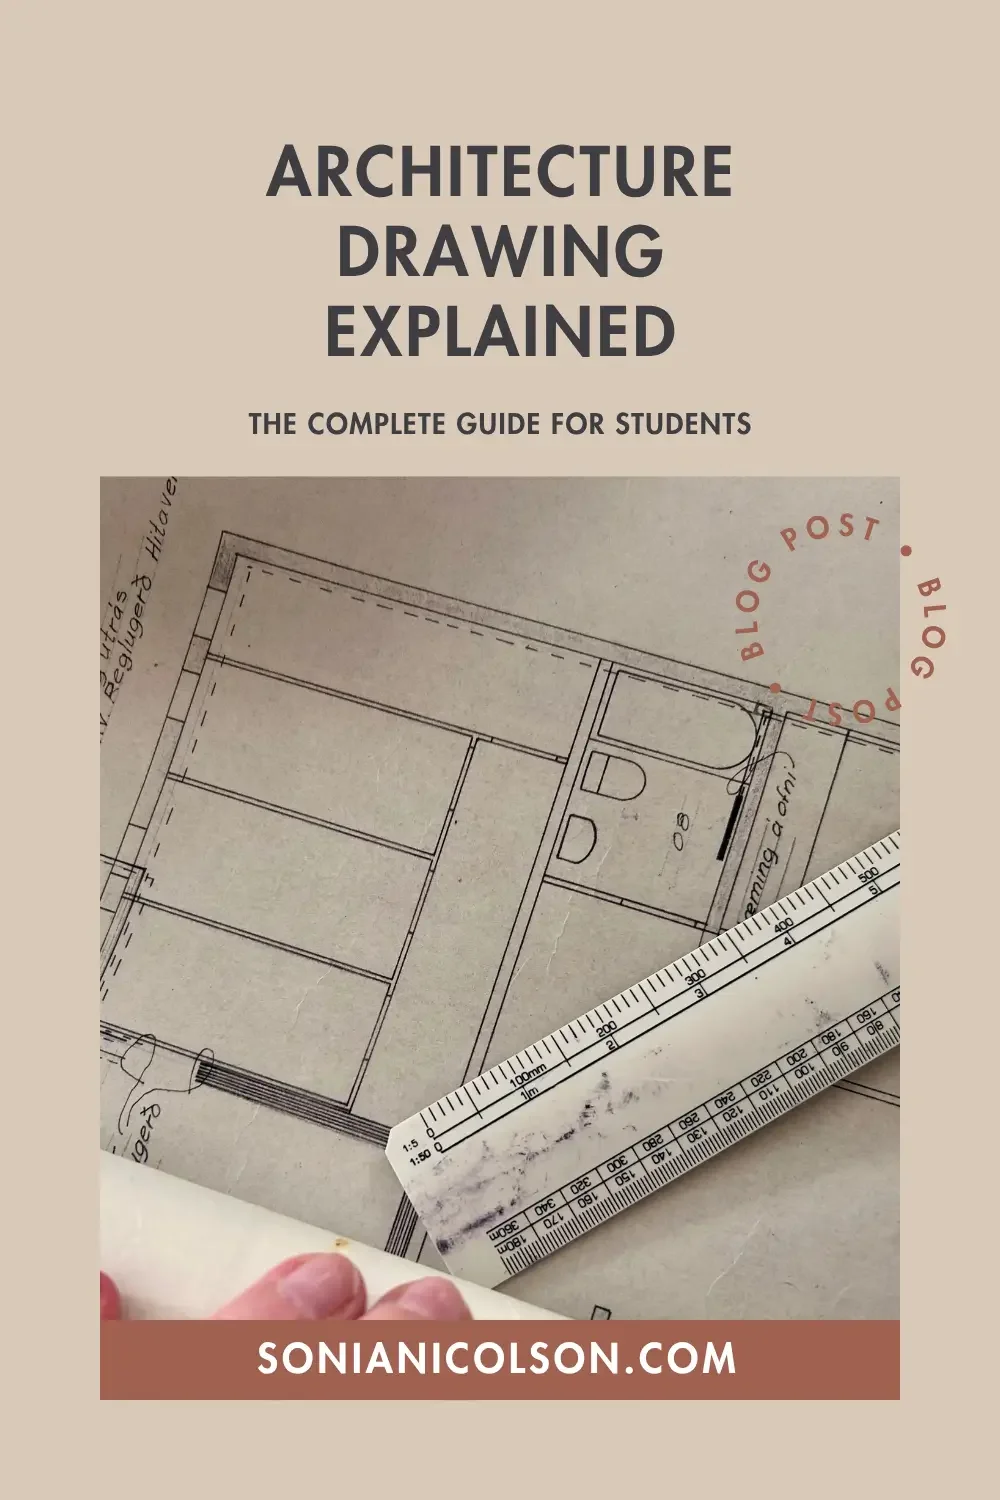
What is architectural drawing?
Architectural drawing is a visual language used to communicate buildings, spaces, ideas and construction information.
Some architectural drawings are technical and precise. Others are quick sketches made in seconds. Some communicate dimensions and construction details, while others communicate atmosphere, materials or how it might feel to occupy a space.
You might use:
floor plans
elevations
sections
site plans
detail drawings
perspective drawings
axonometric or isometric drawings
diagrams
concept sketches
observational sketches
They look very different, but they are all doing essentially the same thing: communicating information visually.
That distinction matters.
When students tell me, “I’m not good at drawing”, my first question is usually, what do you mean by good? Because being able to produce a beautiful illustration and being able to communicate an architectural idea are not necessarily the same skill.
A rough sketch that allows a contractor to understand a junction can be an excellent architectural drawing.
A simple plan that allows a client to understand how their family might move through their new home is doing its job.
A messy page of sketches that helps you solve a design problem is doing its job too.
The question isn't always: Is this a beautiful drawing? It is: What am I trying to communicate, and can the person looking at this drawing understand it? That change in thinking can completely change the way you approach architecture drawing.
The main types of architectural drawings
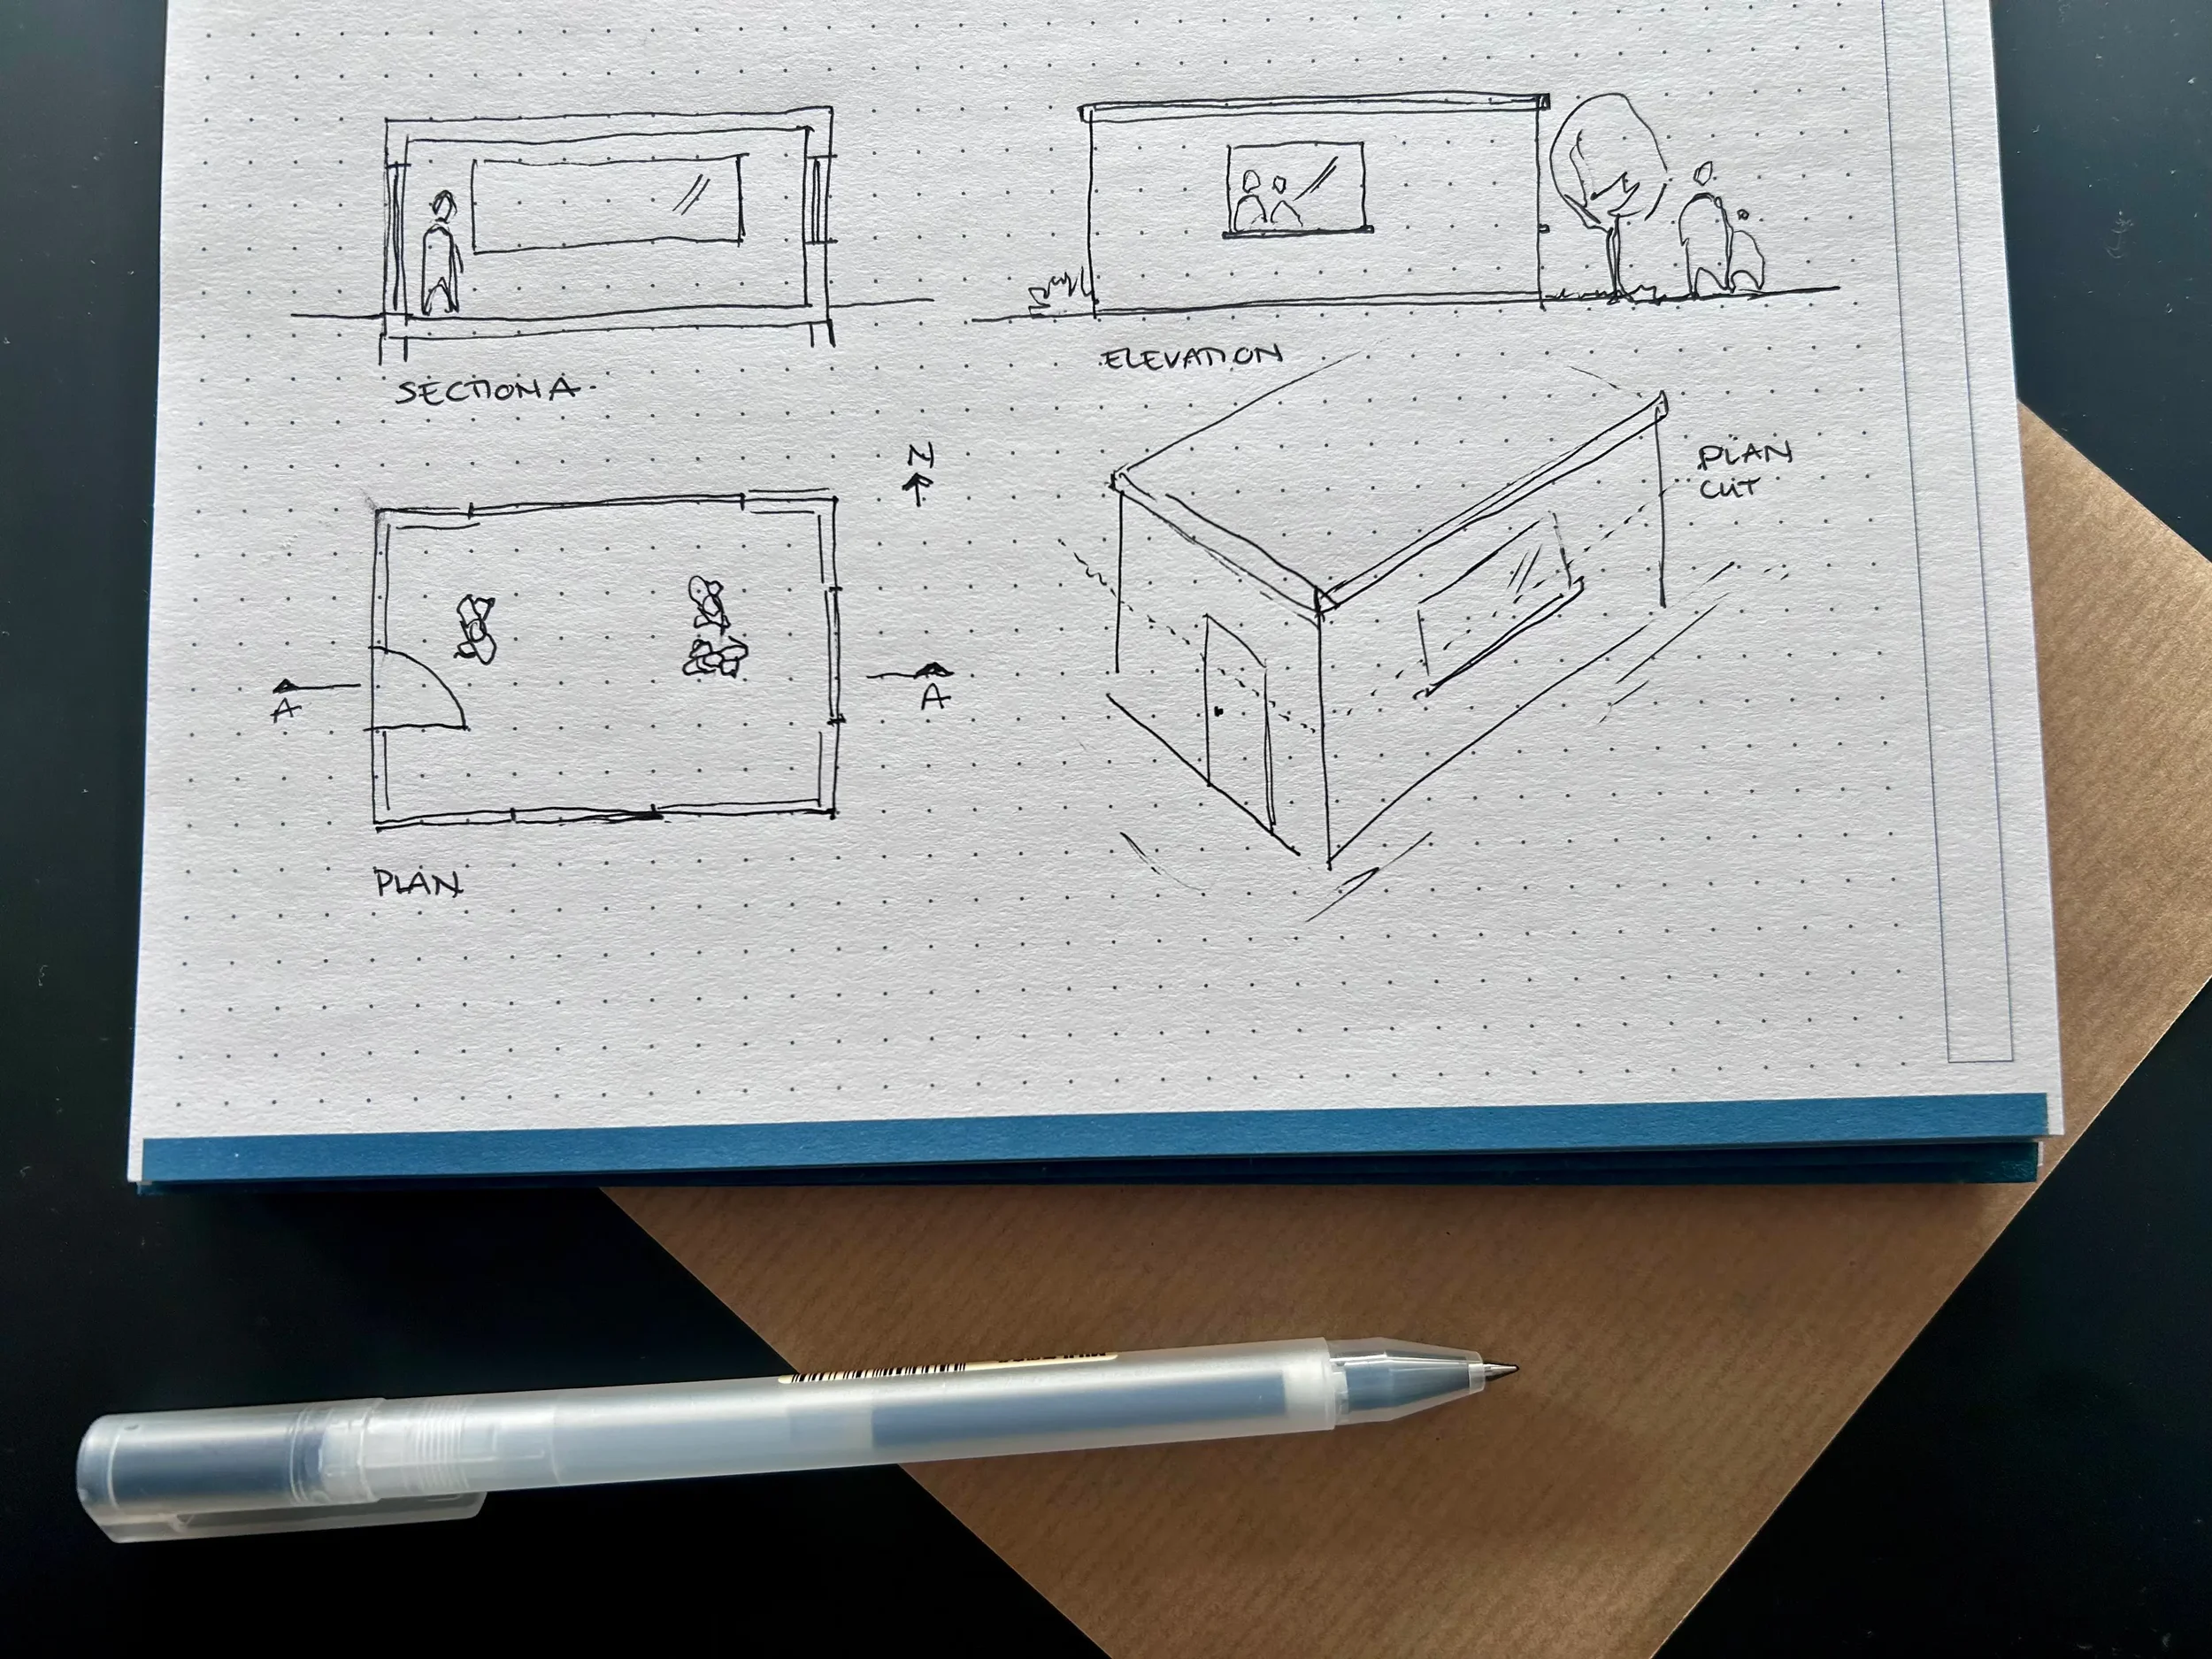
When you're new to architecture, one building can suddenly generate an alarming number of drawings. The easiest way to understand them is not to think of them as separate things.
Instead, imagine one very simple box.
You could look down onto the box.
You could stand directly in front of it.
You could cut through it and look inside.
You could look at it from an angle.
Or you could draw it as though you were standing inside it.
The object hasn't changed. Your viewpoint has. That's essentially what we're doing with architectural drawings.
When I taught students, I found that starting with a simple form made this much easier to understand. Once you understand how one simple object can be represented in plan, elevation, section, axonometric and perspective, you can gradually build up to a room, a building and eventually an entire site.
So let's break those drawings down.
What is a floor plan?
A floor plan is a scaled drawing of a building or space viewed from above, as though the building has been cut horizontally and you are looking down into it.
It can show:
walls
doors
windows
stairs
rooms
furniture
fixtures
circulation
dimensions
materials
people
Floor plans help us understand how spaces relate to one another. Where do you enter? How do you move from one room to another? Is there enough space around the dining table? Can the door actually open? Where are the windows? How does somebody move through this building during an ordinary day?
Plans can look technical, but they're ultimately drawings about how space works.
When I first came into architecture from interior design, plans weren't completely new to me. I already understood internal layouts and how to communicate spaces. Architecture took that much further. Suddenly I had to think about the entire building, its relationship to the site, its orientation, its construction and how all of my different drawings related to each other.
If you're learning this now, don't try to make your first plan beautiful. Understand it first. Then make it beautiful.
READ: How to Draw a Floor Plan by Hand – Step-by-Step Beginner Guide
What is an architectural elevation?
An elevation is a straight-on view of one face of a building or interior. For an external building, you'll often see elevations identified by orientation, for example: north, south, east and west, although drawing conventions and naming can vary.
Elevations can communicate things such as:
openings
doors and windows
building height
roof form
materials
external features
relationships between floors
surrounding ground levels
And I learned the importance of coordinating them with your other drawings the embarrassing way. During one of my early architecture presentations, I was standing in front of my drawings when I suddenly realised that a window in one of my elevations was in the wrong place. I'd mirrored the image. There it was. Pinned up. In front of everyone.
And, of course, it was pointed out.
I was mortified, but I didn't make that mistake again.
I went back and studied other people's presentations. I looked through architecture books and design journals in the library. I studied the language of the drawings and how they related to each other because I wanted to understand what I'd got wrong. That mistake taught me something important: Your plan, section and elevations aren't individual pictures. They are different descriptions of the same building.
If there's a window in one position on your plan, it needs to make sense when you see that window in elevation and section. You're building one three-dimensional idea through multiple two-dimensional drawings.
What is an architectural section?
A section is what you see when you imagine cutting vertically through a building and looking inside.
This is where you start seeing information that a plan alone can't communicate particularly well:
floor-to-floor heights
ceiling heights
stairs
levels
roof construction
foundations
wall thicknesses
relationships between floors
people within the spaces
relationships with the surrounding ground
Sections can feel confusing when you're starting because they require you to mentally move between two and three dimensions.
Start simple - Take a box, cut through it. Draw what the cut passes through. Then do the same with a simple room.
Then a small building.
You don't need to understand an entire complicated building section on day one. Your spatial understanding develops as you practise moving between these different views.
Interestingly, AutoCAD helped this click for me. On a computer, I could zoom out, rotate things, flip drawings and line a floor plan up with the section or elevation I was working on. Suddenly I could see the relationship more clearly. That doesn't mean the computer did the thinking for me; it gave me another way to see the relationship. And sometimes that's all you need for something to click.
Plan vs section vs elevation: what's the difference?
If you're getting confused, remember this:
Plan: imagine cutting horizontally through the building and looking down.
Section: imagine cutting vertically through the building and looking through it.
Elevation: stand outside and look straight towards one face of the building.
They're not three separate buildings. They're three ways of communicating the same building. Once that clicks, architectural drawing becomes much less mysterious.
What is a site plan?
Now zoom out, a building doesn't exist in isolation.
A site plan shows the building in relation to its surroundings and might include:
site boundaries
neighbouring buildings
roads and paths
entrances
landscaping
levels or contours
orientation
trees
external spaces
parking
other relevant site information
This is also where one tiny symbol becomes incredibly important:
Don't forget the north point.
When I looked at student plans and presentations, I always looked for it. North isn't simply something you add at the end because your tutor told you to. Orientation affects your design.
Where does sunlight come from?
Which spaces receive morning or evening light?
Where could solar gain become an issue?
What does orientation mean for the people occupying the building?
What does it mean environmentally?
Your north point is a tiny piece of graphic information carrying a much bigger architectural idea.
What are axonometric and isometric drawings?
Axonometric and isometric drawings allow us to communicate a three-dimensional form while maintaining measurable relationships rather than creating the visual convergence associated with perspective. For a beginner, don't panic too much about terminology. The important first step is understanding that these drawings allow you to see multiple faces of an object or building at once.
They can be incredibly useful for explaining:
form
spatial relationships
construction
assembly
exploded components
circulation
how parts of a design fit together
This is another reason I like teaching architectural drawing using simple boxes.
Draw the same box in plan.
Draw its elevation.
Cut a section through it.
Draw it axonometrically.
Then put it into perspective.
You're training your brain to understand the same object in different ways. That's architectural thinking.
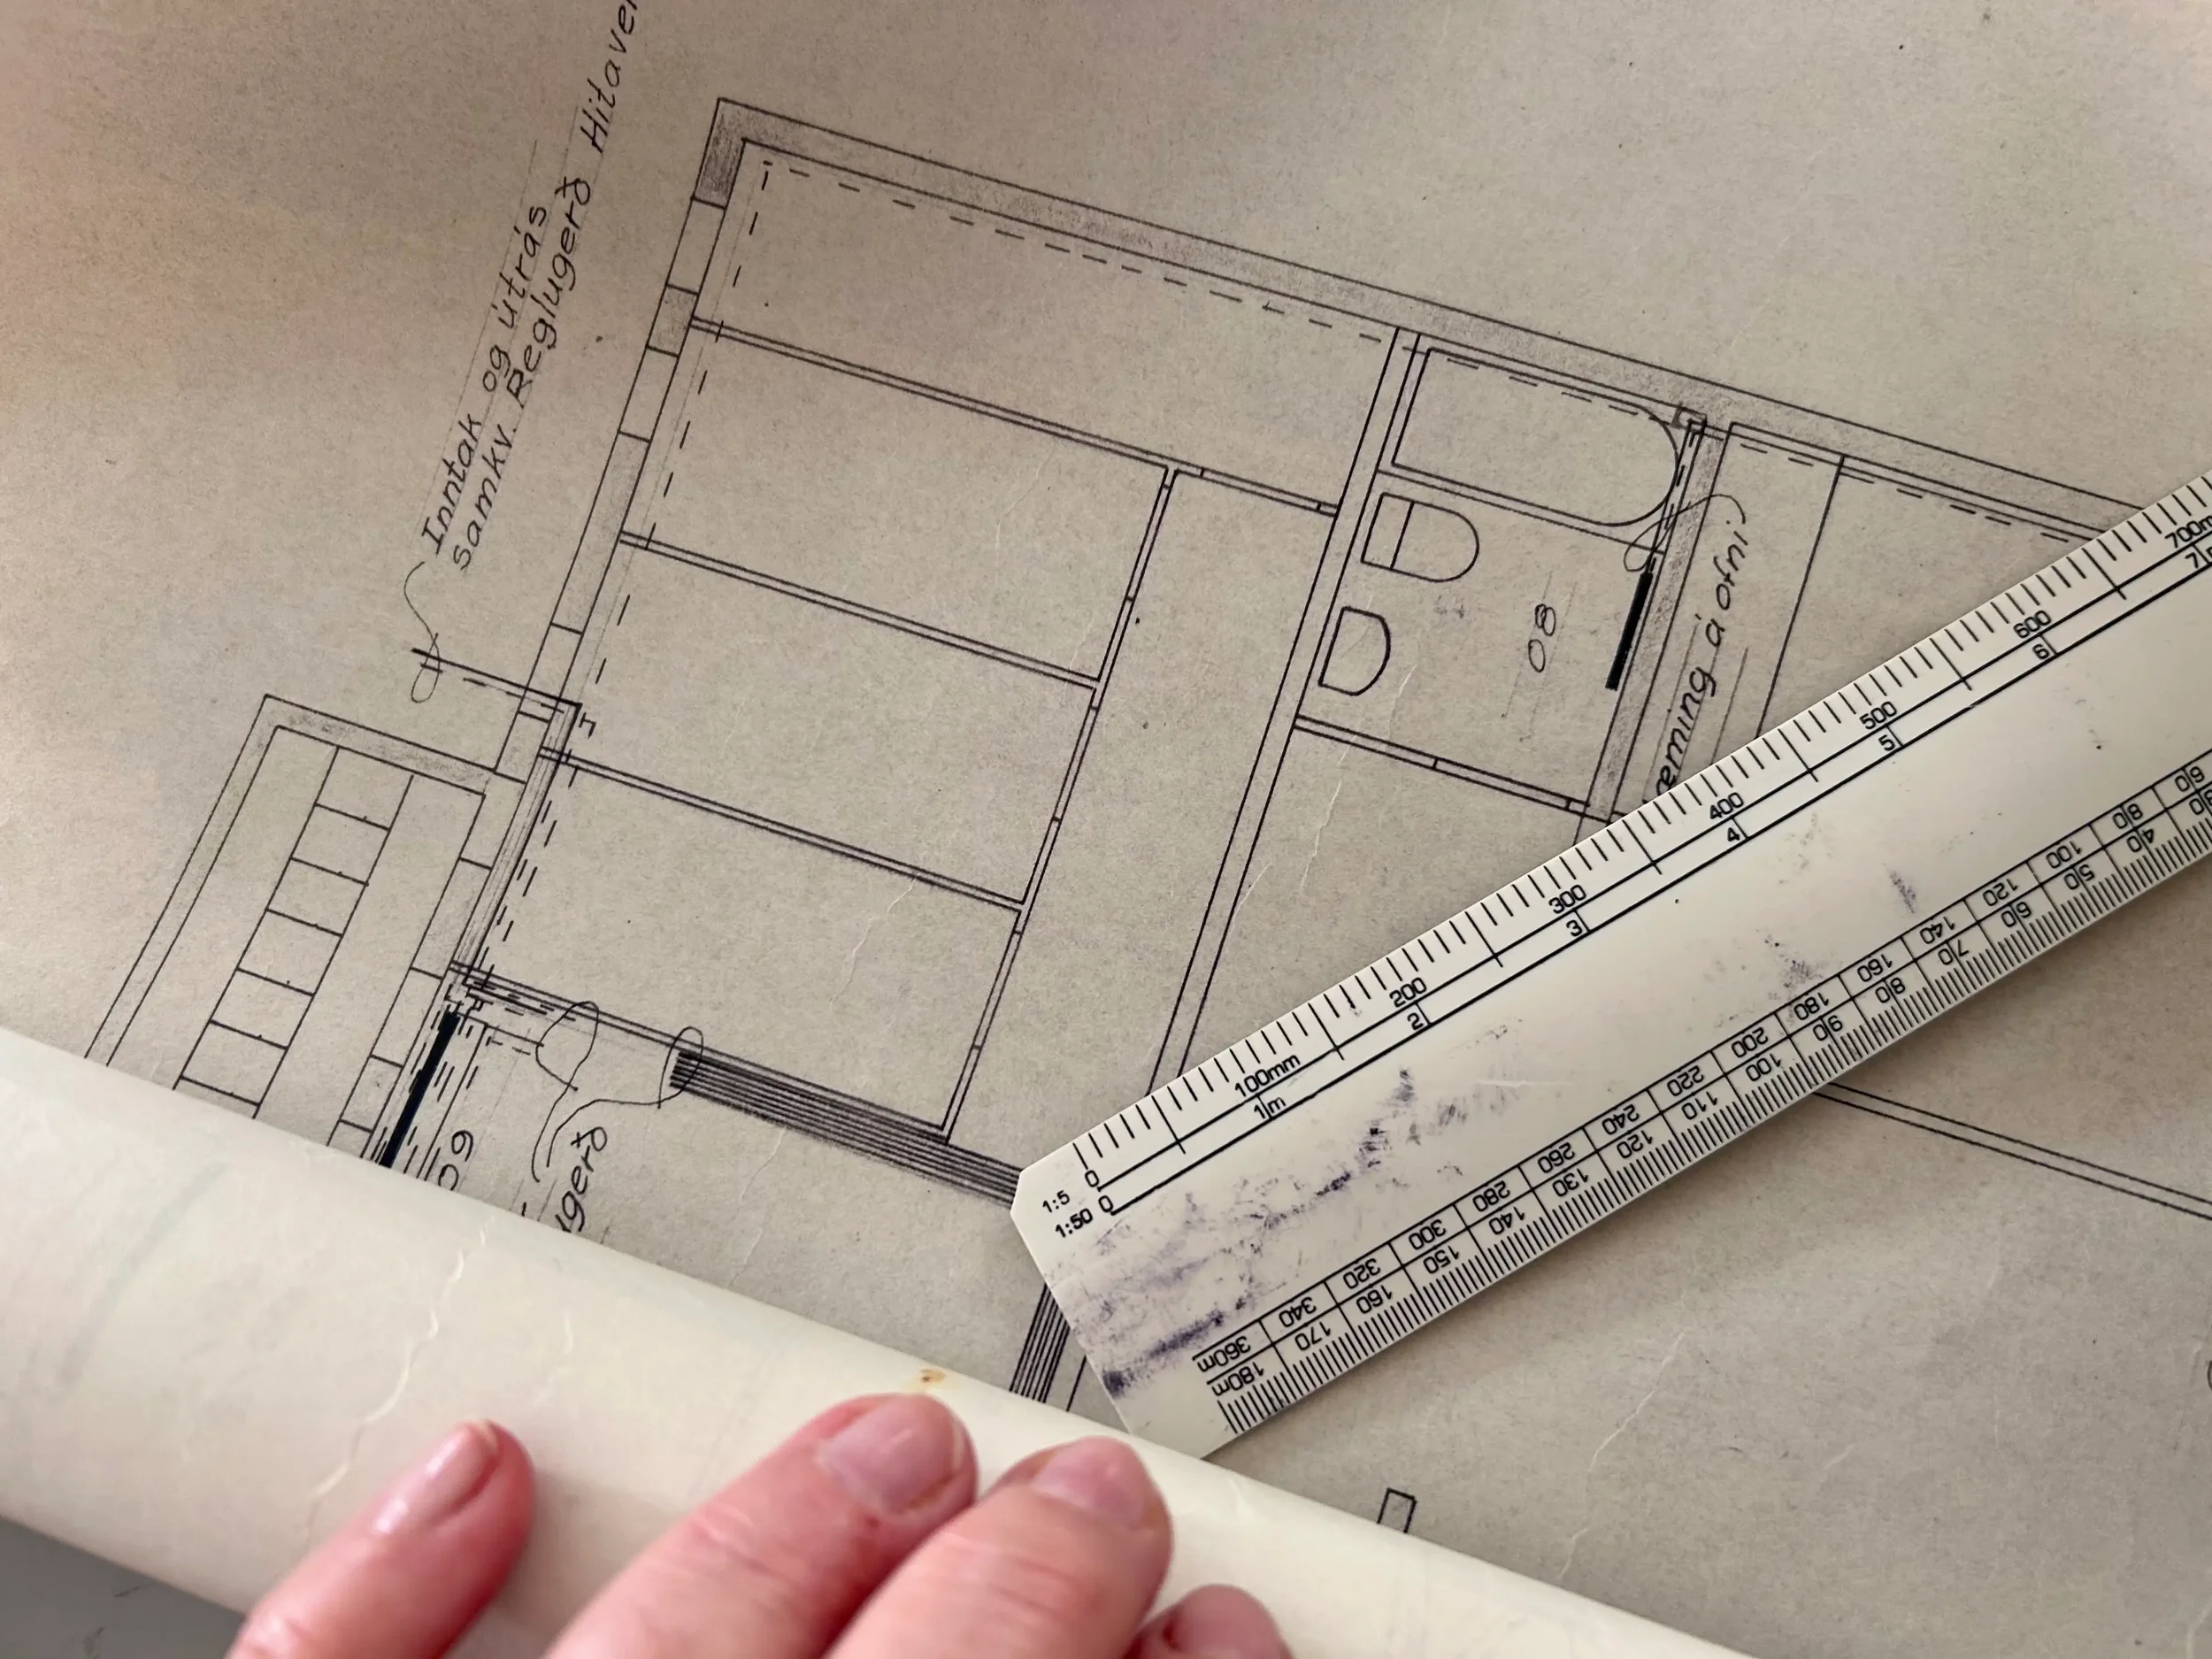
Understanding scale in architectural drawing
Scale took me a while to get my head around. If you've ever sat turning a scale ruler over and over trying to find the right side - welcome to architecture school.
I've been there.
You start drawing at 1:50, pick your ruler up again and somehow start using the wrong edge. Eventually you realise half your drawing isn't at the same scale. It happens. But understanding why architects use scale is much more important than memorising a collection of numbers.
Buildings are enormous. You obviously can't draw a building at full size on a sheet of paper, so architectural scale allows us to reduce something while maintaining its proportions. A drawing at 1:100, for example, represents something at one hundredth of its full size. Different scales allow us to zoom in or out depending on the information we need to communicate.
A large site might need a much smaller scale.
A building plan might commonly be represented at something such as 1:100 or 1:50.
A construction detail might need 1:20, 1:10, 1:5 or even 1:1.
These aren't magic numbers that you apply blindly. The appropriate scale depends on the project, drawing, required information and drawing standards you're working with.
Think of it as zooming in and out of the building.
At one scale you're explaining: Where is the building?
Then: How is the building organised?
Then: How does this room work?
Then: How exactly does this material meet that material?
As I moved into practice and spent time on construction sites, scale made even more sense to me. The contractor is constructing the real thing - the 1:1 building. Your drawings are the instructions. That's why I sometimes think of architectural drawings as a gift of communication to the person who has to turn your idea into something real. The clearer that communication is, the better.
Line weight: why some architectural lines are thicker than others
I owned all the pens. Proper Rotring technical pens that needed refilling and cleaning. Different nib sizes.
Rendering markers - Tria, Copic.
I knew how to clean them, store them, refill them and layer markers to create materials. What I didn't really understand at first was why I was supposed to use different pen thicknesses.
Why 0.5?
Why 0.3?
Why 0.1?
Why couldn't I just draw the lines?
Then I began understanding hierarchy. Not every line in an architectural drawing is communicating the same thing, so not every line should shout at the same volume. Generally, elements being cut through need greater visual emphasis than fine surface details or information beyond. The exact line-weight system will vary depending on the drawing, scale, software, practice and standards you're following. The important concept is hierarchy.
If every line has the same weight, your reader has to work much harder to understand the drawing.
Line weight helps tell them: Look here first…this is solid, this is cut through, this is beyond, this is detail.
And line weight doesn't disappear when you move to CAD or BIM. You still need drawing hierarchy.
An architecture practice may have its own layer, pen or graphic standards, and you'll need to learn them quickly. When you plot that drawing correctly and suddenly see the hierarchy working on the page, it makes sense. It's one of those relatively small skills that can instantly make a student drawing look clearer and more professional.
Architectural symbols, dimensions, annotation and lettering
Architecture drawings need more than lines. They also contain information.
Depending on the drawing, you'll encounter:
dimensions
room names
levels
door swings
section markers
elevation markers
grid references
material notes
symbols
drawing titles
scales
north points
At first, it can feel like everyone has secretly been given a dictionary except you. They haven't. You're learning another part of the language. You don't need to memorise everything immediately. Start studying drawings.
Look at architecture books.
Look at journals.
Look at professional drawing sets when you have access to them.
Look at how your tutors communicate information.
Ask what symbols mean.
One of the things I did after that disastrous mirrored-window presentation was study other architectural drawings much more intentionally. Not simply: That's a nice drawing. But: Why does that drawing work?
Where does my eye go first?
How have they shown what's cut?
How are dimensions organised?
How is text used?
What information has been left out?
How have they made something complicated understandable?
Learning to read architectural drawings will help you learn to create them. And yes, lettering matters too. It isn't about developing stereotypical “architect handwriting”. It's about communicating clearly and consistently.
Perspective drawing for architecture students
Plans, sections and elevations communicate space accurately, but sometimes we need to show a space more like a person might experience it. That's where perspective comes in. Perspective drawing creates the illusion of 3D on a 2D surface.
For beginners, the two systems I would focus on first are:
One-point perspective
One-point perspective uses one vanishing point on the horizon line and is particularly useful for spaces or objects viewed straight on - interiors, corridors and streets, for example.
READ: How to Draw One-Point Perspective
Two-point perspective
Two-point perspective uses two vanishing points and is useful when you're viewing the corner of an object or building.
READ: How to Draw Two-Point Perspective
The big thing I want you to understand isn't just where to put the vanishing points. It's eye level. The horizon line relates to the viewer's eye level. Once you understand where your viewer is standing and what they're looking at, perspective starts becoming much more logical.
Don't just copy lines from a tutorial. Understand why those lines are going there. That's the difference between being able to follow a perspective video once and actually being able to construct your own drawing later.
If perspective is something you're currently struggling with, I've created a complete step-by-step guide that takes you through one-point and two-point perspective, eye level, vanishing points, scale and depth.
Purchase: How to Draw Perspective eBook
Architectural sketching: drawing teaches you to see
This might be my favourite part of architectural drawing. I
travel with a sketchbook. Sometimes it's tiny - even just a few sheets of paper I've stitched together. Because when I sit somewhere and draw, something different happens than when I take a photograph.
A photograph can capture a place in a fraction of a second. Drawing makes me stay there.
My eyes have to travel around the building; I notice its outline, then its shapes, proportions, materials, textures, details. How one part relates to another. Your brain is trying to understand what's in front of you while your hand tries to translate that understanding onto the page. That's why I often say: Drawing isn't just about drawing. It's about seeing. You have to stop, look, understand, then communicate.
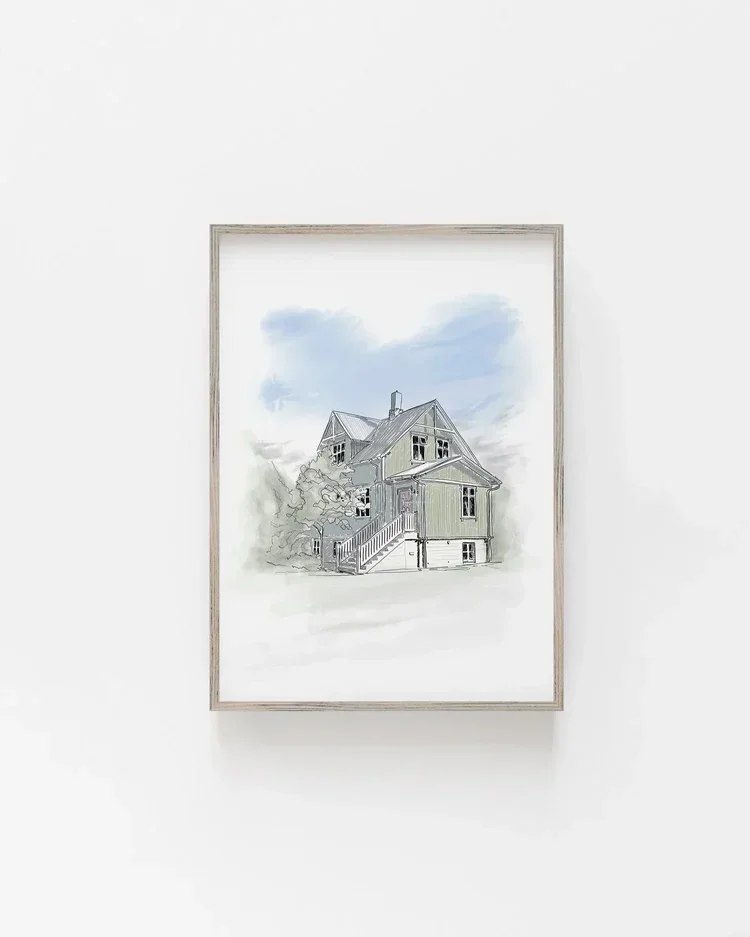
When I moved to Reykjavík, sketching became one of the ways I connected with the city around me. I'd sit and draw streets and buildings rather than simply photographing them.
And I remember working for an architect whose walls were covered in his hand-drawn sketches and watercolours. I loved them. They captured buildings differently from photographs. More importantly, when he was explaining construction to me, he would draw. He'd sketch a detail and build it up in front of me so I could understand how the materials and construction fitted together.
Those drawings weren't pieces of art made for an exhibition. They were tools for thinking and teaching.
That's the power of sketching.
Do architects still need to draw by hand?
I used to get asked this by students all the time. Why do I need to learn hand drawing? Architects use computers now.
And they're right. Architects use computers. You need digital skills. Depending on where you study and work, you might use AutoCAD, Revit, Rhino, SketchUp and many other digital modelling, visualisation and BIM tools. You cannot ignore that side of the profession because you prefer your sketchbook.
I learned that myself. Hand drawing came naturally to me. AutoCAD and Photoshop didn't.
I initially found digital drawing frustrating because I could create something much more naturally by hand. But the more I used CAD, the more I understood its advantages. I adapted. I learned. And in architectural practice there wasn't a choice between being a “hand-drawing architect” and a “computer architect”.
I needed both. But here's why I still think hand drawing can be your superpower.
Imagine you're on a construction site and a contractor needs clarification about a detail. You could go back to the office, open the drawing, alter it and issue something. Or sometimes you can take a pen and a scrap of paper and explain the idea in seconds.
The same thing can happen in a client meeting. A client is telling you about their morning routine - Bedrooms, Hallway, Kitchen, Breakfast, children getting ready…out the door. While they're speaking, you begin sketching. Suddenly they can see a possible layout forming in front of them.
They can point at it. Question it. Imagine themselves living in it. That little drawing might communicate something that a polished computer visualisation produced three weeks later can't.
I also wouldn't survey an existing building by walking around balancing a laptop. Give me a clipboard, paper and a pen. I'll sketch the space, record the measurements, note the important details and take that information back to the computer.
Your hand drawing doesn't have to be beautiful. It has to communicate.
That's the skill worth developing.
Hand drawing vs CAD: you don't have to choose
There's sometimes an unnecessary battle between traditional architectural drawing and digital design. I don't think it's particularly helpful. Digital design is part of architecture - students need to learn software. Practices use CAD, BIM, 3D modelling, rendering and increasingly AI-assisted workflows. But learning to draw by hand develops something slightly different.
When you draw, you're constantly translating between what you see or imagine and the mark you make.
When you learn plan, section and perspective, you're training your brain to move between two-dimensional and three-dimensional information. Those skills don't suddenly become useless when you open Revit. They come with you, and the opposite is true too.
Computer drawing actually helped me understand certain architectural concepts more clearly. Being able to zoom, rotate and align information helped spatial relationships click. So don't turn this into: hand drawing good / computers bad. Learn both. Use the right tool for the thing you're trying to communicate.
What makes a good architectural drawing?
This is where we need to separate beautiful from good.
A beautiful illustration can be a terrible technical drawing.
A very plain CAD drawing can communicate complex construction information perfectly.
A loose sketch can communicate an idea brilliantly.
A beautifully rendered perspective can help a client imagine themselves occupying a space.
The best drawing depends on its purpose.
Ask yourself: Who is this drawing for? What do they need to understand? What information matters? What can I remove? What needs emphasis? What drawing type communicates this best? That's architectural communication.
And once the information is working, then yes - make it sing. Develop a style, render it, add materials and people, use light and shadow. Make your portfolio recognisable as yours.
When I was a student, people often commented on the figures in my perspective drawings. I drew these slightly wiggly, floating-form people. They became part of my style, and I liked that. Hand drawing gave me room to create a visual signature in my work at a time when more and more presentations were becoming computer-generated.
You can absolutely do that digitally too. The point isn't the tool. It's understanding the rules well enough that you can begin making intentional choices about how you communicate.
Five things I wish every first-year architecture student knew about drawing
After years of teaching architecture and interior design students, there are a few things I would love to get into your head before you start worrying about whether your drawings look “architectural” enough.
1. Trust the process and actually try
Give yourself a chance to learn. You might decide eventually that you love digital modelling and don't particularly enjoy sketching. Fine. But don't decide that you “can't draw” before anyone has actually taught you.
Drawing is learnable. I've watched students who arrived with very little drawing confidence improve dramatically. Often the difference wasn't talent. It was whether they were willing to engage with the process. At some point, something clicks. I've seen it happen with hand drawing, with perspective, with 3D modelling. And when it clicks, there's often no holding that student back.
2. Learn line weight
Whether you're drawing with a pen or plotting a digital drawing, learn hierarchy. Your reader shouldn't have to fight their way through hundreds of equally weighted lines. Help them understand the drawing.
3. Remember your north point
And understand why it's there. Orientation isn't a graphic decoration. It affects the building you're designing and the people who will eventually occupy it.
4. Put people in your drawings
Architecture is for people, so populate it. Put people in your plans, sections, elevations, site drawings, and perspectives. And think about who those people actually are.
If you're designing a school, where are the children? If you're designing a family home, can we see the family? If you're designing a public space, how are people occupying it? People give your drawing scale, but they also give it life. A client looking at an empty room sees an empty room. A client looking at a drawing containing a family eating, talking, playing or moving through the space can begin imagining themselves there.
That's powerful.
PURCHASE: People & Furniture in Plan View
5. Learn to communicate materials, light and shadow
Once your drawing works, start bringing it to life. Materials can help someone understand what a building might actually feel like - Concrete, Brick, Timber, Glass, Landscape. Then think about light and shadow, as they create depth and communicate form.
This is also where architectural drawing can become incredibly enjoyable. You can begin developing your own illustrative language rather than trying to make your drawings look exactly like everyone else's.
What architecture school doesn't tell you about drawing
Architecture school can sometimes make you feel as though you're supposed to arrive already looking like an architect, speaking like one, drawing like one, knowing what all the words mean, and sometimes there's an ego around that.
I felt it too. I came into architecture through interior design and entered directly into second year, so although I already understood design, concepts, presentation, perspectives and internal layouts, there were architectural foundations I felt I'd missed: history, context, more technical drawing - sections, external elevations, models, architectural language. So I learned it.
Sometimes badly, sometimes publicly, sometimes by getting something wrong in a presentation and making absolutely certain I understood it before the next one.
That's education. You're not supposed to know everything before you arrive. You're there to learn it.
A note about crits, confidence and comparing your drawings
I was a defensive student. I can see that now.
I put so much time, energy and emotion into my projects that standing in front of a crit panel could feel less like somebody was questioning my drawing and more like they were questioning me. I'd prepare to defend it, and when feedback felt like an attack, I became even more defensive.
Years later, I found myself on the other side as the lecturer and I still don't think crit culture always gets this right.
But here's what I'd tell my younger self now: Slow down. You don't need to prove that you're already an architect - listen, take what is useful, ask questions, talk to the people around you and build a community.
I wish I'd started a study group sooner.
Architecture studio might sometimes feel competitive, but the people around you are learning too. That person whose drawing you're staring at thinking, They clearly know what they're doing and I don't? They might be terrified about something you're good at. Ask them, share what you know, look at each other's drawings, learn together and occasionally leave the architecture studio and have dinner with people who don't know what a section drawing is. It will probably do you good.
How to improve your architecture drawing skills
If you're reading all of this thinking: Fine, Sonia. But how do I actually get better?
Start smaller than you think. Don't sit down and decide you're going to become brilliant at architectural drawing.
Pick one thing - draw boxes, practise line weight, learn one-point perspective, draw a room in plan, sketch a chair, draw the same simple object in plan, section, elevation and axonometric. Sit outside a building for ten minutes and draw only its proportions. Add people to a floor plan. Practise drawing doors. Look at how another architect has represented concrete.
Take one skill and repeat it.
I think one of the biggest mistakes students make is trying to make their drawings look good before they understand what they're drawing. Practise messily - tracing paper is your friend.
Sketch lightly. Make mistakes. Draw over them. Try again.
Confidence doesn't arrive before you begin. It comes from repetition.
Study architectural drawings, don't just look at them
This is one of the most useful habits you can develop. When you see a drawing you love, don't simply save it to Pinterest and think: I wish I could draw like that. Interrogate it.
Why do you like it? What line weights have been used? What's the hierarchy? How are people represented? How are materials shown? How much detail has been included? What's been left blank? Where is the light coming from? How is text positioned? What scale is it? What is the drawing actually communicating?
I learned an enormous amount this way. After mistakes, I went to the library. I looked through journals, at books, at drawings in architectural offices, and I kept drawing.
You begin developing a visual vocabulary. Eventually you stop simply copying the language. You start speaking it yourself.
Architecture drawing isn't about talent
If you remember nothing else from this guide, remember this.
I've taught students from different countries, backgrounds and levels of experience. I've watched people arrive convinced they couldn't draw. And I've watched them improve.
You don't have to arrive at architecture school as an artist. You don't need an identifiable sketching style. You don't need to own every pen in the art shop. You don't need to know Revit before your first day. And you certainly don't need to pretend you understand terminology you've never encountered before.
You need curiosity. You need to look, to practise, and you need to be willing to learn because architecture drawing is not one magical ability that some people were born with. It's a collection of skills. And skills can be strengthened.
Architectural drawing is a language
If there's one thing I want every architecture student reading this guide to understand about drawing, it's this: Drawing is a language. The clearer you can become in that language - by understanding why you're drawing certain things in certain ways, choosing the right tool and studying how other architects communicate - the better your drawings will become.
Open your eyes, look around, take the time to let your brain connect with your hand, whether that hand is holding a pencil or clicking a mouse. Learn to see before you worry about style. Learn why the lines are there before you worry about making them beautiful. Learn to communicate before you worry about impressing anyone. And keep drawing. Because whether you eventually work almost entirely in Revit, become the person who always has a sketchbook in their bag, or end up somewhere you can't even imagine yet, architectural drawing is a language worth learning.
And hand drawing? I still think it's a superpower.
Architecture Drawing FAQ
-
No. You don't need to arrive at architecture school already producing beautiful architectural drawings. Drawing is a collection of skills that can be learned and improved through observation, understanding and practice. What matters much more is your willingness to learn how to communicate ideas visually.
-
Common architectural drawing types include floor plans, elevations, sections, site plans, detail drawings, perspective drawings, axonometric and isometric drawings, diagrams and architectural sketches. Different drawings communicate different information about the same building or design.
-
A plan represents a horizontal cut through a building viewed from above. A section represents a vertical cut through the building, allowing you to see inside it. An elevation is a straight-on view of one face of the building. Together, these drawings help communicate a three-dimensional building through two-dimensional views.
-
Architects use scale because buildings are too large to draw at their real size. Scale reduces the building proportionally so that it can be communicated clearly on a drawing. Different scales are chosen depending on whether you're communicating a site, building, room or detailed construction junction.
-
Line weights create visual hierarchy. Thicker and thinner lines help communicate what is being cut through, what is beyond, what is solid and what is detail. Without hierarchy, a technical drawing can become difficult to read.
-
Yes, although most professional architectural documentation is now produced digitally. Hand drawing is still useful for developing ideas, communicating quickly with clients and contractors, recording existing buildings, sketching on site and exploring design concepts.
-
You will ultimately benefit from both. Hand drawing can help develop observation, spatial thinking and quick visual communication, while CAD, BIM and 3D modelling are essential tools in contemporary architectural education and practice. They aren't competing skills - each is useful for different stages and forms of communication.
-
Start with foundational skills rather than trying to create impressive finished drawings. Practise simple forms, line weight, plan drawing, perspective, observation and drawing the same object from different viewpoints. Study good architectural drawings and ask why they work. Most importantly, practise regularly enough for the processes to become familiar.
Where to start next
If you're at the beginning of your architecture drawing journey, don't try to learn everything today.
Choose the thing you're struggling with most:
If you think you can't draw: How to Improve Your Architecture Drawing Skills
If plans confuse you: How to Draw a Floor Plan by Hand
If perspective isn't clicking: One-Point Perspective Guide → Two-Point Perspective Guide
If you want to learn architectural sketching: Architectural Sketching for Beginners
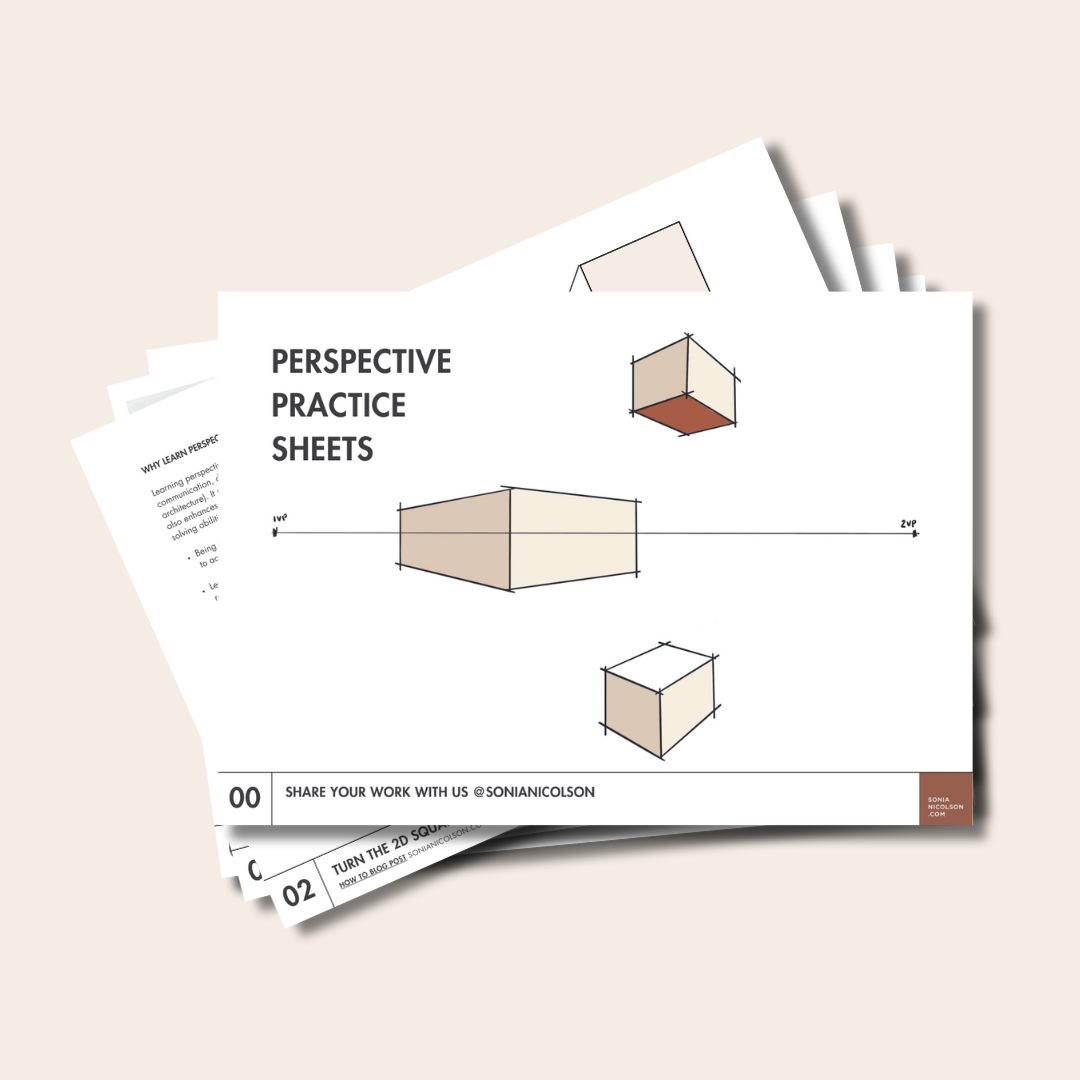
If you want structured perspective practice: Perspective Practice Sheets or How to Draw Perspective eBook
If your floor plans look empty: People & Furniture in Plan View
Start with one. Learn why you're doing it, practise it and then move on to the next. That's how you learn the language.






How to Draw One-Point Perspective: A Step-by-Step Guide for Architecture & Interior Design Students.